This article, "Best Cast Iron Skillet Care | Cooking, Cleaning to Seasoning" on Just Maika Cooking offers comprehensive guidance on maintaining cast iron skillets, covering topics such as seasoning, cleaning techniques, common mistakes to avoid, and suitable cooking practices to ensure the longevity and performance of your cookware.
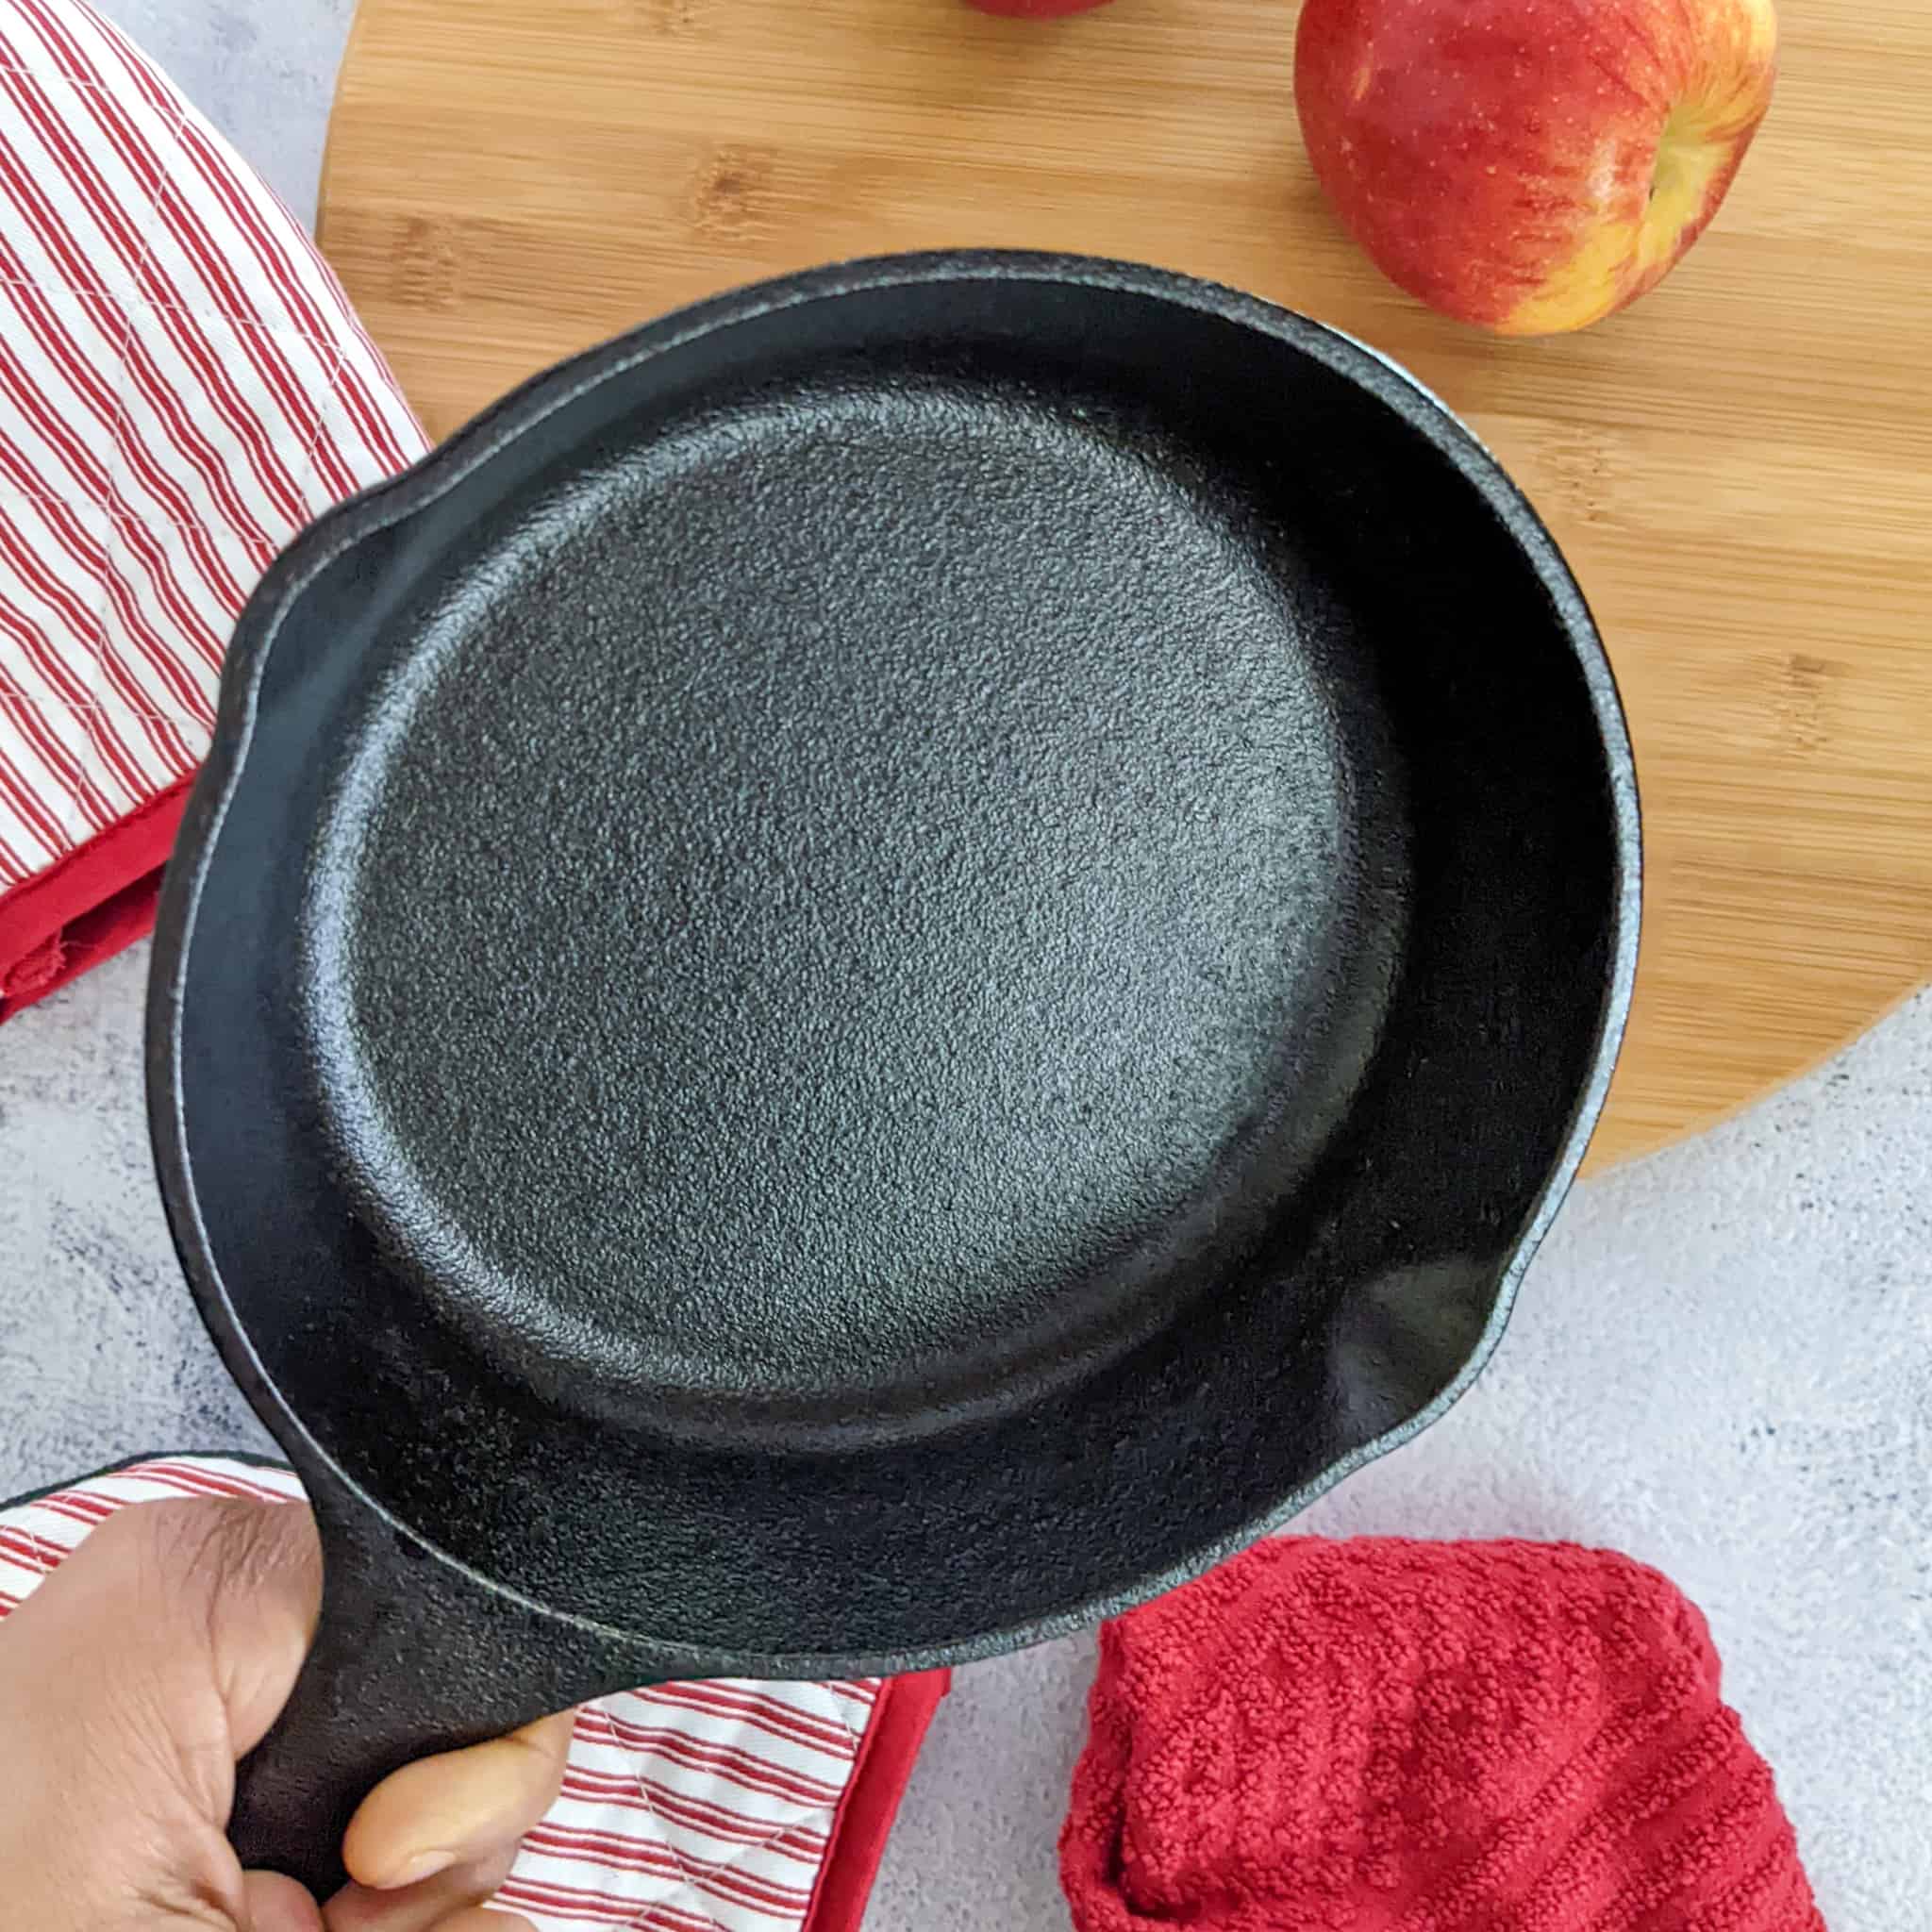
The Lodge Cast Iron - 6.5 Inch Cast Iron Skillet is a great example, and understanding proper cast iron skillet care will ensure it lasts a lifetime.
Table of Contents
Jump to:
- The Lifetime Skillet
- Different Types of Cast Iron Cookware
- Top Three Best Cast Iron Brands
- Why Cast Iron?
- Understanding Cast Iron
- Best Utensils to Use
- Ingredients to Avoid
- Best Dishes to Cook in a Cast Iron Skillet
- Step-by-Step Guide to Cleaning (w/ Video)
- Seasoning Your Cast Iron Skillet
- Storing Your Cast Iron Skillet
- Common Mistakes to Avoid
- Recap - Cast Iron Skillet Care
- Frequently Asked Questions
- Cast Iron Recipes
- Questions and Comments
The Lifetime Skillet
As a personal chef, I can’t emphasize enough how important it is to take good care of your cast iron skillet. If you treat it right, this kitchen workhorse can last a lifetime—heck, even multiple lifetimes. From searing a perfect steak, whipping up a cozy one-pan dinner, or making a rustic cornbread, your cast iron skillet is your trusty sidekick with that incredible nonstick surface.
But like any good partnership, it requires a bit of TLC to keep it performing at its best. Proper care ensures that your skillet lasts and delivers consistently excellent results every time you use it.
Different Types of Cast Iron Cookware
If there’s one thing I can’t get enough of in my kitchen, it’s cast iron cookware. My collection just keeps growing, and for good reason—these pans are the ultimate tools for creating that perfect golden brown crust. They’re the best non-stick pans around (once you’ve got them seasoned right), and they’re built to last a lifetime.
Unlike trendy kitchen gadgets that come and go, cast iron is here to stay, proving its worth time and time again.
When it comes to cast iron, there’s a variety to choose from, each serving its own unique purpose:
The Usual
- Skillets (with and without handles) - Whether it’s a classic skillet with a long handle or a more compact version without one, these are the workhorses of the cast iron world. They’re perfect for everything from frying eggs to searing steaks.
- Griddles - These typically are flat, handleless pans that are ideal for making pancakes, grilled cheese sandwiches, or anything that needs a large, even cooking surface. But you can also get griddles with handles that can be useful with more control and fit right on the stovetop.
- Grill Pans - With raised ridges that mimic the grates of an outdoor grill, grill pans are perfect for getting those beautiful char marks on meats and veggies, all while cooking indoors.
Other Options
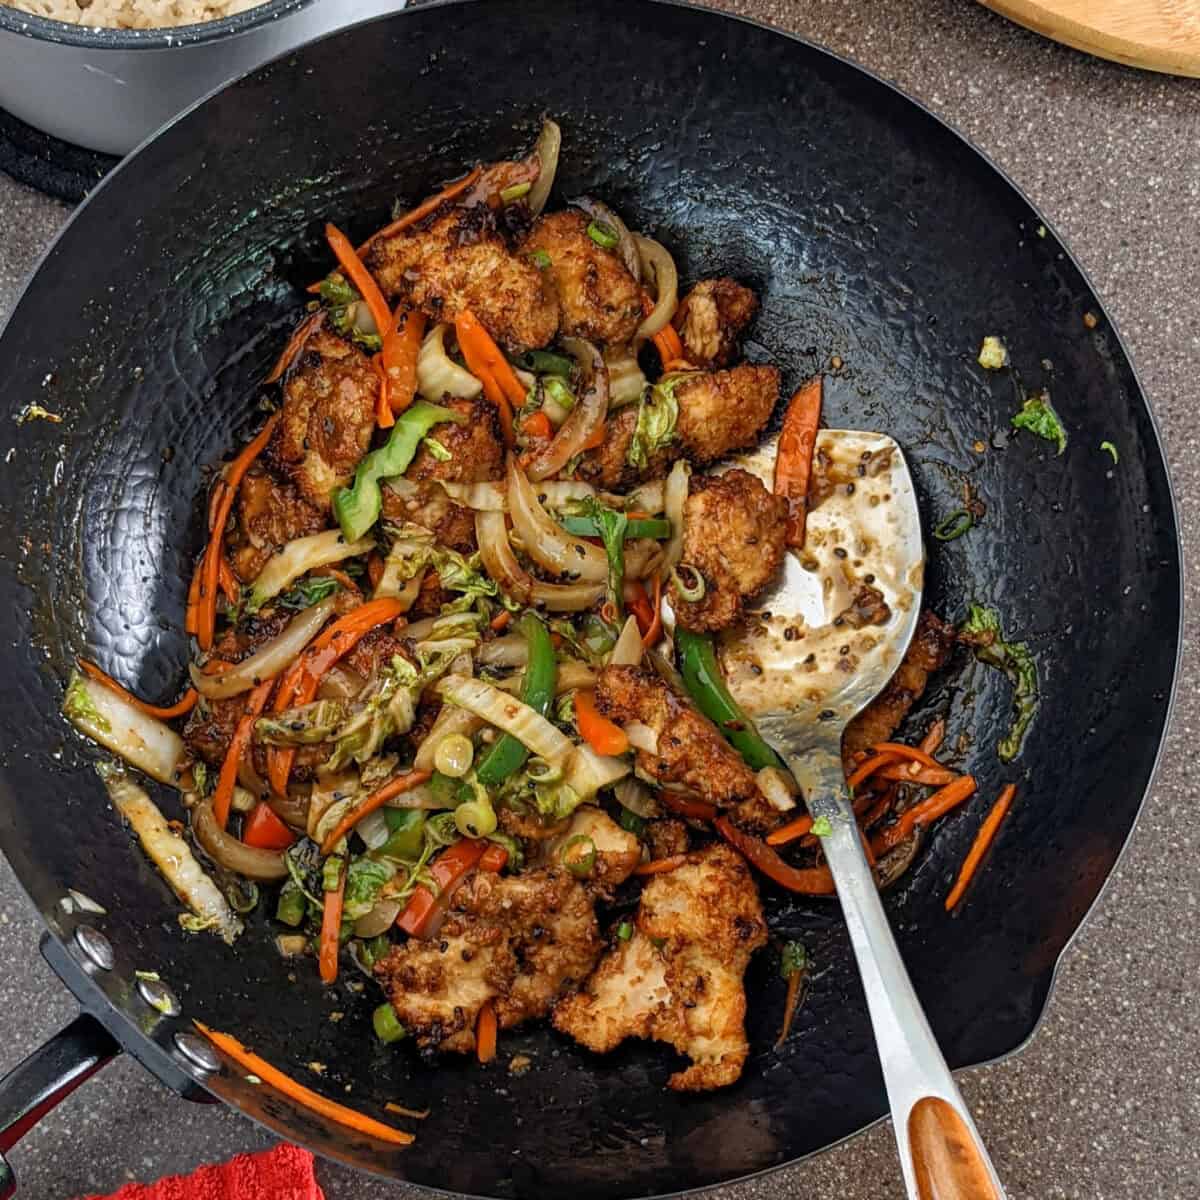
- Woks - Cast iron woks are fantastic for stir-frying. They retain heat incredibly well, allowing you to achieve that high-heat sear essential for Asian cuisine. While cast iron woks are fantastic for retaining heat, their heavy weight can make them challenging to maneuver during stir-frying, which is why I prefer the lighter carbon steel woks; both types require regular maintenance and seasoning, but the results are well worth the effort. Learn more about using woks.
- Dutch Ovens (Regular and Enameled) - These heavy-duty pots are perfect for slow-cooking stews, braising meats, or baking bread. The enameled version adds a splash of color and makes cleaning a bit easier, but both are equally durable and versatile.
Accessories
- Pressers for Smash Burgers - A cast iron presser is your best friend when it comes to making smash burgers. It presses the meat into the hot skillet, creating a deliciously crispy exterior.
Bonus! The Cast Iron Griddle
One of the great advantages of a cast iron griddle is its versatility—you can use it on your stovetop and get one that fits perfectly on your outdoor grill (the main reason why I bought mine). This allows you to enjoy the benefits of cast iron cooking while grilling, making it ideal for everything from pancakes and bacon in the morning to seared steaks and veggies in the evening.
Plus, it retains and distributes heat evenly, ensuring that your food cooks perfectly, whether you’re indoors or out.

Recipe Idea: Make the Chickpeas and Egg Masala Skillet.
Versatility
Each piece in my collection has a special place in my kitchen, and I love how they allow me to explore different cooking techniques while always delivering consistent, delicious results. Whether you’re just starting your collection or looking to expand, there’s a cast iron piece out there that’s perfect for your needs—and trust me, once you start, it’s hard to stop!
Top Three Best Cast Iron Brands
Choosing the right brand can make all the difference when buying and investing in cast iron cookware. Trust me, not all cast iron is created equal. After years of cooking with various pieces, I’ve narrowed down my top three favorite brands that consistently deliver on quality, durability, and performance.
Lodge Cast Iron
If you’re looking for a cast iron brand that’s affordable, reliable, and practically indestructible, Lodge is where it’s at. This American brand has been making cast iron since 1896, and its pieces are built to last.
Lodge skillets come pre-seasoned, so they’re ready to use right out of the box, which is a huge plus. I’ve used my Lodge skillet for everything from searing steaks to baking cornbread, and it never lets me down. Plus, it’s available in a wide range of sizes and styles, making it easy to build your collection.
My Rating: ⭐⭐⭐⭐⭐
Purchased: 07/15/22
Update: 08/19/24
My Review: I used this small must-have cast iron pan to make my Harissa Egg Toast with Feta Cheese and Olive Oil breakfast dish. It’s a straight-to-the-point, well-made cast iron skillet. Honestly, how can you go wrong with Lodge?! Add cast iron pans to your kitchen collection. Take care of it, and it'll take care of you.
Le Creuset
For those who want a little more style and versatility in their cast iron collection, Le Creuset is a top pick. This French brand is famous for its enameled cast iron, which combines the durability of cast iron with a smooth, colorful enamel coating that doesn’t require seasoning.
Le Creuset pieces are absolutely stunning, and they perform beautifully—perfect for going from stovetop to oven to table. While they’re on the pricier side, I see them as an investment that will last a lifetime. Their Dutch ovens are a game-changer for slow-cooked dishes and stews.
Staub
Staub is another premium French brand that I absolutely love. Like Le Creuset, Staub specializes in enameled cast iron, but their pieces have a slightly darker, more rustic finish that I find really appealing. What sets Staub apart is their self-basting lid design, which helps retain moisture and flavor during cooking—especially useful for roasts and braises.
The interior of Staub cookware has a matte black enamel that’s super durable and requires less maintenance than traditional cast iron. If you’re serious about your cast iron game, Staub is worth every penny.
Lodge
Affordale
Pre-Seasoned
Durable
Wide Variety of Sizes
Heavier
Requires Regular Seasoning
Less Smooth Finish
Le Creuset
Beautiful Design
Enameled (No-Seasoning Required)
Excellent Heat Retention
Expensive
Enameled Coating Can Chiop
Heavy
Staub
Self-Basting Lid
Matt Black Enamle Interior
Superior Moisture Retention
Expensive
Heavier
Matt Interior Requires Careful Cleaning
Why Cast Iron?
So, why do I rave about cast iron? Let me break it down for you:
- Even Heating - Cast iron is the queen of even heating. It holds heat like no other, ensuring that your food cooks uniformly, which is crucial for achieving that perfect golden crust on your chicken or the ideal caramelization on your veggies.
- Durability - A well-maintained cast iron skillet is virtually indestructible. Unlike non-stick pans that wear out over time, cast iron only gets better with age. With proper care, it can be handed down through generations—imagine cooking with a skillet that’s seen decades of family meals!
- Natural Non-Stick Properties - When properly seasoned, cast iron develops a natural non-stick surface that’s chemical-free and just as effective as any store-bought non-stick pan. Plus, the more you use it, the better it gets. It’s like a fine wine—only, you know, for cooking.
Taking care of your cast iron skillet isn’t just about maintaining a piece of kitchen equipment; it’s about preserving a culinary tradition. And trust me, the rewards are well worth the effort. For more tips on maintaining your favorite kitchen tools, check out the resources on my website, Learn Culinary.
Understanding Cast Iron
Let's get into what makes cast iron so unique and why understanding its care is essential for getting the best performance from your skillet.
Porous Nature of Cast Iron
One of the things that makes cast iron so special—and a bit of a mystery to some—is its porous nature. Here’s how it works:
- Tiny Pores - Your cast iron skillet is full of tiny pores that act like a sponge, soaking up oils and fats every time you cook.
- Oil Absorption - These pores absorb the oils, which creates a natural non-stick surface over time.
- Protective Layer - The absorbed oils form a protective layer that enhances the skillet's non-stick qualities and guards against rust.
This unique ability to absorb and hold onto oils is what sets cast iron apart from everyday non-stick pans.
Seasoning
Seasoning in the context of cast iron isn’t about adding flavors—it’s all about creating a durable, non-stick surface. Here’s what you need to know:
- What is Seasoning? Seasoning is the process of baking a layer of oil onto the surface of your skillet.
- Purpose - This baked-on layer forms a protective coating that prevents rust and makes your skillet naturally non-stick.
- Building Layers - Seasoning is cumulative; the more you use your skillet, the more layers of seasoning you add, improving its performance over time.
Understanding and maintaining this seasoning is key to getting the most out of your cast iron skillet. For more detailed tips and techniques, visit my website, Learn Culinary. Seasoning is also a process used in caring for a wok; learn more about wok cooking.
Best Utensils to Use
To keep your cast iron cookware in top condition, choosing the right utensils is important. Here’s what works best:
- Wooden Utensils: - Using a wooden spatula or spoon is gentle on your cast iron’s seasoning. They won’t scratch the surface, making them ideal for stirring, flipping, and scraping.
- Silicone Utensils - Heat-resistant silicone spatulas and tongs are another great option. They’re flexible, durable, and won’t damage the seasoning layer, even during high-heat cooking.
- Metal Utensils (with Care) - While metal utensils can be used on cast iron, they should be used with care. Avoid heavy scraping to prevent removing the seasoning. A metal spatula with a flat edge can help flip or lift food, but use a gentle hand to avoid damage.
Ingredients to Avoid
Cast-iron cookware is super versatile, but there are a few ingredients you’ll want to be careful with to keep your skillet’s seasoning and overall condition in tip-top shape. These are what not to cook in a cast iron:
Highly Acidic Foods
Ingredients like tomatoes, vinegar, citrus juices, and wine can be tough on your cast iron. Their high acidity can break down the seasoning, leading to a dull finish and potential rusting. If you do cook with acidic ingredients, be sure to re-season your skillet afterward to restore its protective layer.
Strongly Flavored Ingredients
Foods like garlic, onions, and certain spices can leave behind strong flavors that might linger in your skillet, potentially affecting the taste of your next dish. While this isn't harmful, it’s something to be mindful of, especially if you use your cast iron for both savory and sweet dishes.
Sticky or Sugary Foods
Dishes with a lot of sugar, like caramel or certain sauces, can stick to the surface of your cast iron and be difficult to clean without damaging the seasoning. It’s best to use a well-seasoned skillet for these dishes or consider using another type of cookware.
Overly Watery Ingredients
Cooking with large amounts of water or broth for extended periods can strip the seasoning from your cast iron. If you’re making a stew or braise, it’s fine to use your cast iron, but be prepared to re-season it afterward to keep it in good condition.
Best Dishes to Cook in a Cast Iron Skillet
One of the reasons I’m so obsessed with cast iron cookware is its versatility—you can whip up so many incredible dishes in it, from breakfast to dessert. Here are some of the best dishes to cook in a cast iron skillet that will make the most of its heat retention and even-cooking qualities:
Skillet Cookie or Brownie
There’s something extra indulgent about a warm, gooey cookie or brownie baked in a cast iron skillet. The skillet gives the edges a deliciously crispy texture while keeping the center soft and melty. Top it with a scoop of ice cream, and you’ve got the ultimate dessert to share (or not!).
Psst...If you love chocolate chip cookies, then you must try my Air Fryer S'mores Cookies.
Pan Pizza
If you’re a fan of thick, crispy crust, then pan pizza in a cast iron skillet is a must-try. The heavy skillet mimics the effect of a pizza stone, giving the dough a beautiful, golden-brown crust while the toppings cook evenly. Whether you’re going classic with pepperoni and cheese or getting creative with your toppings, cast iron is your ticket to perfect pan pizza.

Searing Steaks
A cast iron skillet is your best friend when it comes to searing steaks. The intense heat helps you achieve a deep, caramelized crust while keeping the inside juicy and tender. Plus, after searing, you can easily transfer the skillet to the oven to finish cooking your steak to the perfect doneness.
Grilling Times Chart
This chart provides a quick reference for grilling times and characteristics of popular steak cuts. Here, it is organized by grilling times minutes per side, with internal temperatures:
| Steak Cuts | Size and Texture | Medium-Rare 130°F | Medium 135°F | Well-Done 160°F |
| Churrasco (Skirt Steak) | Larger, thicker, and fibrous | 2-3 | 3-4 | 5-6 |
| Flank Steak | Thin and flavorful | 5-6 | 6-7 | 8-9 |
| Top Sirloin Steak | Larger, thicker, and fibrous | 4-5 | 5-6 °F | 7-8 °F |
| NY Strip Steak | Well-marbled and tender | 4-5 | 5-6 | 7-8 |

Try my Grilled Steak Spicy Chimichurri Baby Potatoes and Broccoli recipe cooked in a cast iron grill pan.
Cornbread
Cornbread baked in a cast iron skillet is a Southern classic for a reason. The skillet heats evenly and helps create a crisp, golden crust while the inside stays moist and tender. This is perfect for serving it with chili or barbecue or just enjoying it on its own, as skillet cornbread is always a hit.
Frittatas
A cast iron skillet is perfect for making frittatas, thanks to its even heating and ability to go from stovetop to oven. Whether you’re filling it with veggies, cheese, or meats, the skillet ensures everything cooks evenly, and it makes for a beautiful presentation when served straight from the pan.
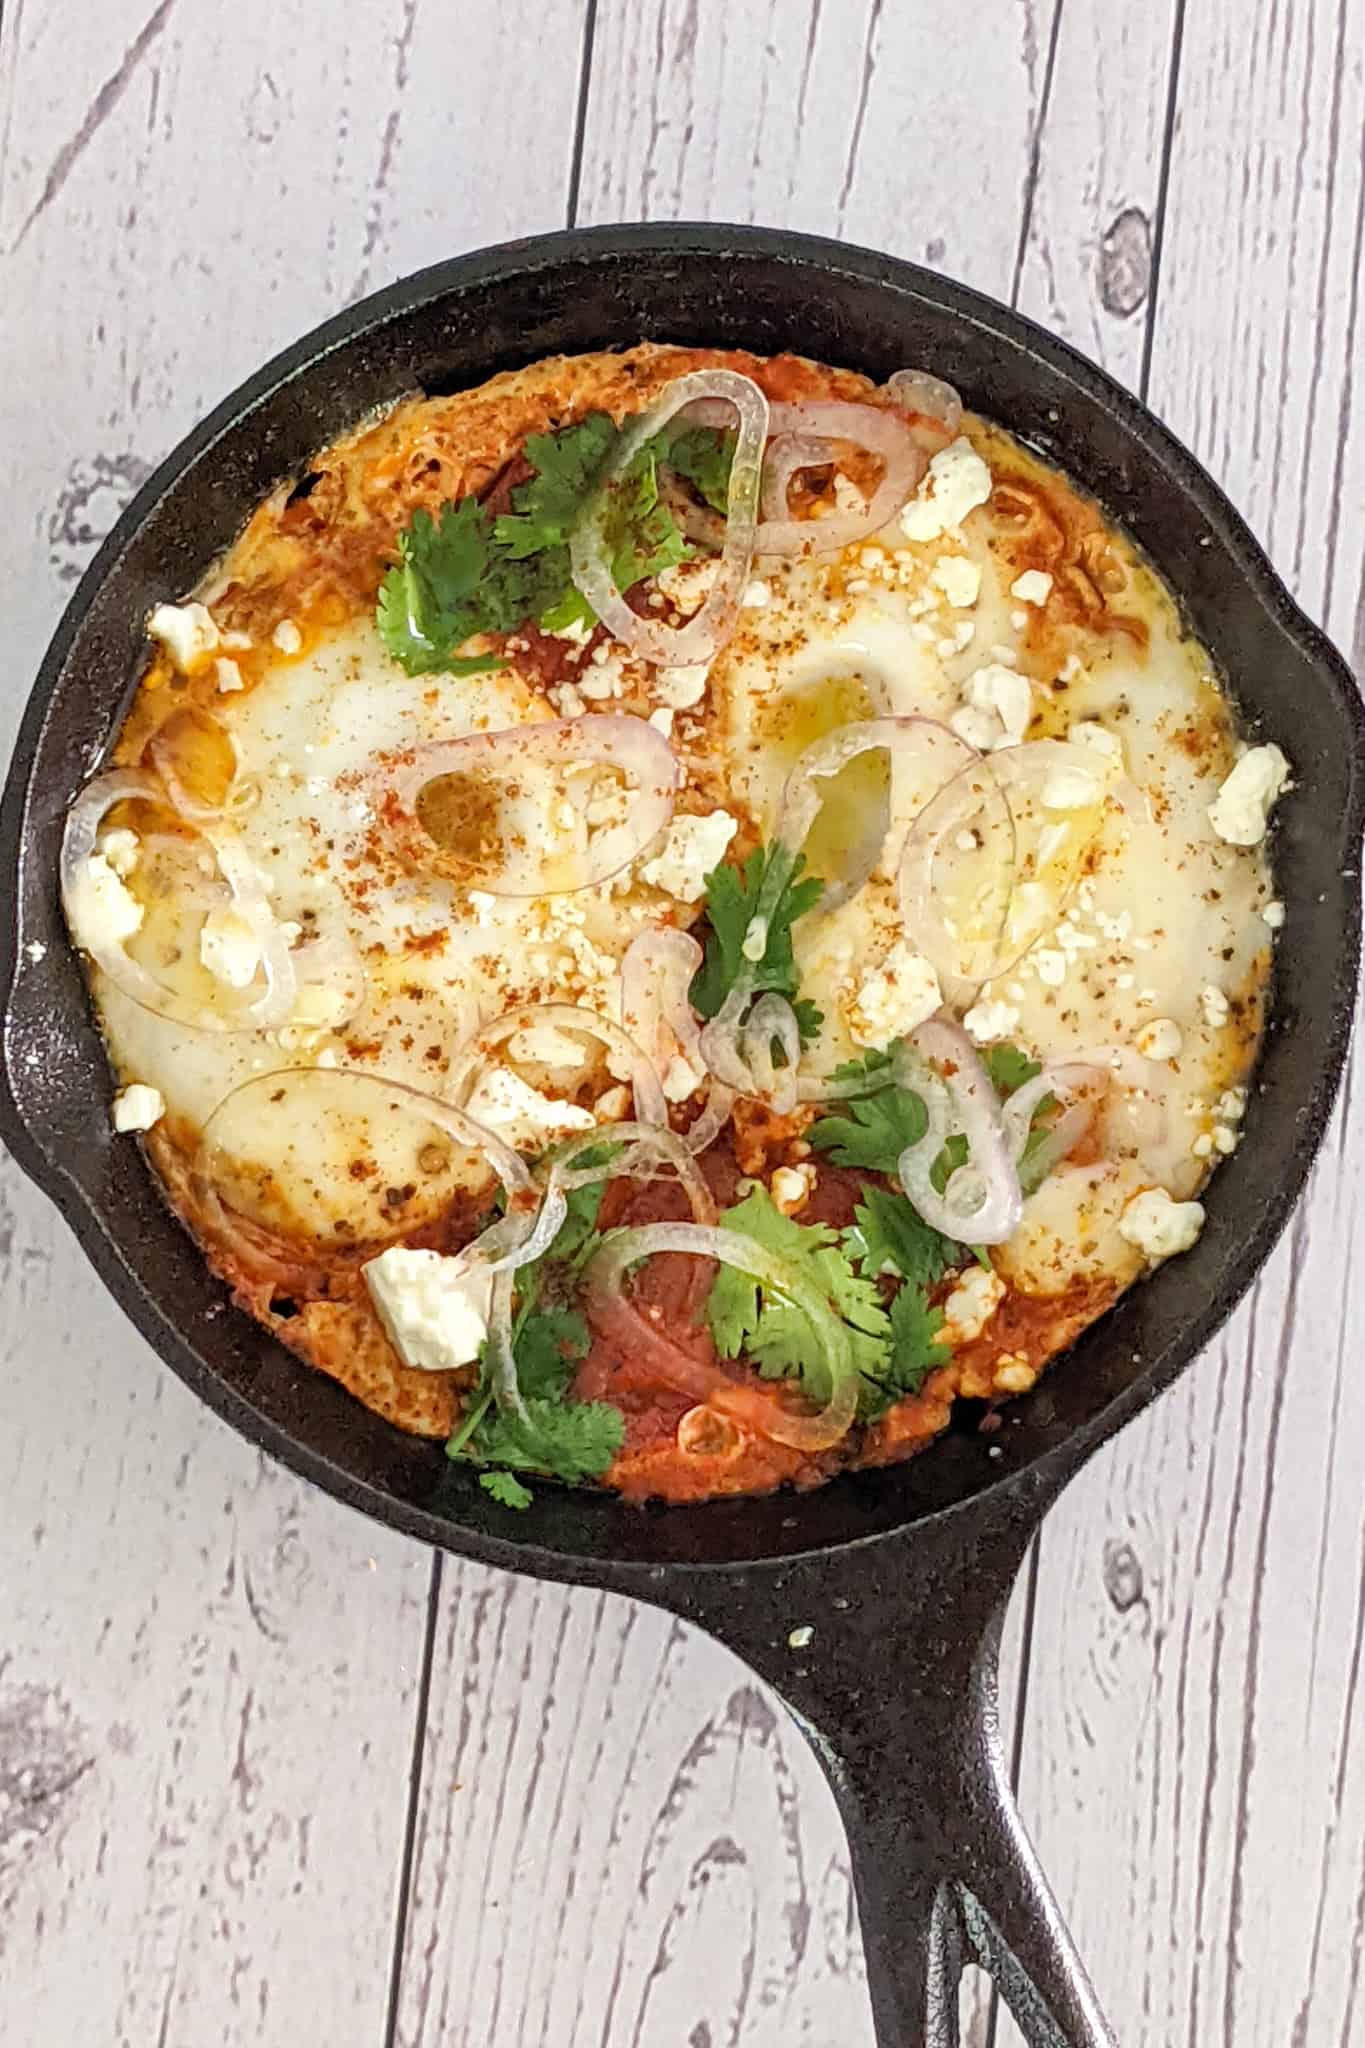
Shakshuka
Shakshuka, a North African and Middle Eastern dish of poached eggs in a spicy tomato sauce, is a match made in heaven for a cast iron skillet. The skillet’s ability to retain heat ensures that the sauce simmers evenly while the eggs cook to perfection with just the right amount of runny yolk. Plus, you can serve it straight from the pan—one less dish to wash!
IMPORTANT Cast Iron Skillet Care Tip: After making shakshuka, be sure to re-season your cast iron pan since the tomatoes' acidity can wear down the seasoning. I love using a smaller cast iron skillet for this dish to create perfectly portioned servings that cook up quickly and evenly.

Check out my Harissa Egg Toast with Feta Cheese and Olive Oil recipe.
Step-by-Step Guide to Cleaning (w/ Video)
Properly cleaning your cast iron skillet after each use is crucial for preserving its seasoning and preventing rust, ensuring it stays in great condition for years to come.
After Cooking
Once you’ve finished cooking, it’s important to give your cast iron skillet some immediate attention:
- Cool Down - Let the skillet cool slightly, but don’t wait too long. Cleaning is easiest when the pan is still warm but not hot.
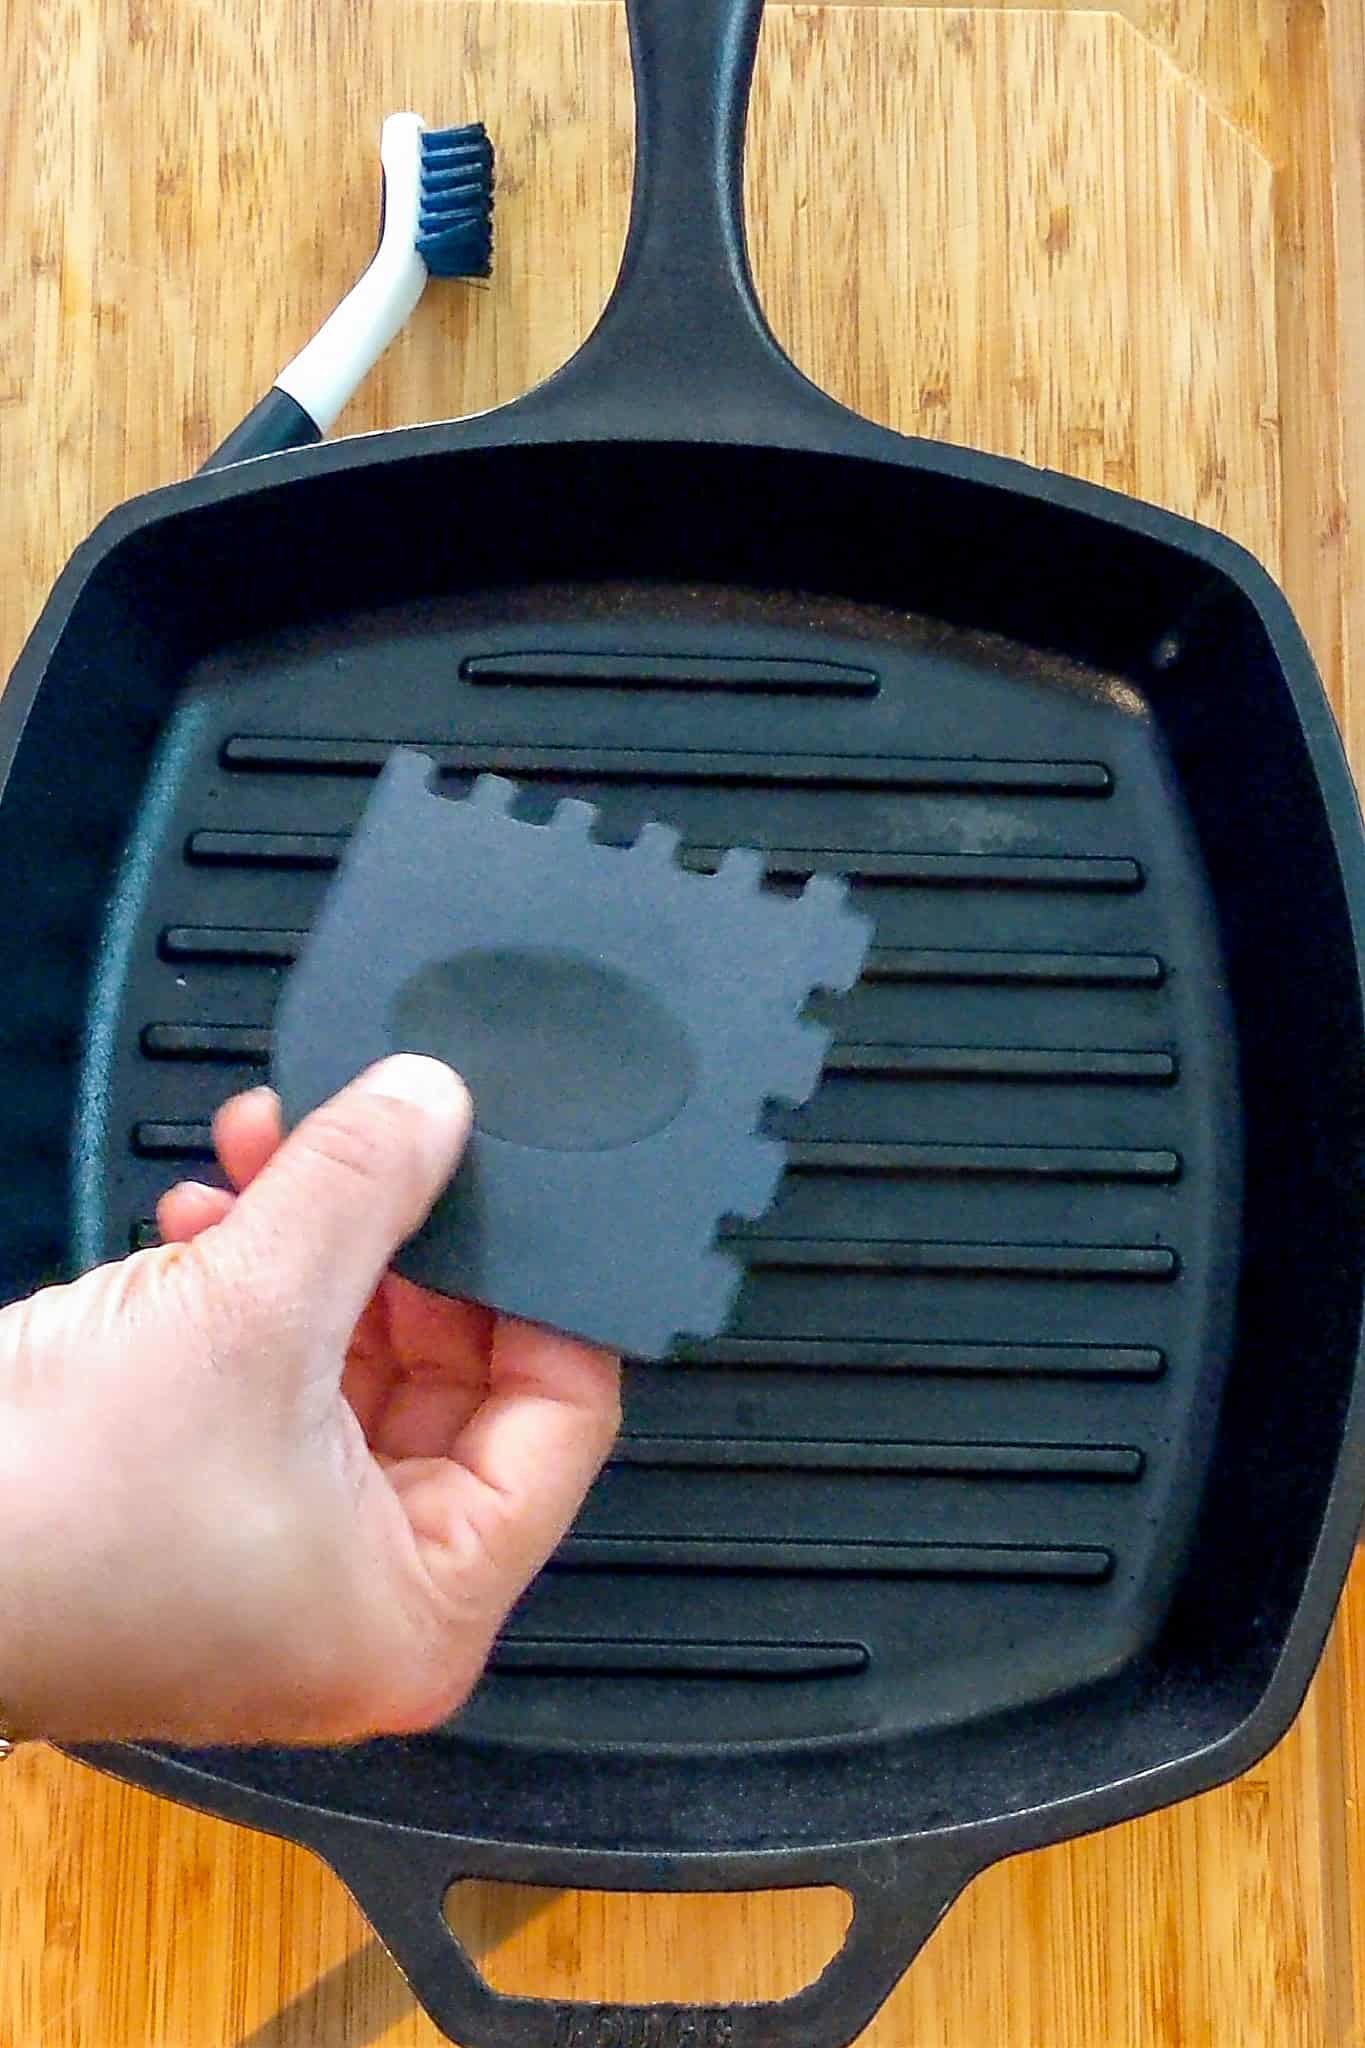
- Remove Food Debris - Use a spatula or a stiff brush to gently scrape off any stuck-on food. The goal is to remove debris without damaging the seasoning.
The Right Tools
To keep your cast iron skillet in top shape, you’ll need a few essential cleaning tools:
- Stiff Brush - Great for scrubbing away food particles without scratching the surface.
- Chainmail Scrubber - Ideal for tackling tougher spots without stripping the seasoning.
- Non-Abrasive Sponge - Use this for lighter cleaning tasks where a gentler touch is needed.
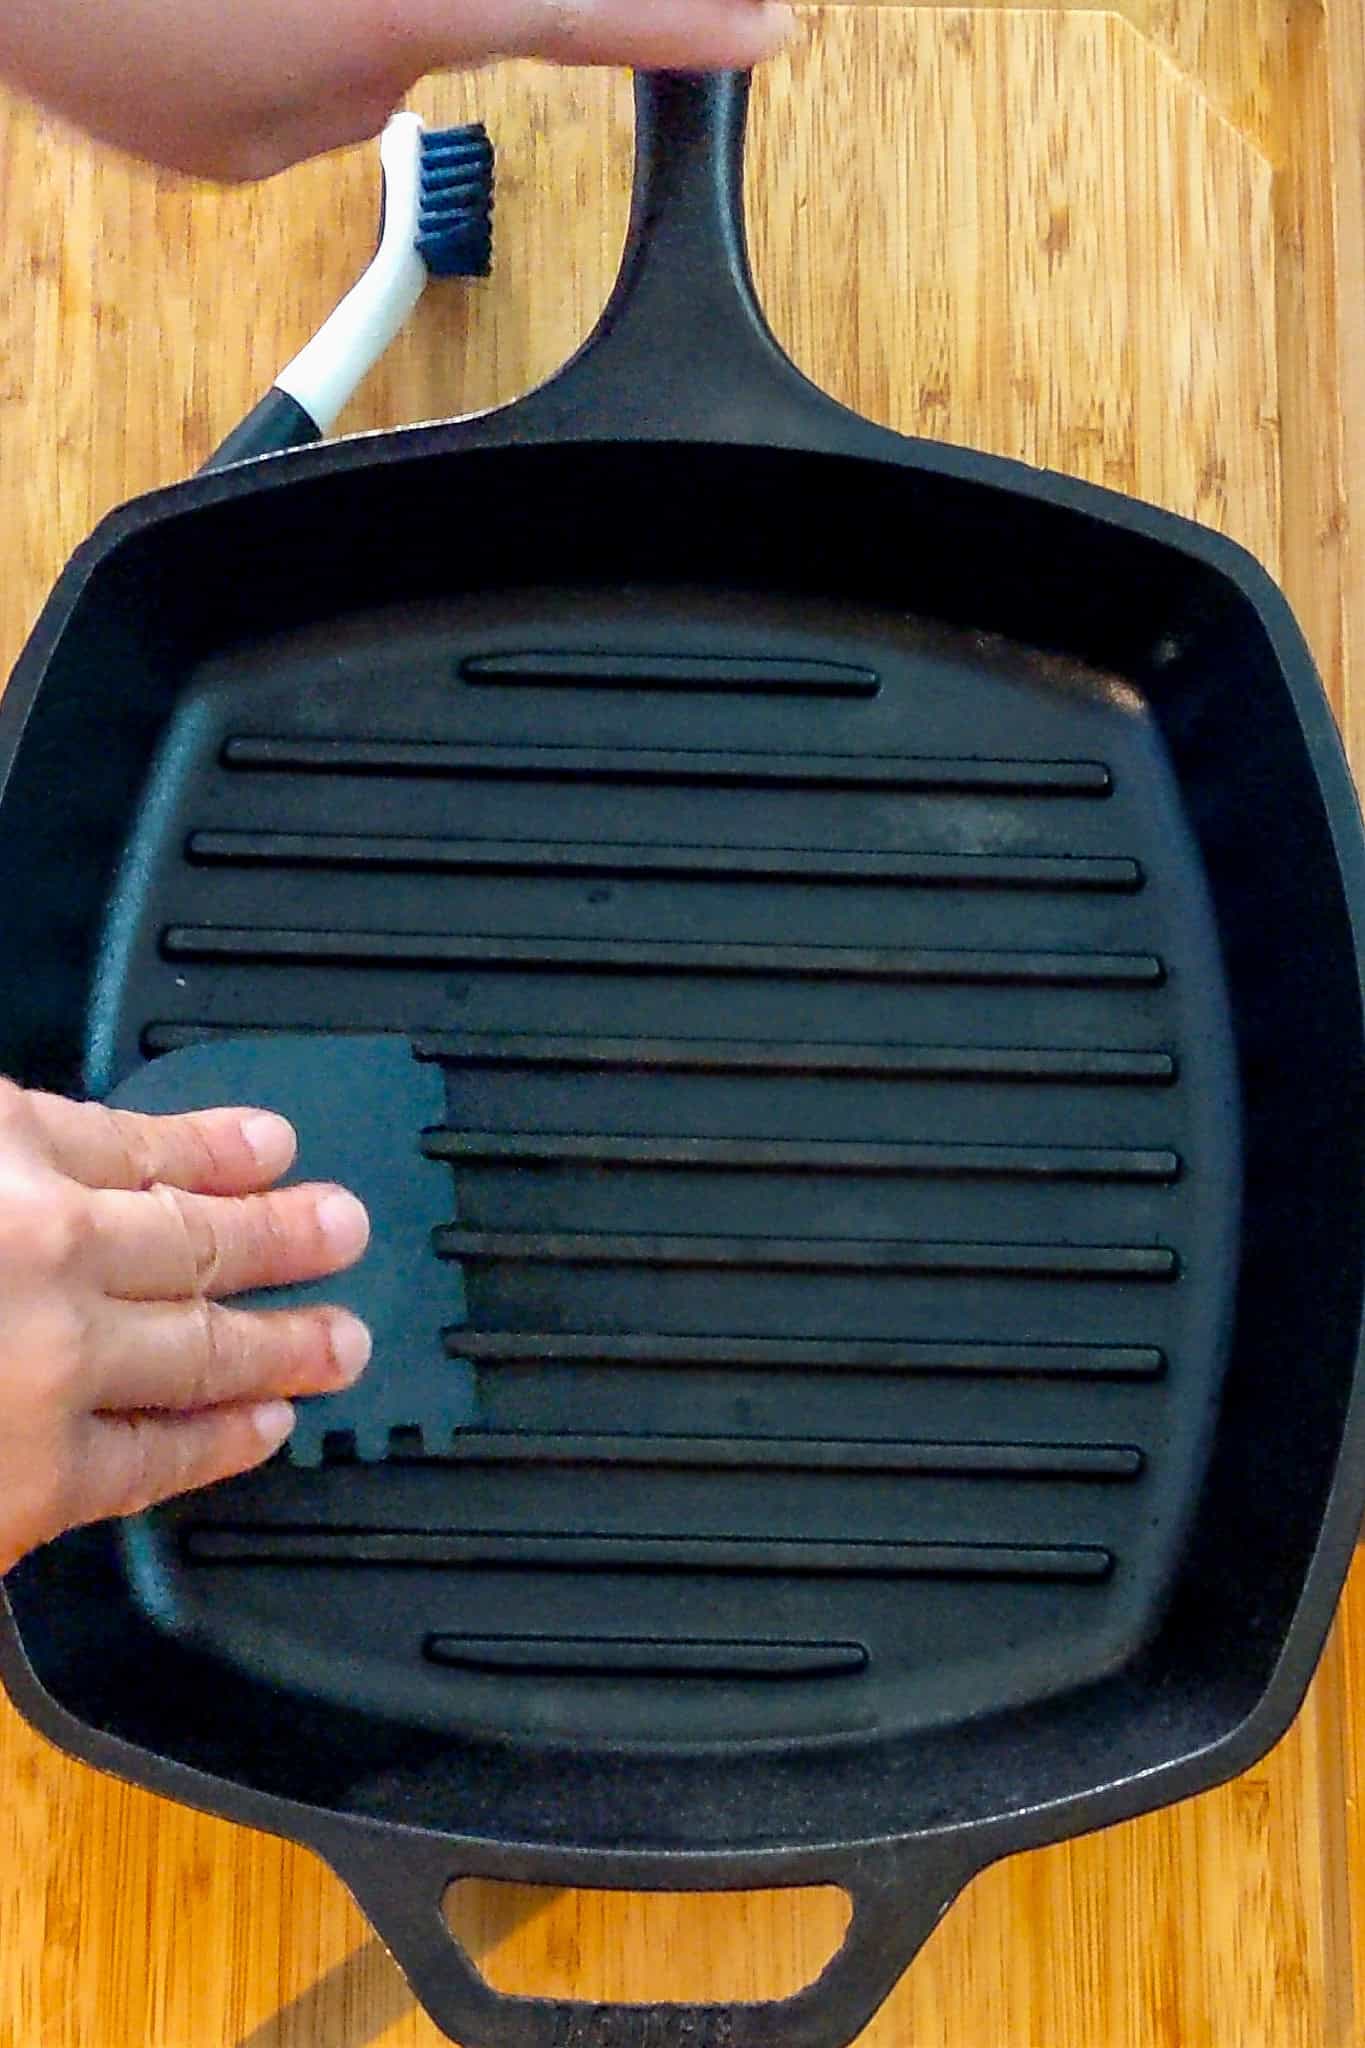
Easily Scraps between the grill grates.
Cleaning Process
Cleaning your cast iron skillet properly is key to maintaining its seasoning and preventing rust. Follow these steps:
- Rinsing - Rinse the skillet under warm water. Avoid using soap, as it can strip away the seasoning you’ve worked hard to build up. But, as a last resort and you have to use it, make sure it is a mild dish soap.
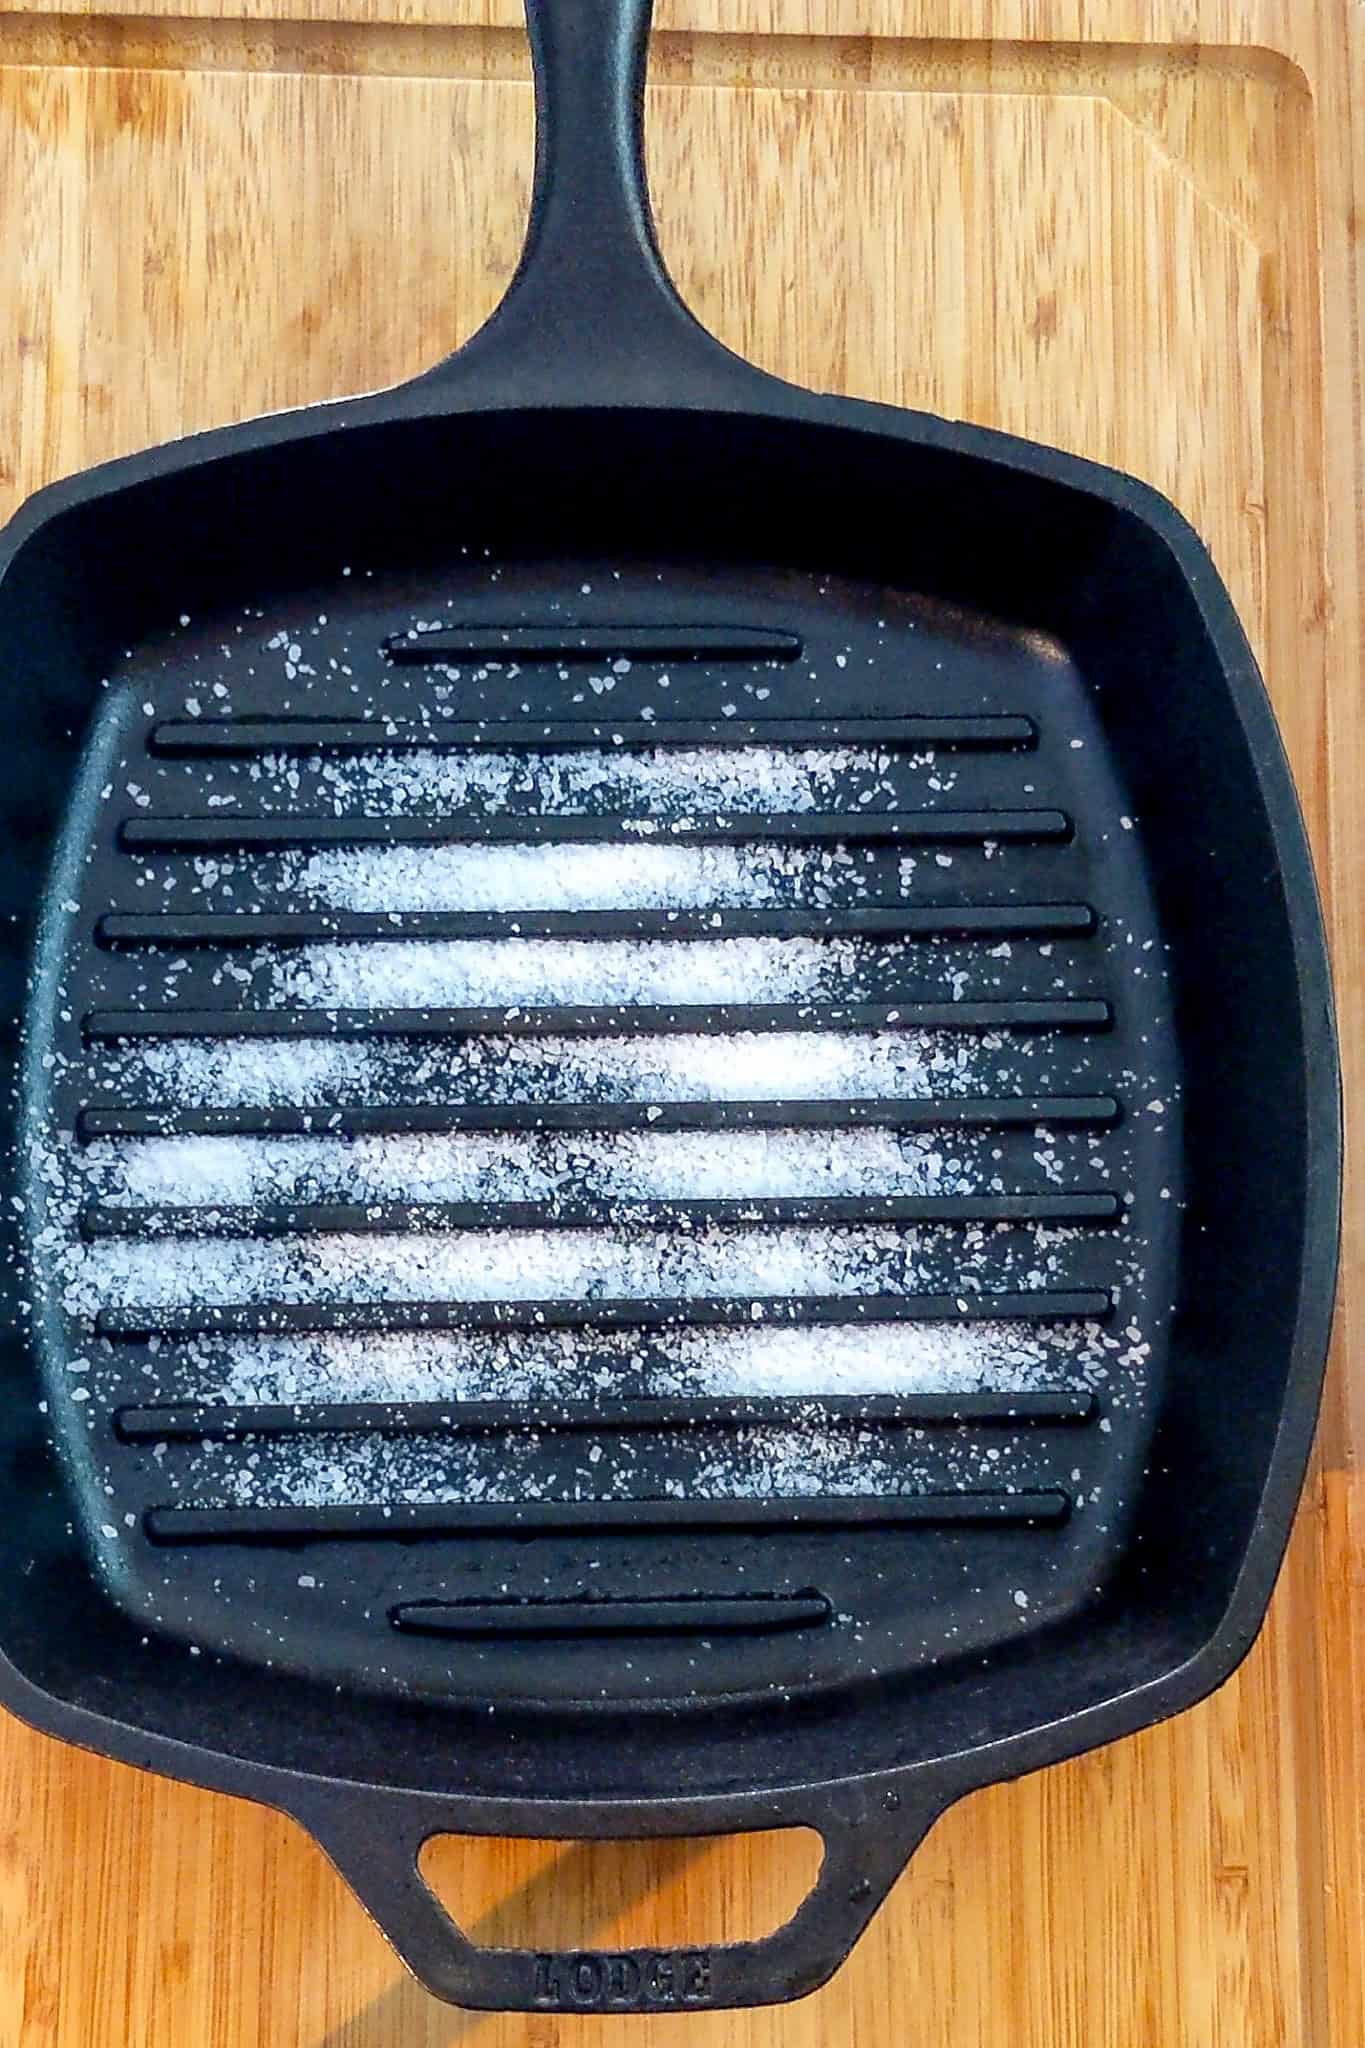
- Scrubbing - Gently scrub the skillet with your stiff brush, scraper, or chainmail scrubber. For stubborn residue, sprinkle coarse salt into the skillet and scrub it in a circular motion. The salt acts as a natural abrasive that helps lift off stuck-on food without damaging the seasoning.
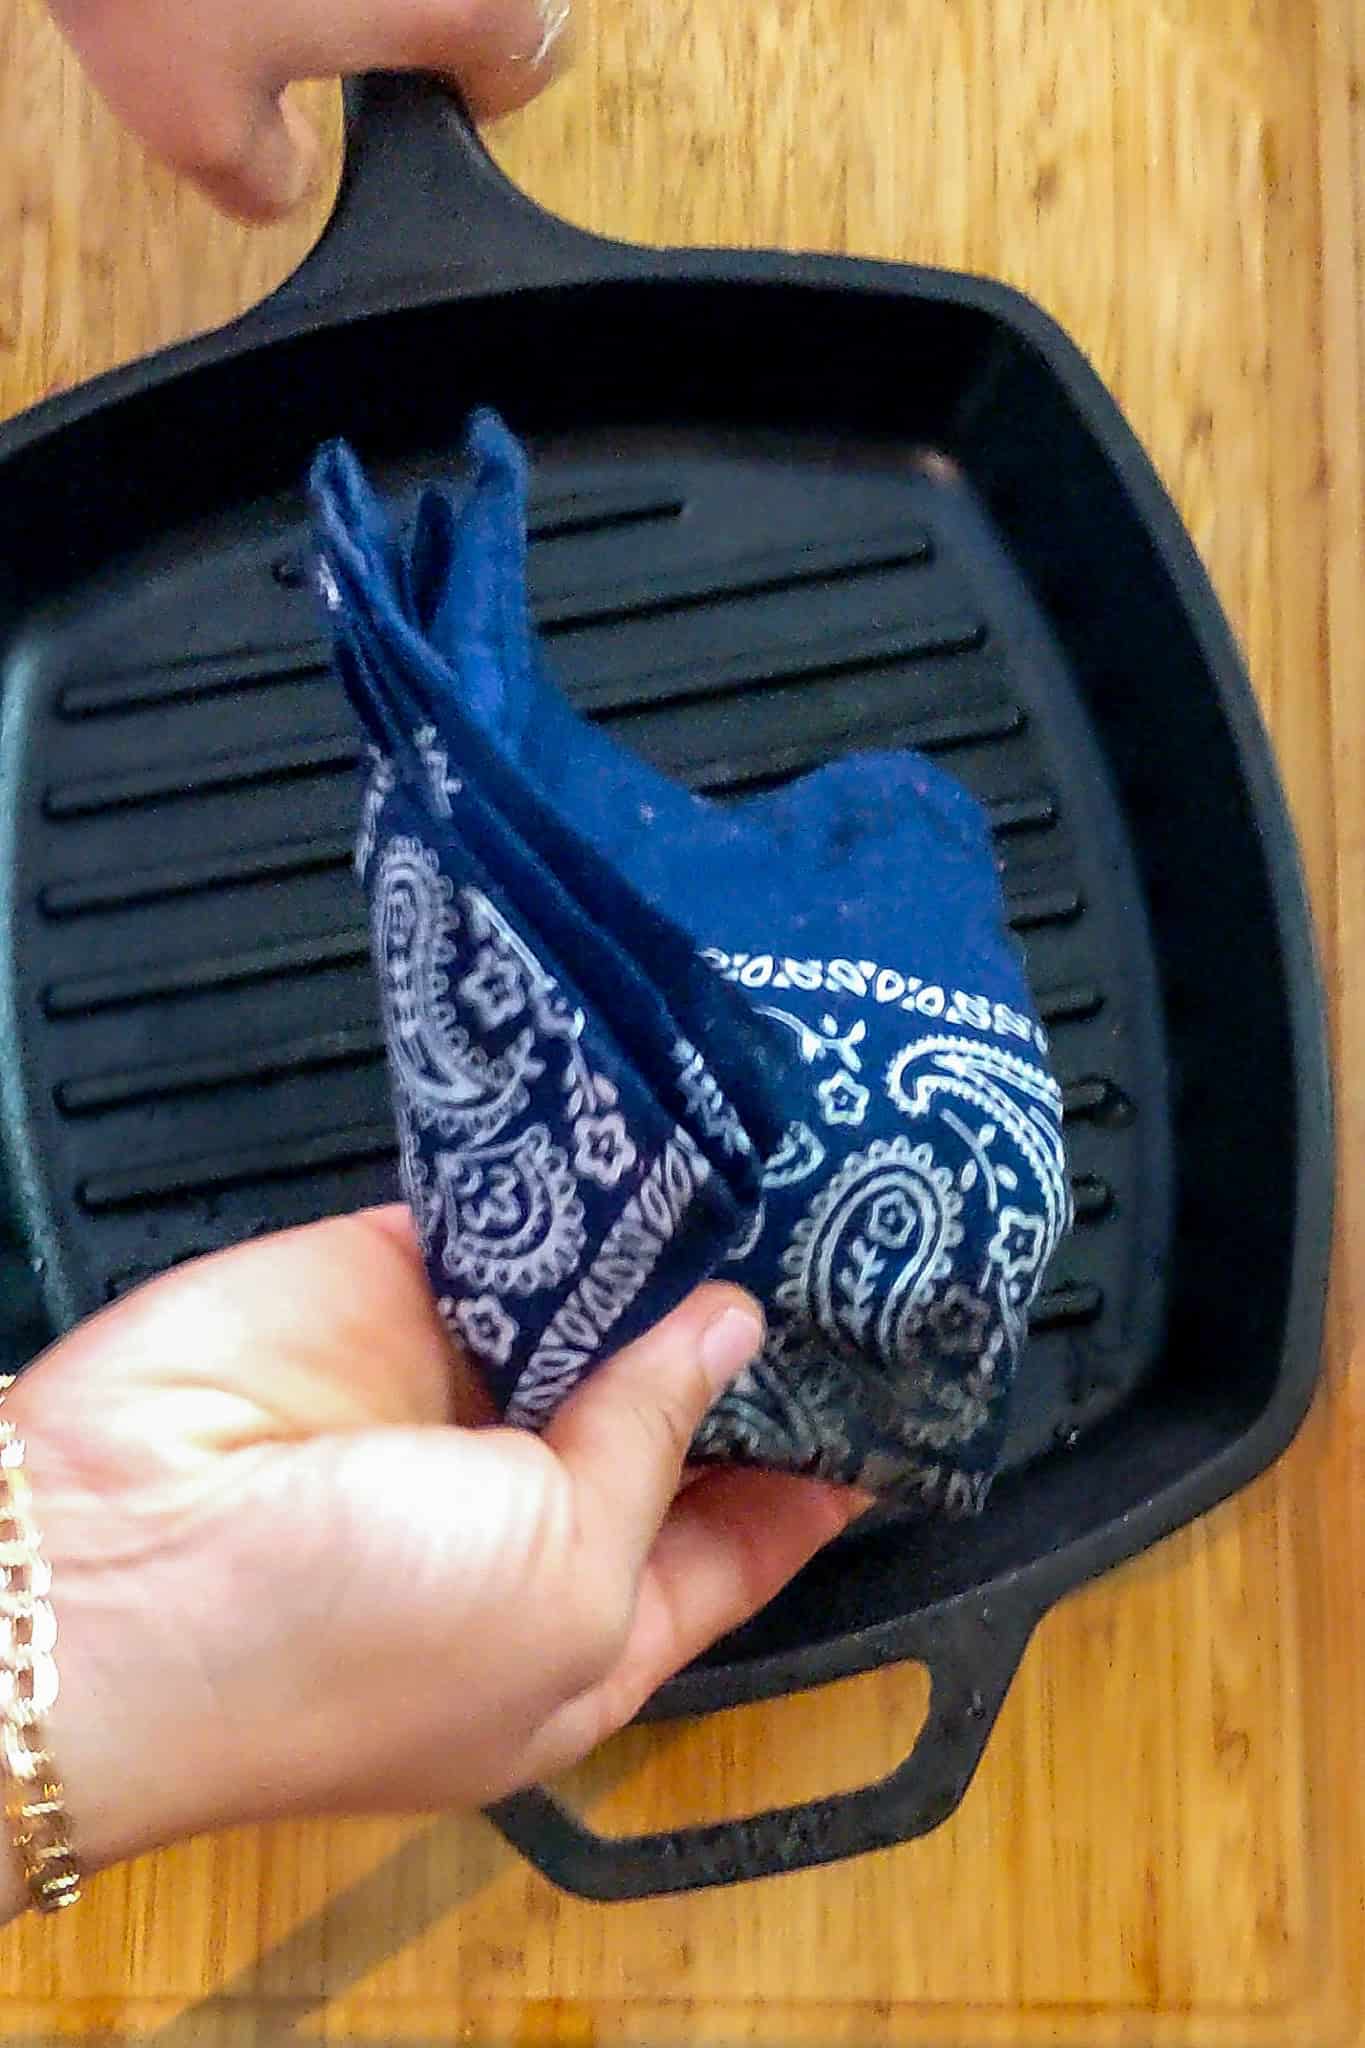
- Drying - Thoroughly dry the skillet with a bandana immediately after rinsing. If you don't have bandanas, use a clean paper towel or kitchen dish towel. Moisture is the enemy of cast iron, as it can lead to rust. For extra assurance, you can place the skillet on low heat for a few minutes to ensure all moisture is evaporated.
Why do cast iron pans rust?
For my fellow nerds like me! Rust is what forms when iron (Fe) reacts with oxygen (O) in the presence of water or moisture. Basically, the reddish-brown color appears when cast iron, which is made from iron, is exposed to moisture and oxygen, leading to the oxidation of the metal.
How to get rid of the rust in cast iron pans?
To remove rust from your cast iron pan, scrub the affected area with steel wool or a stiff brush until the rust is gone, then re-season the pan to restore its protective coating.
Why a bandana?
Drying your cast iron pan with a bandana is beneficial because it’s absorbent, lint-free, and gentle on the surface, helping to thoroughly remove moisture without leaving behind fibers that could damage the seasoning.
Alternative Cleaning Methods
If your skillet has tough stains or residue that won’t budge, try these alternative cleaning methods:
- Baking Soda Paste - Make a paste with baking soda and water, apply it to the stubborn spots, and let it sit for a few minutes before scrubbing.
- Boiling Water - For particularly tough residue, boil a small amount of water in the skillet for a few minutes. This can help loosen food particles, making them easier to scrub away.
IMPORTANT Cast Iron Skillet Care Tip: Boiling water in a cast iron skillet should be a last resort because it can dissolve the protective seasoning layer, which is why it's crucial to clean your cast iron the same day you use it and never let it soak in water
Seasoning Your Cast Iron Skillet
Proper seasoning is crucial for maintaining your cast iron skillet's non-stick surface and protecting it from rust, ensuring it remains a reliable tool in your kitchen for years to come.
When to Re-season
Knowing when to re-season your cast iron skillet is key to keeping it in top cooking shape. Here are some signs that your skillet needs a fresh coat of seasoning:
- Dull Appearance - If your skillet looks dry or lacks that characteristic dark sheen, it’s time to re-season.
- Food Sticking - When food starts to stick more than usual, it’s a sign that the seasoning has worn down and needs a boost.
- Rust Spots - Any sign of rust indicates that the seasoning has been compromised and requires re-seasoning.
How to Season
Proper seasoning is the foundation of a well-maintained cast iron skillet. Here’s how to do it:
Best Oil Selection
Choosing the right oil is crucial for effective seasoning. The best options include:
- Vegetable Oil - A versatile and readily available choice.
- Flaxseed Oil - Known for creating a hard, durable coating, though it requires multiple layers.
- Shortening - A solid fat that melts smoothly and is easy to apply.
Can you season cast iron with olive oil? No! Avoid using oils with a low smoke point, like olive oil or butter, for seasoning your cast iron pan, as they can leave a sticky residue and won’t create a durable coating. Learn more about high smoke point oils here.
Application
Follow these steps to apply the oil:
- Clean the Skillet - Start with a clean, dry skillet.
- Apply a Thin Layer - Using a paper towel or cloth, apply a very thin, even layer of a high smoke point oil over the entire surface, including the handle and outer edges.
- Wipe Off Excess - Wipe off any excess oil to avoid a sticky residue or uneven coating.
Baking Process
To set the seasoning, follow these steps:
- Preheat the Oven - Preheat your oven to 400°F (200°C).
- Bake Upside Down - Place the skillet upside down on the middle rack of your oven. Place a sheet of aluminum foil on the lower rack to catch any drips.
- Bake for One Hour - Let the skillet bake for an hour. This process bonds the oil to the iron, creating a strong, protective layer.
- Cool Gradually - Turn off the oven and let the skillet cool inside before removing it.
Stove-Top Process
But how do you season a cast iron pan without the oven? This way is actually what I do out of convenience.
- Heat the Pan on the Stovetop - Place your cast iron pan on the stovetop and heat it over medium-high heat until it's hot. This opens up the pores of the iron.
- Apply Oil - Once the pan is hot, remove it from the heat and carefully apply a thin layer of high smoke point oil using a paper towel or cloth. Be sure to coat the entire surface, including the sides and handle.
- Wipe Off Excess Oil - Wipe off any excess oil with a clean paper towel or cloth. You want just enough to coat the pan but not so much that it feels greasy.
- Heat Again - Return the pan to the stovetop and heat it over medium-high heat for about 10-15 minutes. You'll notice the oil starting to smoke—this is normal and part of the seasoning process.
- Cool Down - Let the pan cool completely before storing it. Repeat this process 2-3 times for a good initial seasoning.
Maintenance Seasoning
To keep your skillet in tip-top condition, regular maintenance seasoning is essential. Follow these simple steps:
- After Each Use - Lightly coat the skillet with a thin layer of oil after each use, especially if you’ve scrubbed it hard or used water.
- Heat the Skillet - After applying the oil, heat the skillet on the stovetop over low heat for a few minutes to help the oil bond to the surface.
- Store Properly - Always store your skillet in a dry place, and consider giving it a light oiling before storing it to maintain the seasoning.
Storing Your Cast Iron Skillet
Keeping your cast iron skillet dry is essential to prevent rust, which can compromise its performance and longevity. To protect your skillet, store it in a dry, well-ventilated area where moisture won't accumulate.
If you stack multiple skillets, place a paper towel between them to absorb any residual moisture and provide a cushion to prevent scratching the seasoning. These simple steps will help ensure your cast iron skillet remains in top condition and ready for your next meal.
Common Mistakes to Avoid
Let me tell you, learning to care for a cast iron skillet was a journey—one filled with a few mistakes along the way. This is one of the most important sections, and it’s one that I had to learn the hard way. Cast iron is incredibly forgiving, but some common pitfalls can trip you up if you’re not careful. So, let’s dive into a few things you definitely want to avoid when caring for your skillet.
Using Soap
One of the first things I learned was to keep the soap away from my cast iron skillet. Here’s why:
- Strips Seasoning - Soap can strip away the seasoning you’ve worked so hard to build up, leaving your skillet vulnerable to rust and food sticking.
- Accidental Use - If you accidentally use soap, don’t panic. Just rinse the skillet thoroughly with warm water and immediately reapply a thin layer of oil to restore some of the protective coating.
Soaking in Water
Another mistake I made early on was letting my skillet soak in water, thinking it would make cleaning easier. Big no-no! Here’s why:
- Rust Risk - Soaking in water, even for a short time, can lead to rust, which is the last thing you want on your beloved skillet.
- How to Avoid - Instead of soaking, try scrubbing the skillet immediately after cooking while it’s still warm. If you encounter stubborn residue, use a bit of coarse salt (like kosher salt) or a chainmail scrubber to tackle it without the need for water immersion.
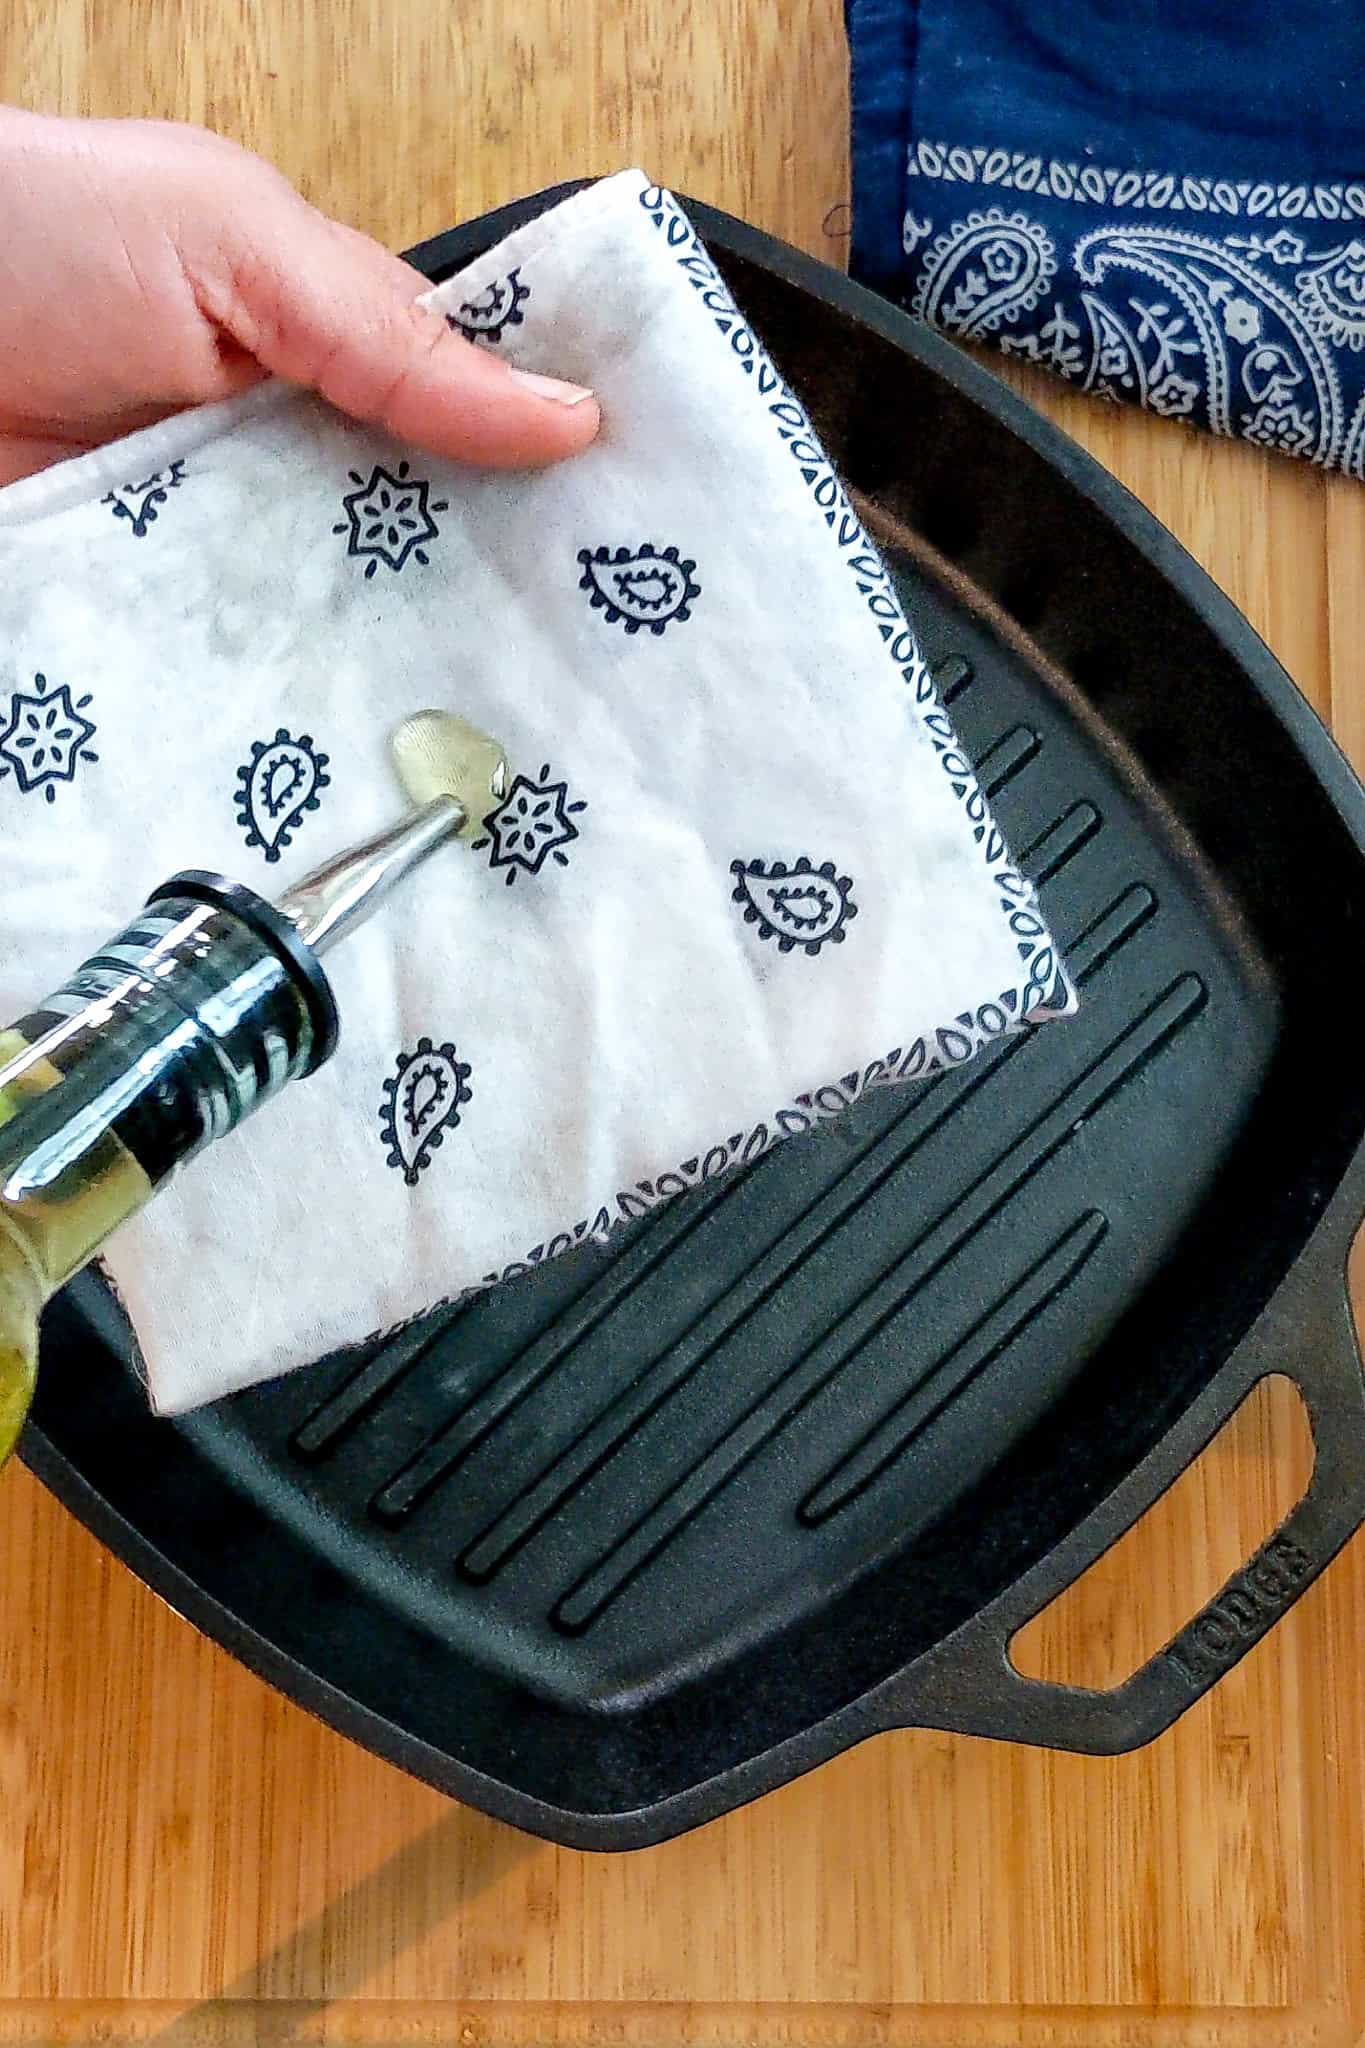
A little goes a long way.
Over-Oiling
When I first started seasoning my skillet, I thought more oil was better. Spoiler alert: it’s not. Here’s what I learned:
- Sticky Residue - Over-oiling can lead to a sticky residue that’s difficult to remove. It's the worst! Plus, it doesn’t provide the smooth, non-stick surface you’re aiming for.
- Proper Seasoning - The key is to apply a very thin, even layer of oil—just enough to coat the surface—before baking it in the oven. Wipe off any excess oil to prevent buildup, and you’ll always achieve that perfect seasoning. Remember to use oils like vegetable oil, flaxseed oil, or shortening for the best results when seasoning your cast iron skillet.
Recap - Cast Iron Skillet Care
Caring for a cast iron skillet might seem like a bit of work, but trust me, it’s worth every minute. We’ve covered the essentials, from properly cleaning and drying to learning the art of seasoning and avoiding common mistakes.
By taking the time to care for your skillet, you’re not just maintaining a piece of cookware—you’re preserving a kitchen tradition that can be passed down for generations. So, keep up with those regular maintenance habits, and your skillet will reward you with perfectly cooked meals for years to come.
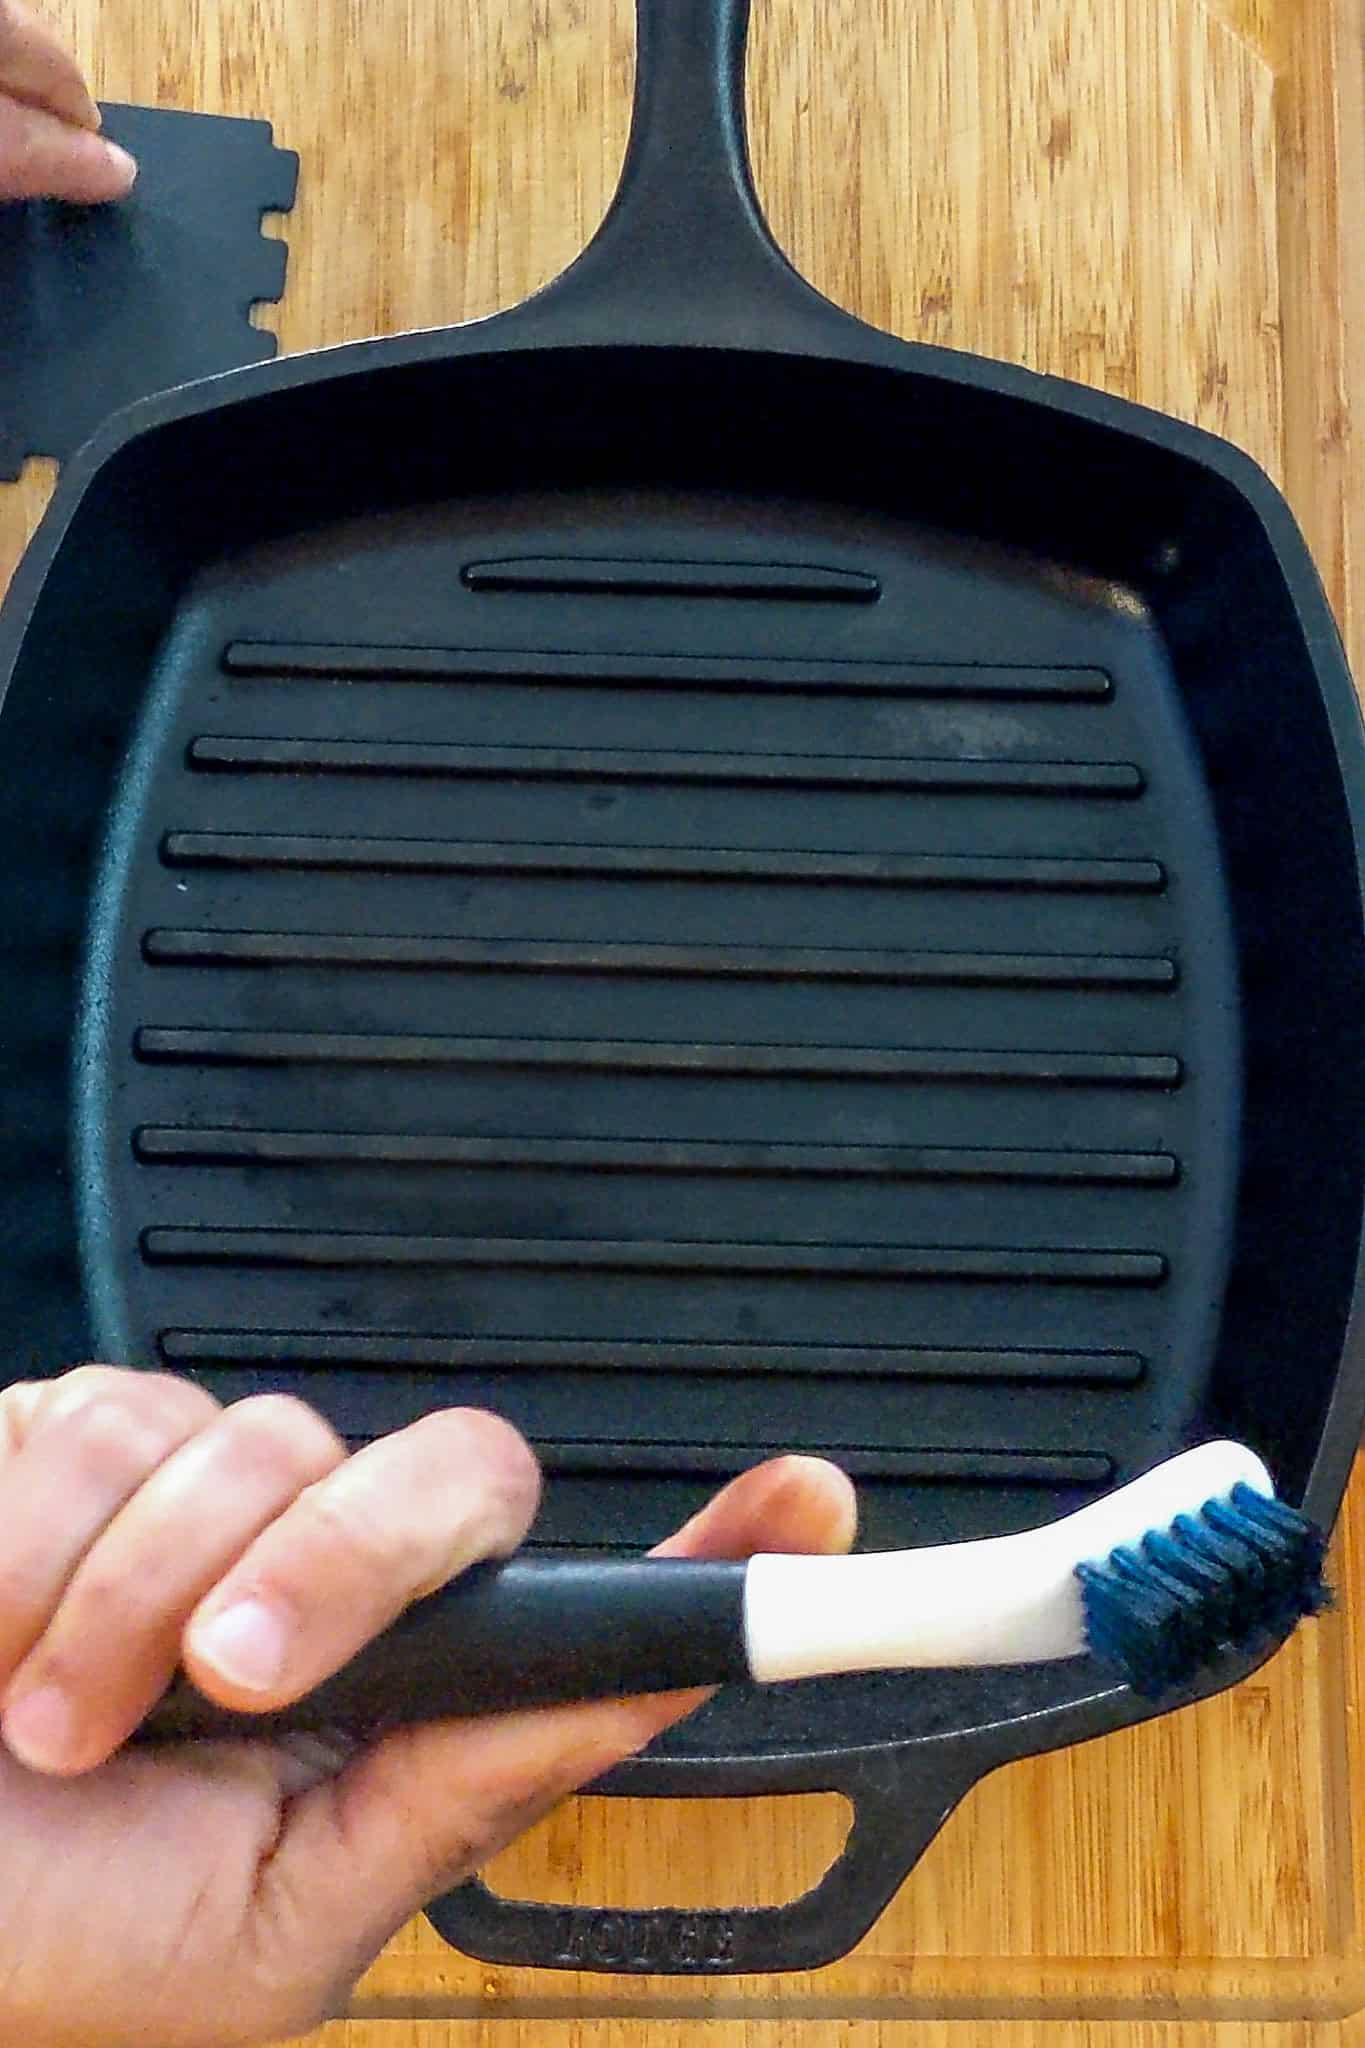
Use a sturdy brush to get rid of tough debris. This is the OXO Good Grips Deep Clean Brush.
Frequently Asked Questions
It’s generally best to avoid using soap on your cast iron skillet, as it can strip away the seasoning that creates the non-stick surface. If you do accidentally use soap, rinse the skillet thoroughly with warm water and immediately reapply a thin layer of oil to restore some of the seasoning.
If you notice rust on your cast iron skillet, don’t worry! Scrub the rusted area with a stiff brush or steel wool until the rust is removed. Then, rinse, dry thoroughly, and re-season the skillet by applying a thin layer of oil and baking it in the oven.
You should season your cast iron skillet whenever you notice that the surface looks dull, food starts sticking, or if you’ve had to scrub it with something abrasive. Regular maintenance seasoning—applying a thin layer of oil after each use—will help keep the skillet in good condition.
While it’s fine to cook acidic foods like tomatoes or citrus in a well-seasoned, cast iron skillet, doing so frequently can wear down the seasoning over time. If you do cook acidic dishes, be sure to re-season your skillet afterward to maintain its protective layer.
It’s best not to store food in your cast iron skillet, especially overnight. Food, particularly acidic dishes, can break down the seasoning and lead to rust. Transfer leftovers to a different container and clean your skillet after each use to keep it in top shape.
Cast Iron Recipes
Here are some delicious recipe ideas for your cast iron cooking.
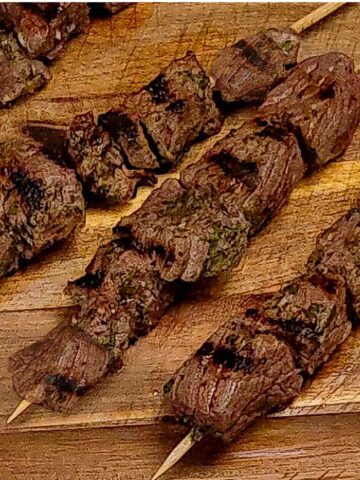
- Easy 15-Minute Marinade for Beef Kabobs
- Lemongrass Marinated Grilled Chicken Spring Rolls
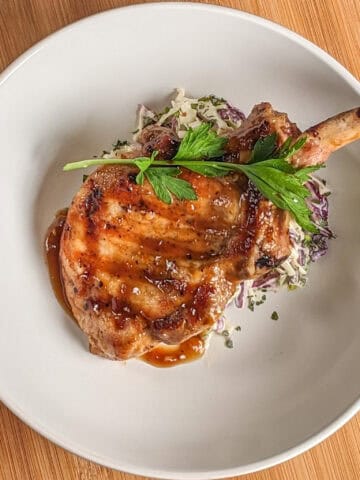
- Grilled Pork Chops with Tamarind Habanero Glaze and Coleslaw
- Grilled Shrimp Garlic Jalapeno Butter and Cilantro Lime Rice
Questions and Comments
I’d love to hear about your own cast iron skillet care tips or answer any questions you might have. Drop them in the comments, and let’s keep the conversation going!



Leave a Reply