

Learn how to use the diamond slit technique to create flavorful, tender chicken breasts that cook evenly and look stunning with every bite.
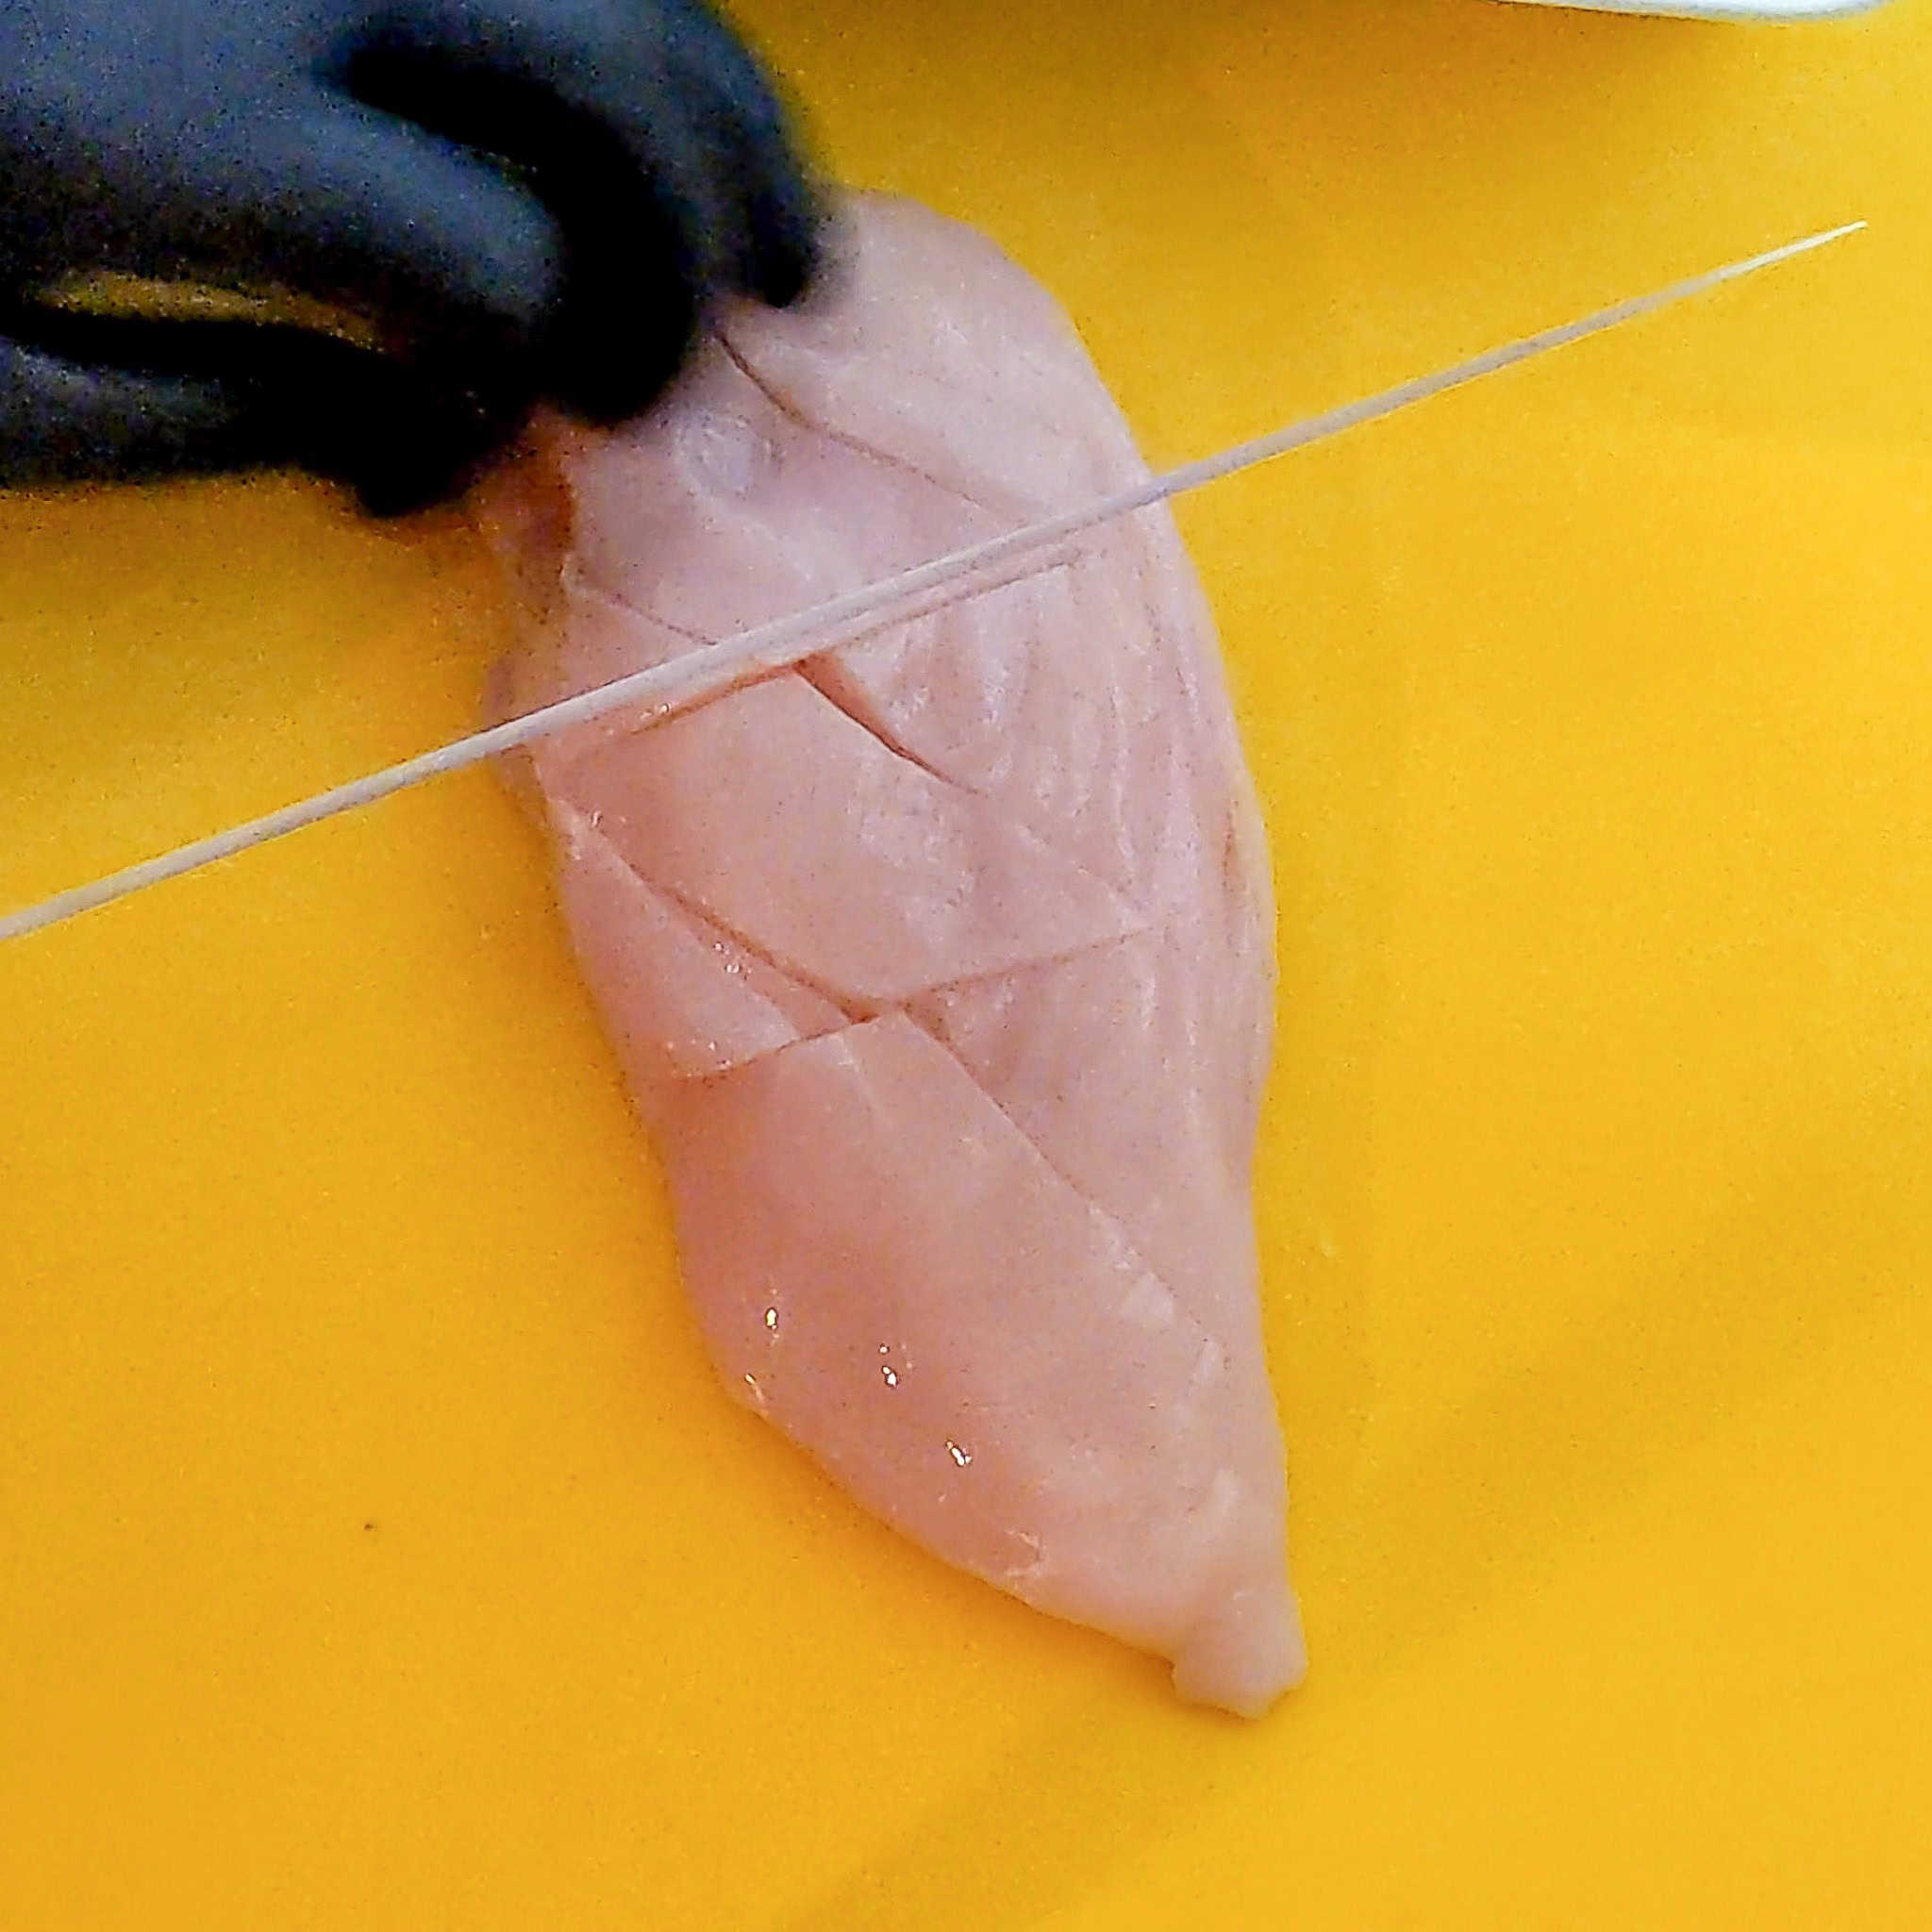
Table of Contents
Jump to:
- For Irresistible Texture and Browning
- Watch the How-To Video Here
- What Is Diamond Slitting?
- Why Use the Diamond Slit Technique?
- How to Diamond Slit a Chicken Breast (Step-by-Step)
- What to Do Next?
- Culinary Glossary
- Equipment
- Kitchen Must-Haves Reviews
- Cooking Tips
- Frequently Asked Questions
- Chicken Recipes
- More Cooking Tips
- Subscribe to the YouTube Channel
- Have a Comment or Question?
For Irresistible Texture and Browning
Unlock bold flavor and juicy results with a simple technique that transforms your everyday chicken breast into a masterpiece: Diamond Slitting.
This method doesn’t just make your chicken look chef-worthy—it’s also incredibly functional. With a few shallow cuts, you’ll boost flavor, reduce cooking time, and boost your next meal with irresistible texture and browning.
Watch the How-To Video Here
👉 Don’t forget to SUBSCRIBE for more cooking hacks and tutorials!
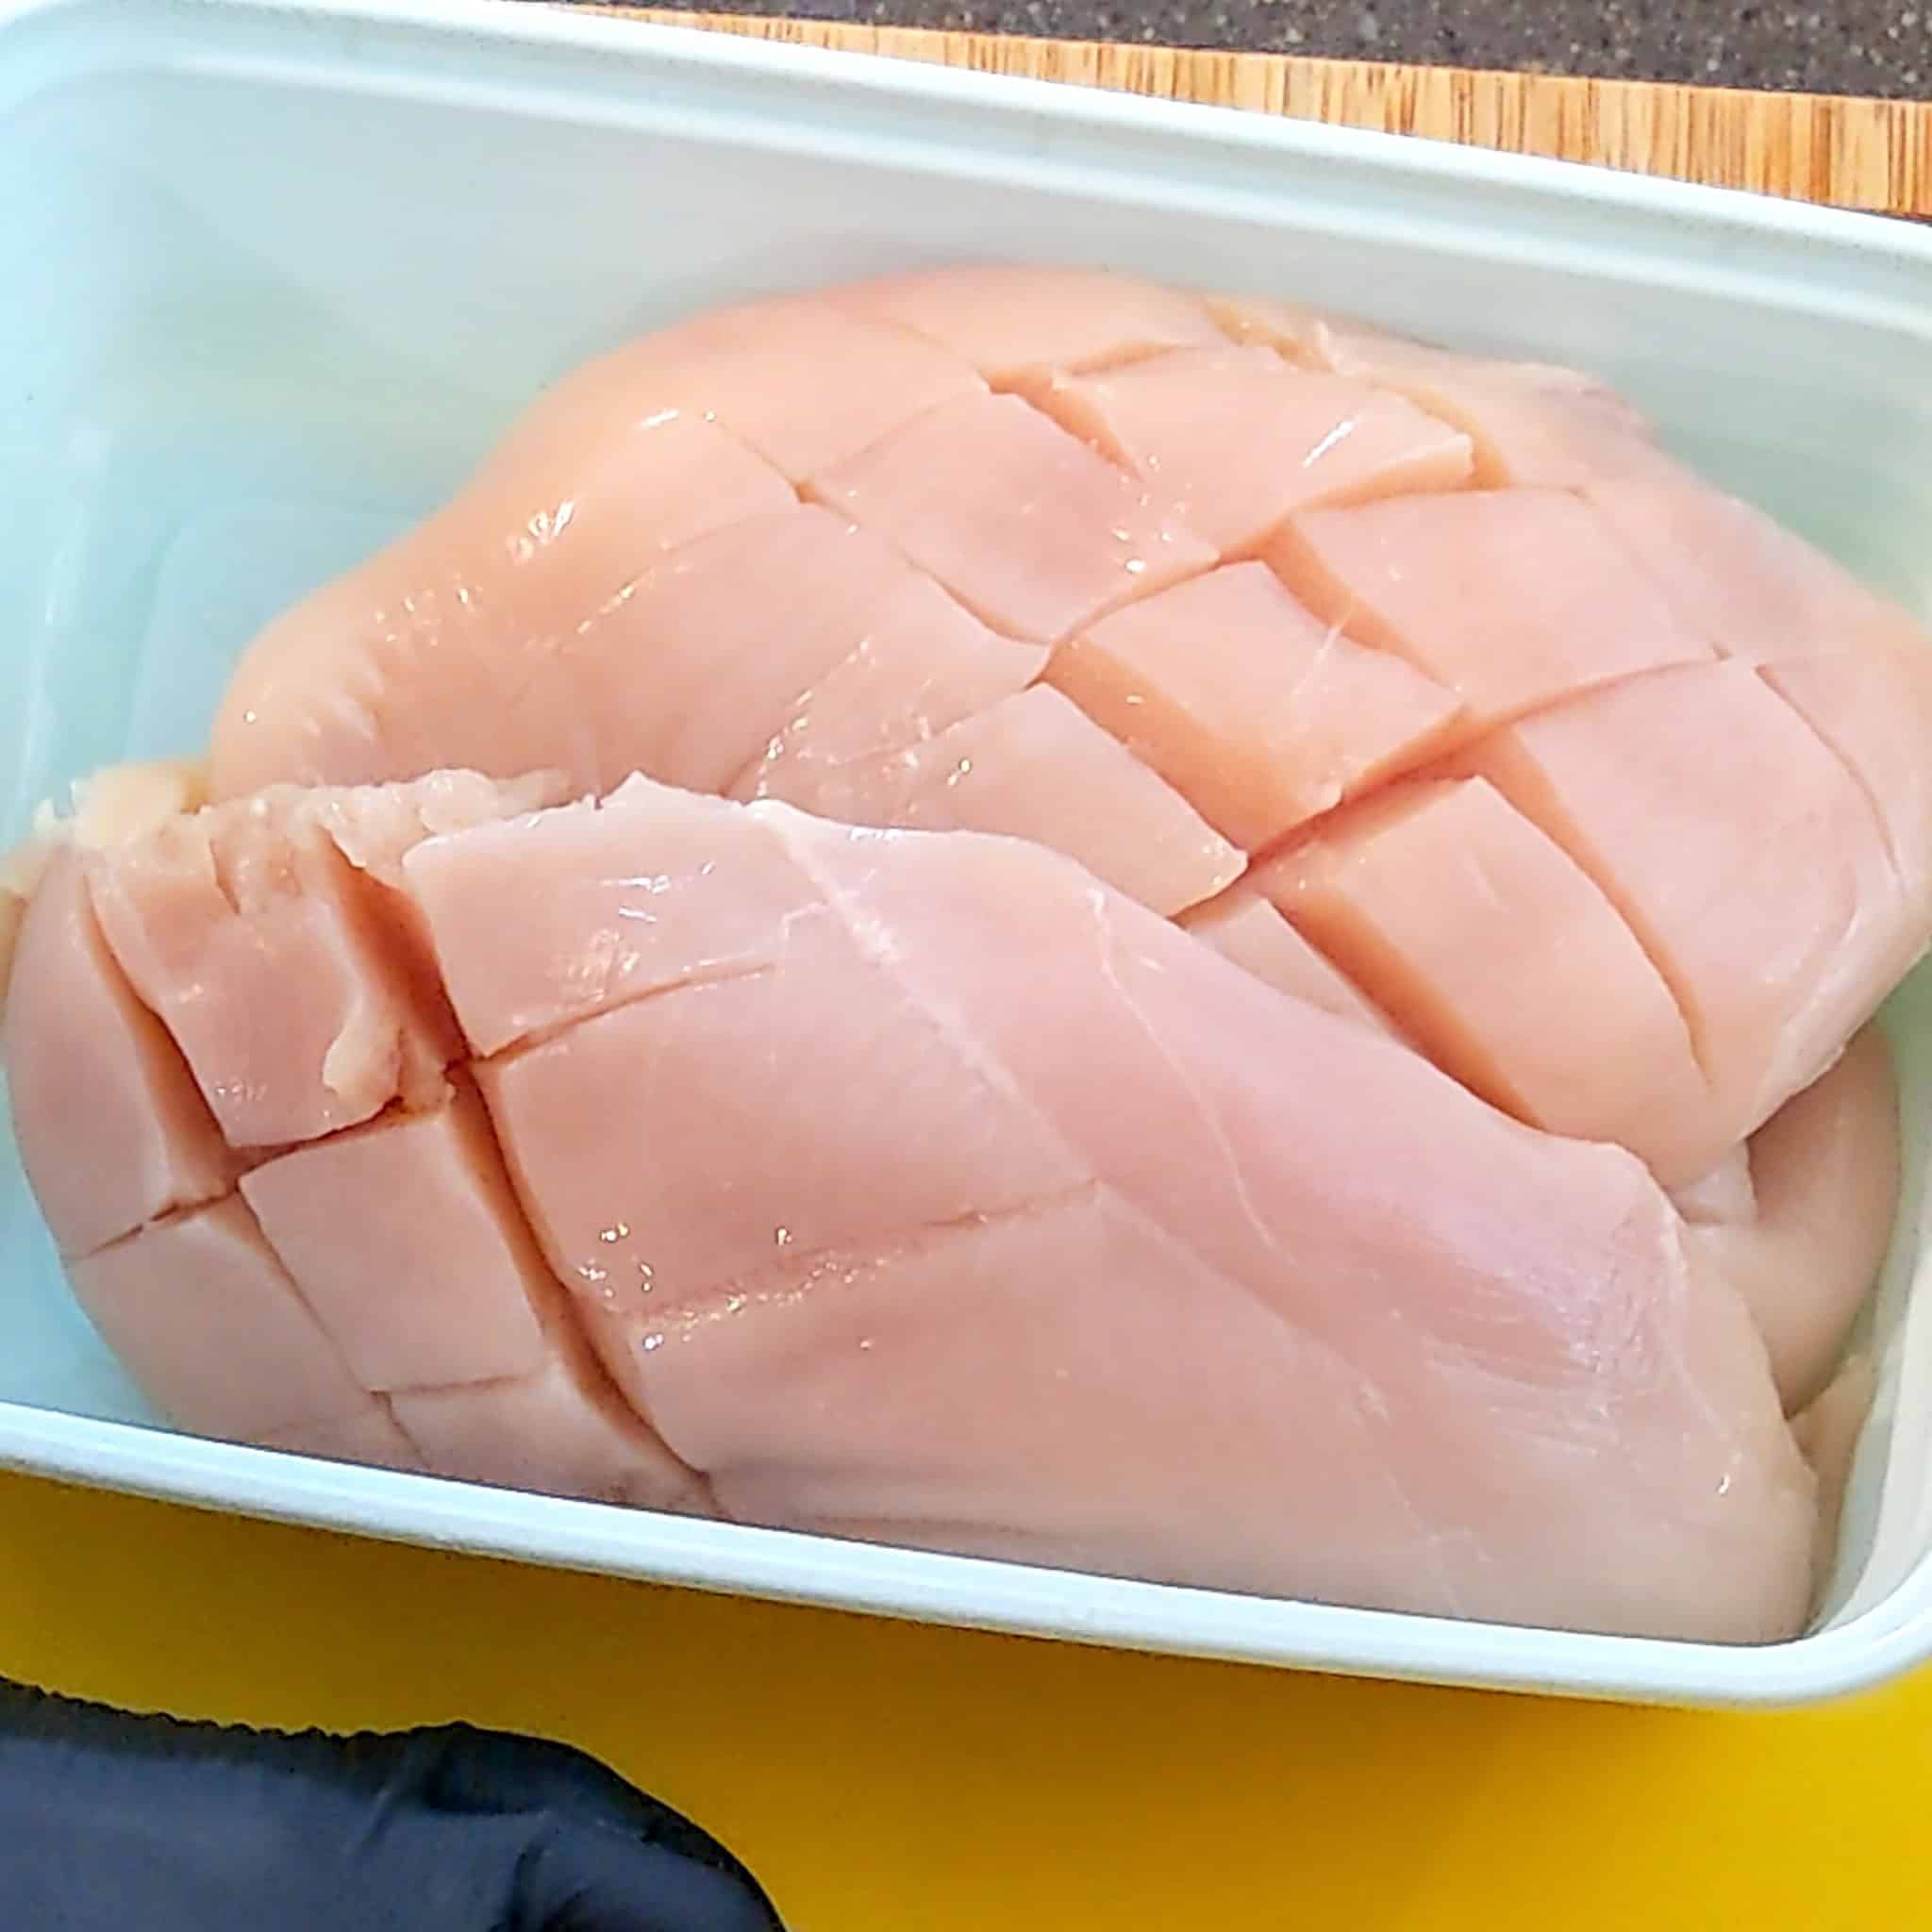
What Is Diamond Slitting?
Diamond slitting involves making shallow, diagonal cuts in a crisscross pattern across the surface of a chicken breast. The cuts should be about ¼ inch deep and spaced roughly ½ inch apart. When done properly, you’ll end up with a surface of tiny diamond-shaped slits.
This one small prep step can change your whole chicken prepping technique to impress.
Why Use the Diamond Slit Technique?
This is more than just pretty knife work. Here’s why it’s worth the effort:
- Marinade Absorption: The slits allow the marinade to penetrate deeper into the chicken, giving you bold flavor in every bite.
- Tender Texture: The cuts help break down muscle fibers slightly, leading to a more tender bite.
- Even Cooking: With more surface area exposed, your chicken will cook evenly throughout.
- Faster Cook Time: Those cuts let heat work more efficiently, reducing time on the stove or grill.
- Better Browning: More surface means more Maillard reaction—aka, that golden crust we all love.
- Visual Appeal: Let’s be honest—diamond-slitted chicken just looks cool.
How to Diamond Slit a Chicken Breast (Step-by-Step)
Follow the instructions and cooking tips below using the step-by-step picture guide.
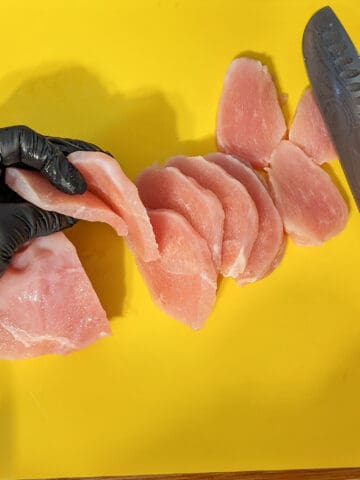
Step 1: Prepare the Surface
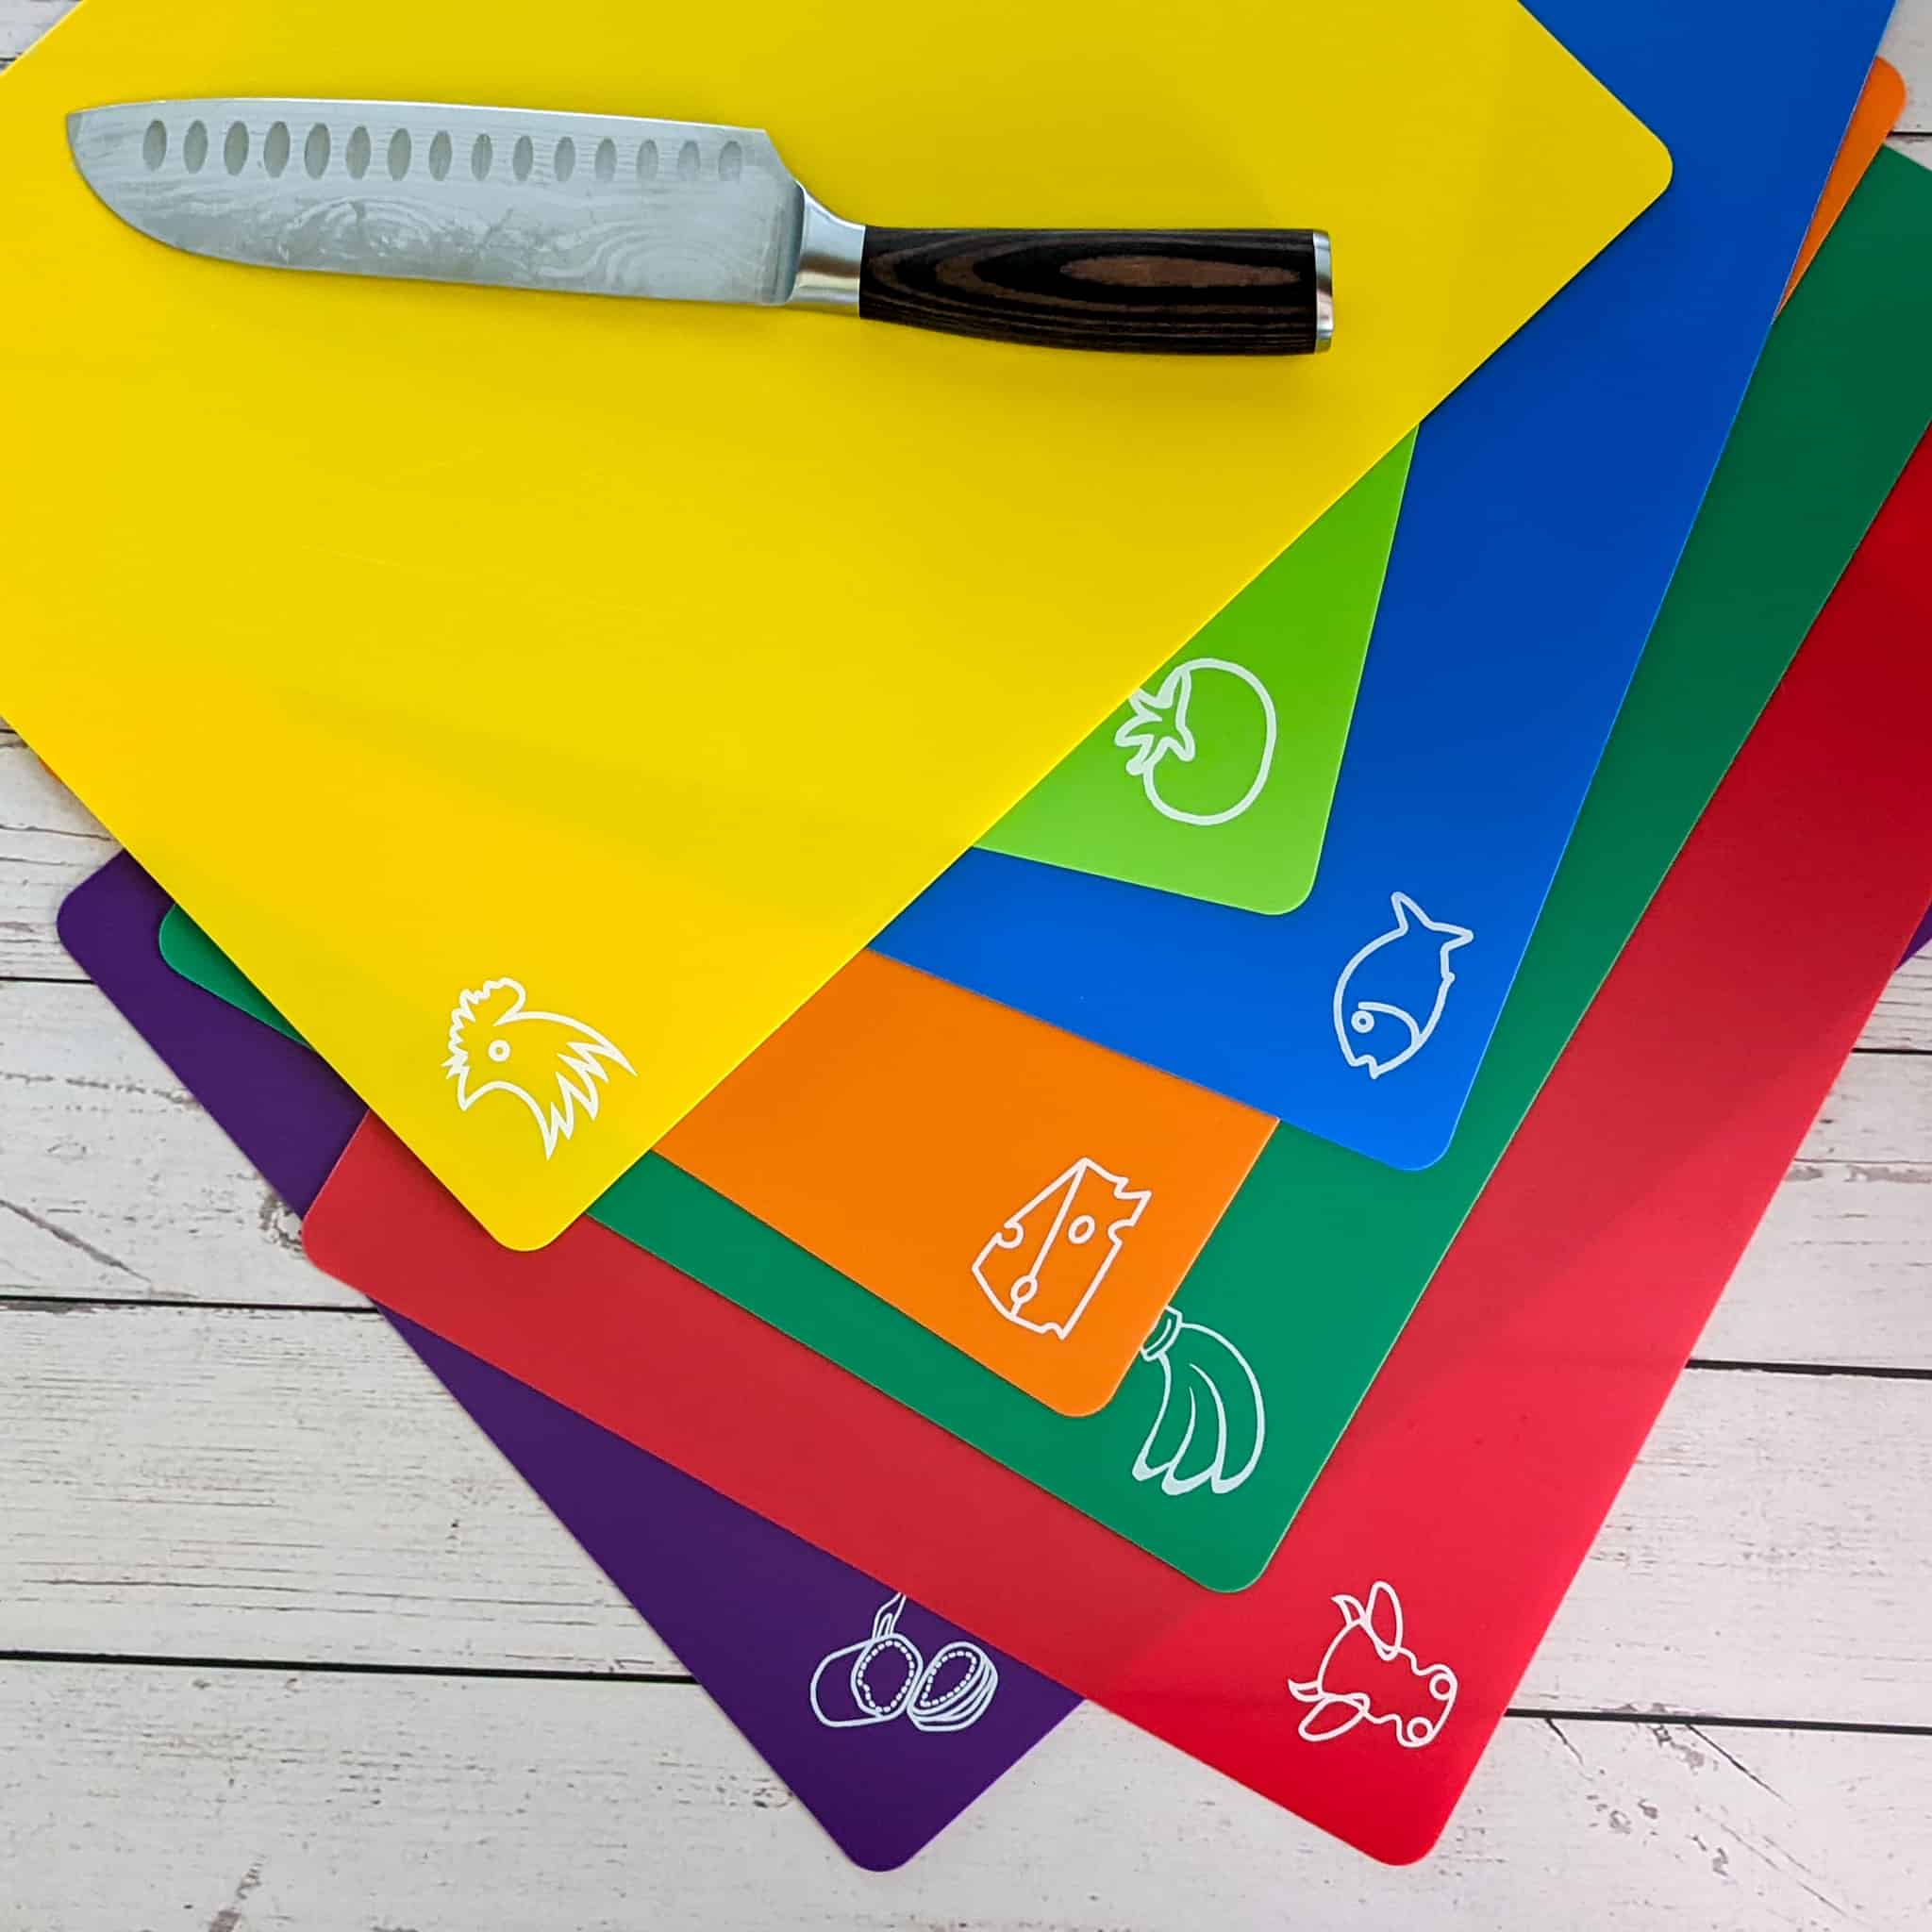
Place your chicken breast on a clean, stable cutting board. I recommend using color-coded cutting mats for food safety (especially when working with raw poultry).

Chef Tip: Pat the chicken dry with a paper towel to reduce slipping and help get crisp edges when cooking.
A dry surface = better browning and cleaner cuts.
Step 2: First Diagonal Cuts
Use a sharp carving knife—like the 8-Inch Paudin Carving Knife—and make diagonal cuts about ¼ inch deep, spaced about ½ inch apart. Be gentle. Do not cut all the way through the chicken.

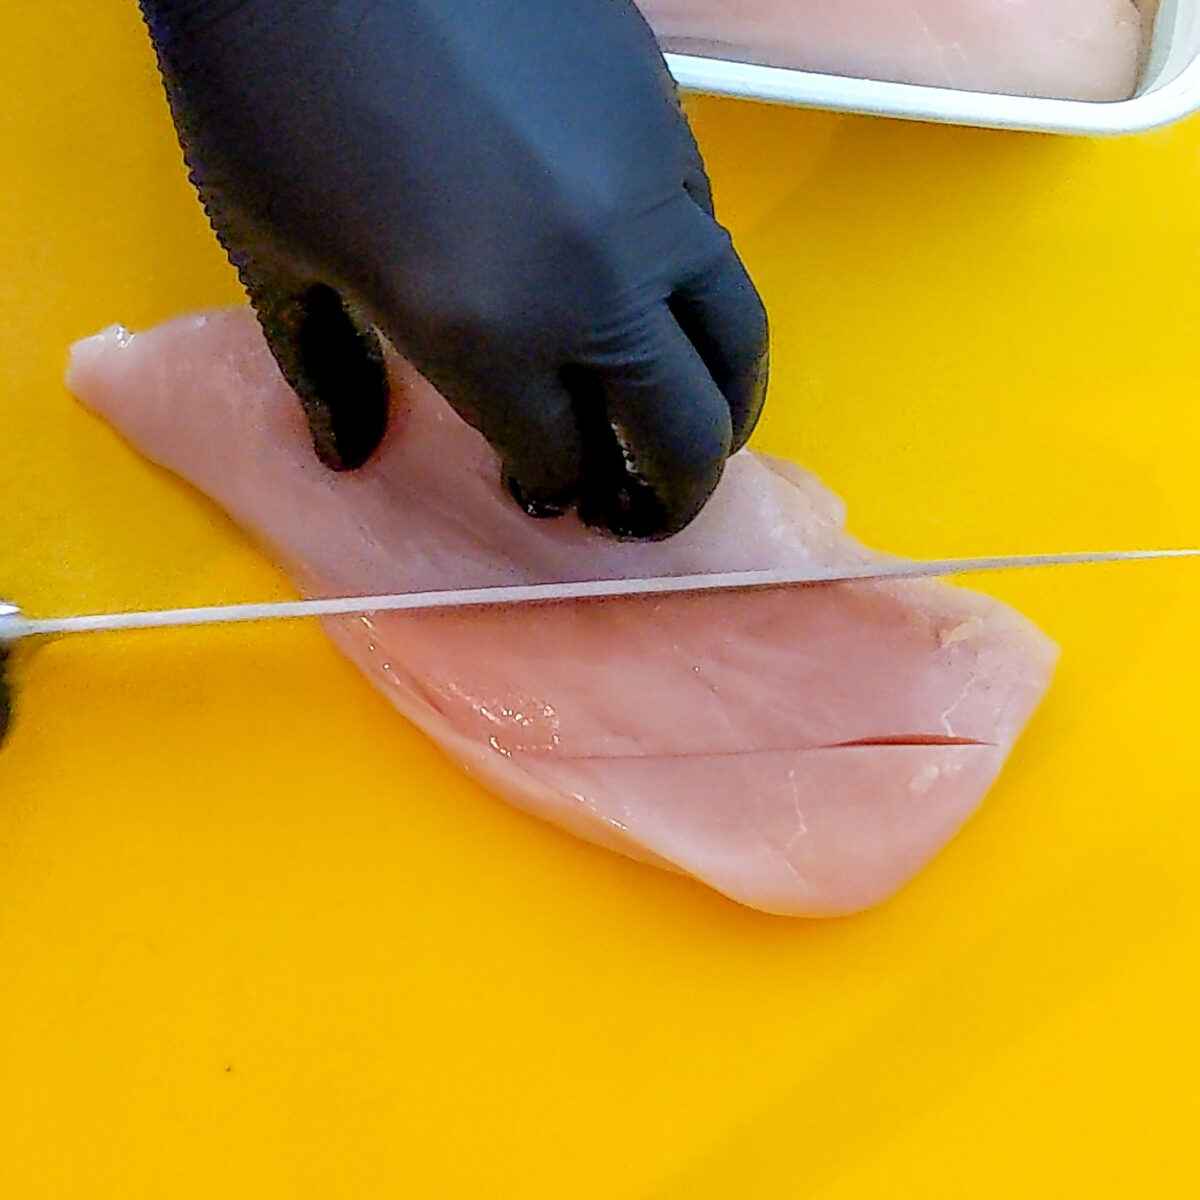
Step 3: Rotate and Repeat
Turn the chicken breast 90 degrees, then make the same shallow cuts in the opposite direction.
The cuts should now form a diamond pattern across the surface of the chicken.
These intersecting slits aren’t just for show—they turn your marinade game all the way up.
What to Do Next?
Once your chicken is diamond-slit, it’s time to:
- Serve it up: It looks impressive straight out of the pan, no garnish needed. But if you're feeling fancy, pair it with a citrusy glaze or chimichurri sauce.
- Marinate it: Let your chicken soak up a flavorful marinade for at least 15 minutes—or overnight for max impact.
- Cook it your way: Grill, pan-sear, bake, or air fry! Just watch how evenly it browns and cooks.
Recommended Reads
- How to Prep and Cook Fish
- How to Cut Chicken: Prepping to Cooking Tutorials
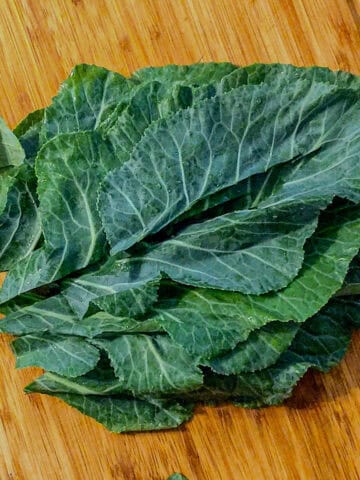
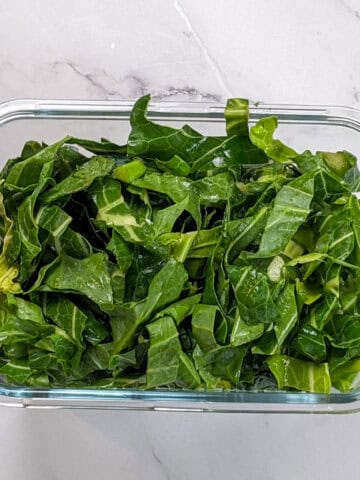
- How to Store Collard Greens | Fridge and Freezer Guide
- How to Slice Chicken Perfectly Every Time
- Best Cast Iron Skillet Care | Cooking, Cleaning, to Seasoning
- Cooking Classes
Culinary Glossary
This section concisely defines key ingredients and techniques related to this post to enhance understanding and improve cooking skills.
- Diamond Slitting - A technique involving shallow, diagonal cuts in a crisscross pattern across the surface of meat—most often used on chicken or duck—to increase surface area, improve marinade absorption, and promote even cooking.
- Scoring - Making shallow cuts into the surface of meat or fish to help marinades penetrate more deeply, enhance browning, or prevent curling during cooking.
- Marinating - Soaking food—typically meat—in a flavorful liquid mixture to tenderize and infuse it with herbs, acids, or spices before cooking.
- Even Cooking - A term referring to cooking food uniformly throughout so that all parts reach safe temperatures and ideal textures at the same time—often achieved through proper prep and slicing.
- Surface Area - The amount of exposed exterior on a piece of food. Increasing surface area (like with diamond slitting) allows heat, seasonings, and marinades to interact more effectively.
- Crosshatching - A decorative or functional technique of making two sets of diagonal cuts that intersect, forming a grid or diamond pattern—often used for both aesthetic and cooking purposes.
- Browning (Maillard Reaction) - The chemical reaction between amino acids and reducing sugars that gives browned food its distinct flavor and color—commonly enhanced by dry surfaces and high heat.
- Pat Dry - Using a clean paper towel to remove excess moisture from the surface of food, which helps improve searing, reduce splatter, and allow for cleaner knife cuts.
Equipment
- Cutting Board (preferably non-slip or with a mat) - Keeps your chicken steady while slicing—use a color-coded board to prevent cross-contamination.
- Color-Coded Cutting Board Mats - These flexible mats help organize your prep and reduce food safety risks when handling raw poultry.
- Paper Towels - Patting the chicken dry helps achieve cleaner cuts and promotes better browning during cooking.
- Sharp Carving Knife - A sharp blade ensures precision and control when making the shallow, crisscross cuts without tearing the meat.
- Color-Coded Cutting Board Mats - These flexible mats help organize your prep and reduce food safety risks when handling raw poultry.
- Mixing Bowl or Resealable Bag (for marinating) - Holds your chicken in marinade and allows the slits to soak up maximum flavor evenly.
- Tongs - Helps flip or move the chicken without disturbing the slits or piercing the meat unnecessarily.
- Disposable Gloves (optional) - Keeps your hands clean and safe while handling raw chicken—especially helpful when slitting and marinating. But always wash your hands.
Kitchen Must-Haves Reviews
Find a collection of my reviews of kitchen equipment that I have purchased or recommend. Kitchen Must-Haves - Find other tools I use here.
My Rating: ⭐⭐⭐⭐⭐
Purchased: October 30, 2024
My Review: I love that this bamboo cutting board set came in so many convenient sizes—it makes it easy to grab exactly what I need, whether I’m chopping herbs or breaking down meat. The bright tones of the wood really stood out to me; they look beautiful on camera and bring a nice pop of warmth to my kitchen. It’s especially come in handy during meal prep or when I have someone else helping me—everyone gets their own board! I also appreciate how lightweight yet sturdy they are, making them easy to move around while still holding up to serious chopping. Definitely a great gift for yourself or anyone who loves to cook or entertain.

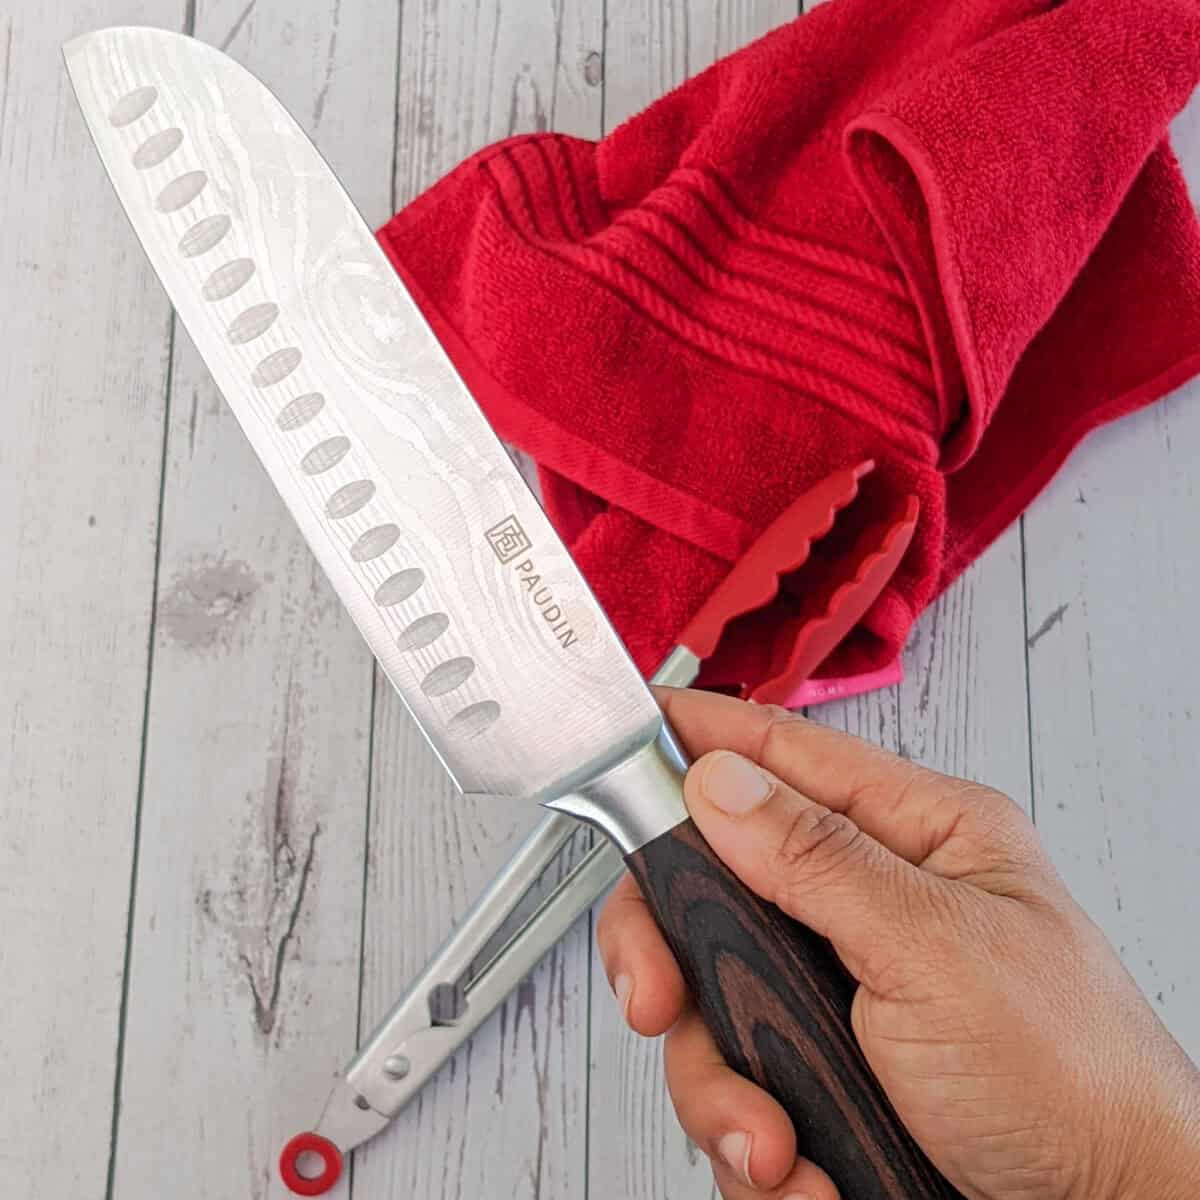
My Rating: ⭐⭐⭐⭐⭐
Purchased: 10/17/21
Update: 08/19/24
My Review: This knife is well-made. Super solid and multi-functional. It is made with high-carbon steel, so it will not rust. Slicing meat like fish is easier with the grooves. It doesn’t stick to the knife. The handle has an excellent grip, and it's not heavy. For some background, a Santoku is a versatile Japanese kitchen knife characterized by its straight edge and "sheepsfoot" blade, designed for slicing, dicing, and chopping with precision. Its name means "three virtues," referring to its ability to handle meat, fish, and vegetables efficiently, making it a staple in both professional and home kitchens.
My Rating: ⭐⭐⭐⭐⭐
Purchased: 01/01/22
Update: 10/16/24
My Review: I highly recommend the ForPro Professional Collection Disposable Nitrile Gloves. They’re food-safe, powder-free, and latex-free, making them perfect for cooking. I’ve ordered these several times and use them both personally and for my videos. The gloves are durable and chemical-resistant, offering excellent protection while handling raw ingredients. When pressed for time, they’re my go-to for preventing cross-contamination without needing to wash my hands constantly. A must-have for any busy kitchen!

My Rating: ⭐⭐⭐
Purchased: 06/07/2022
Update: 08/19/24
My Review: These Fotouzy Cutting Board Mats are fantastic! They adhere well to granite, and I often use the “yellow chicken,” “green banana,” and “red cow” mats to prevent cross-contamination. The color coding helps me keep raw poultry, fruit, and red meat separate, protecting my wooden board from raw juices. They're flexible, easy to clean, and store, and a damp paper towel underneath keeps them in place. You can see them in action in my Chicken Prepping post in Cook's Notebook.
These BPA-free, non-porous mats are dishwasher-safe and feature anti-skid backing for secure use, making them a must-have for any kitchen.
Update 08/19/24: I still have these but prefer the cutting boards over the mats. And the mats are not steady. But they are dishwasher safe and wide enough to cover my wooden cutting board and great for when I zest and need to transfer them instead of scraping them off my board. So, I gave this a 3 out of 5.
My Rating: ⭐⭐⭐⭐
Purchased: 11/01/21
Update: 08/19/24
My Review: These tongs have been indispensable kitchen tools. Their sturdy build and heat-resistant silicone tips make them dependable for various cooking tasks, from flipping delicate fish fillets to pulling a hot oven rack, ensuring they're a valuable addition to my kitchen. The only problem I've had is grasping items with the tip. Silicone tongs are flexible and are not sturdy enough to pick heavy things with their tips. So I gave it a 4 out of 5. Hence, the reason why I still keep my metal tongs.
Cooking Tips
Cook's Notebook is your Cooking Tips Resource Guide. Become a better home cook with tips to help you cook more efficiently.
- Partially Freeze the Chicken Breast - Pop the chicken in the freezer for 10–15 minutes before slicing. This firms it up slightly, making it easier to control your knife and get precise slits.
- Use a Sharp Knife - A dull knife will tear the meat rather than make clean, shallow cuts. A sharp carving knife gives you better control and safety.
- Always Pat the Chicken Dry First - Removing surface moisture prevents slipping while cutting and helps achieve a golden sear during cooking.
- Don’t Cut Too Deep - Keep your slits no deeper than ¼ inch. Cutting too deep can cause uneven cooking and make the chicken fall apart during handling.
- Marinate Right After Slitting - The slits are most effective when the chicken is marinated immediately after cutting. Let it sit for at least 30 minutes to let flavor soak in.
Frequently Asked Questions
Here, you will find a list of common questions that I have answered. If you have questions, please write them in the comment section below.
It increases surface area, which allows for better marinade penetration, quicker cooking, even heat distribution, and enhanced browning.
Nope—just one side is enough. Slitting one side is ideal to avoid cutting through the meat or drying it out.
Absolutely. Diamond slitting also works well with duck breast, pork chops, and even tofu for better marinade absorption and visual appeal.
For best results, marinate for at least 30 minutes. For deeper flavor, overnight in the fridge is ideal.
Not if cooked properly. In fact, the slits help it cook faster and more evenly, which helps lock in moisture when timed right.
Chicken Recipes
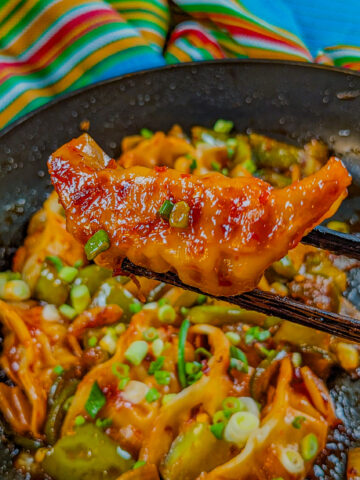
- Quick Spicy Potstickers | Chili Momo Tibetan Style
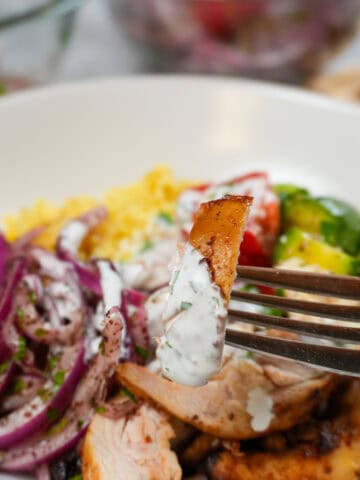
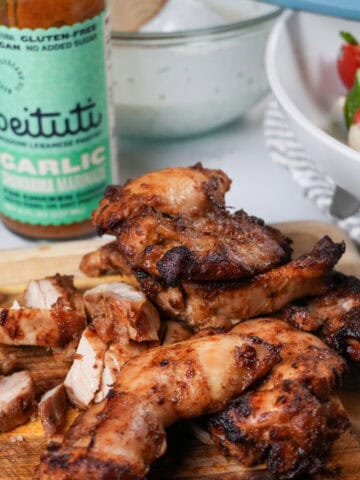
- Beituti Chicken Shawarma Rice Bowl | Quick and Easy
- Air Fryer Chicken Shawarma | Quick with Beituti
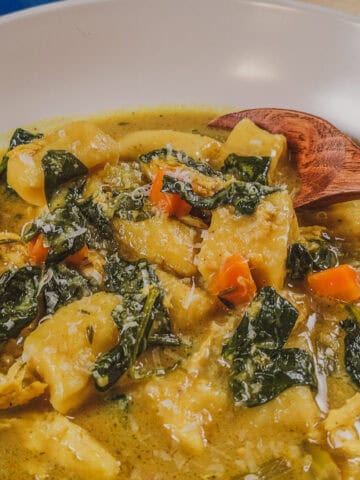
- Creamy Curry Chicken Gnocchi Soup | Caribbean Style
More Cooking Tips
- How to Slice Chicken Perfectly Every Time
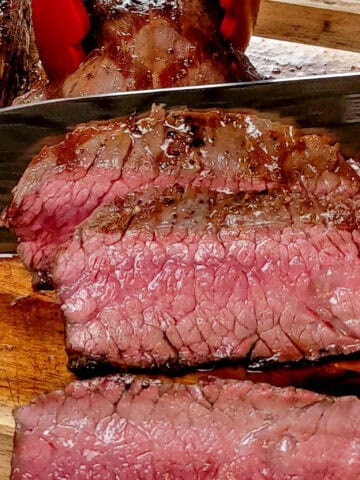
- Steak Grilling Times Chart: Perfect Temp & Cook Times
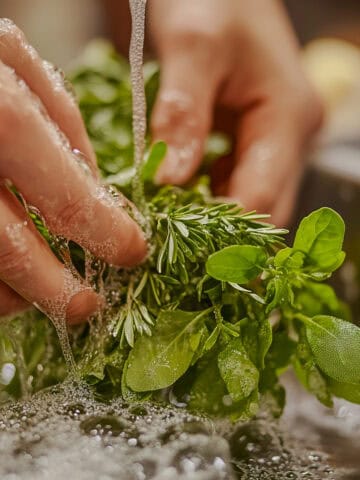
- How to Wash Fresh Herbs the Right Way Before Use
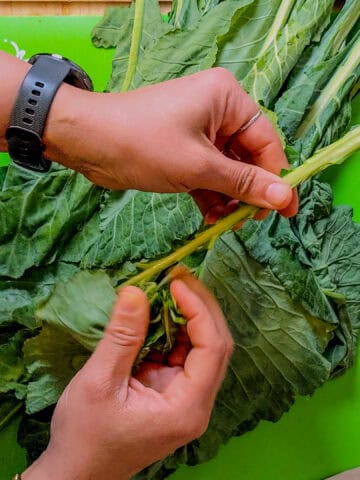
- How to Prep Collard Greens: Complete Beginner’s Guide
Subscribe to the YouTube Channel
SUBSCRIBE: 👈To my YouTube Channel to Get Notifications of New Videos.


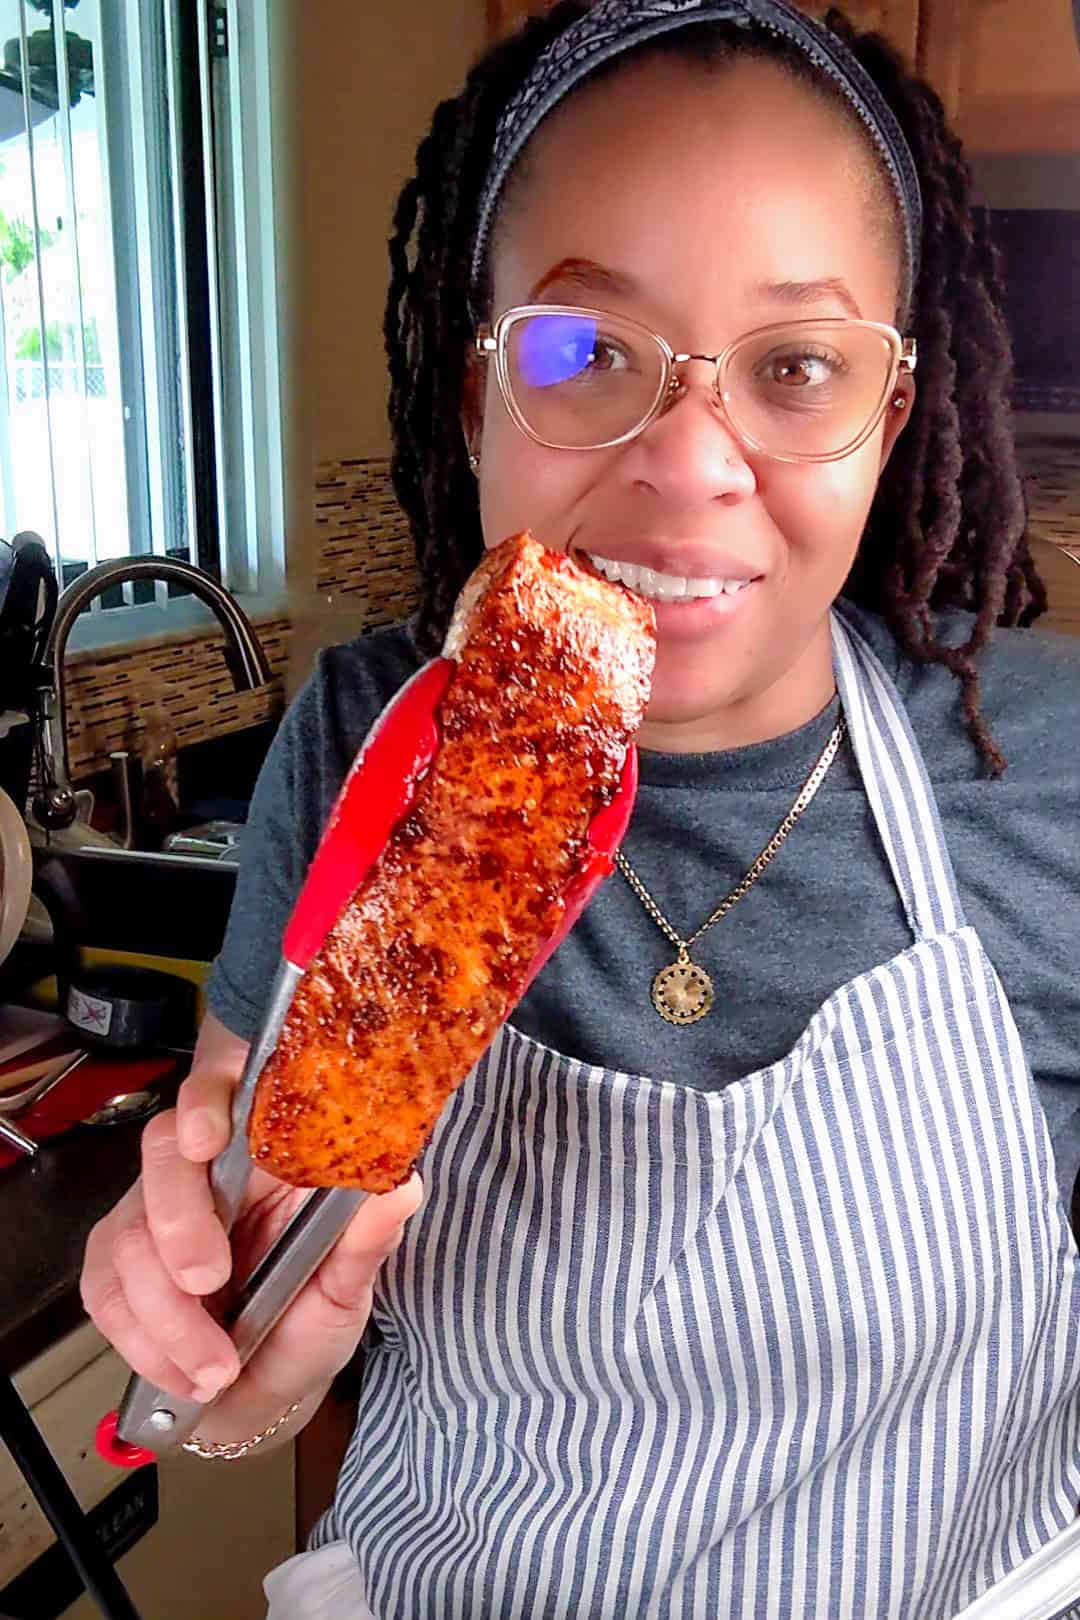
Chef Maika Frederic
Personal Chef and Educator
Chef Maika is a Haitian-American personal chef, food blogger, and culinary expert passionate about bold flavors and approachable recipes. Owner of Growth Culinary and with years of experience in top kitchens, she shares diverse, flavorful meals and time-saving tips to inspire home cooks. Read More About Just Maika Cooking
Have a Comment or Question?
If you have a question or comment about this post, please post it below. You will definitely get a quick response. It also helps our other readers to stay informed. Thanks!
Leave a Reply