

Learn how to store collard greens the right way so your leafy stash stays fresh, flavorful, and fridge-ready—without turning into a soggy science experiment.
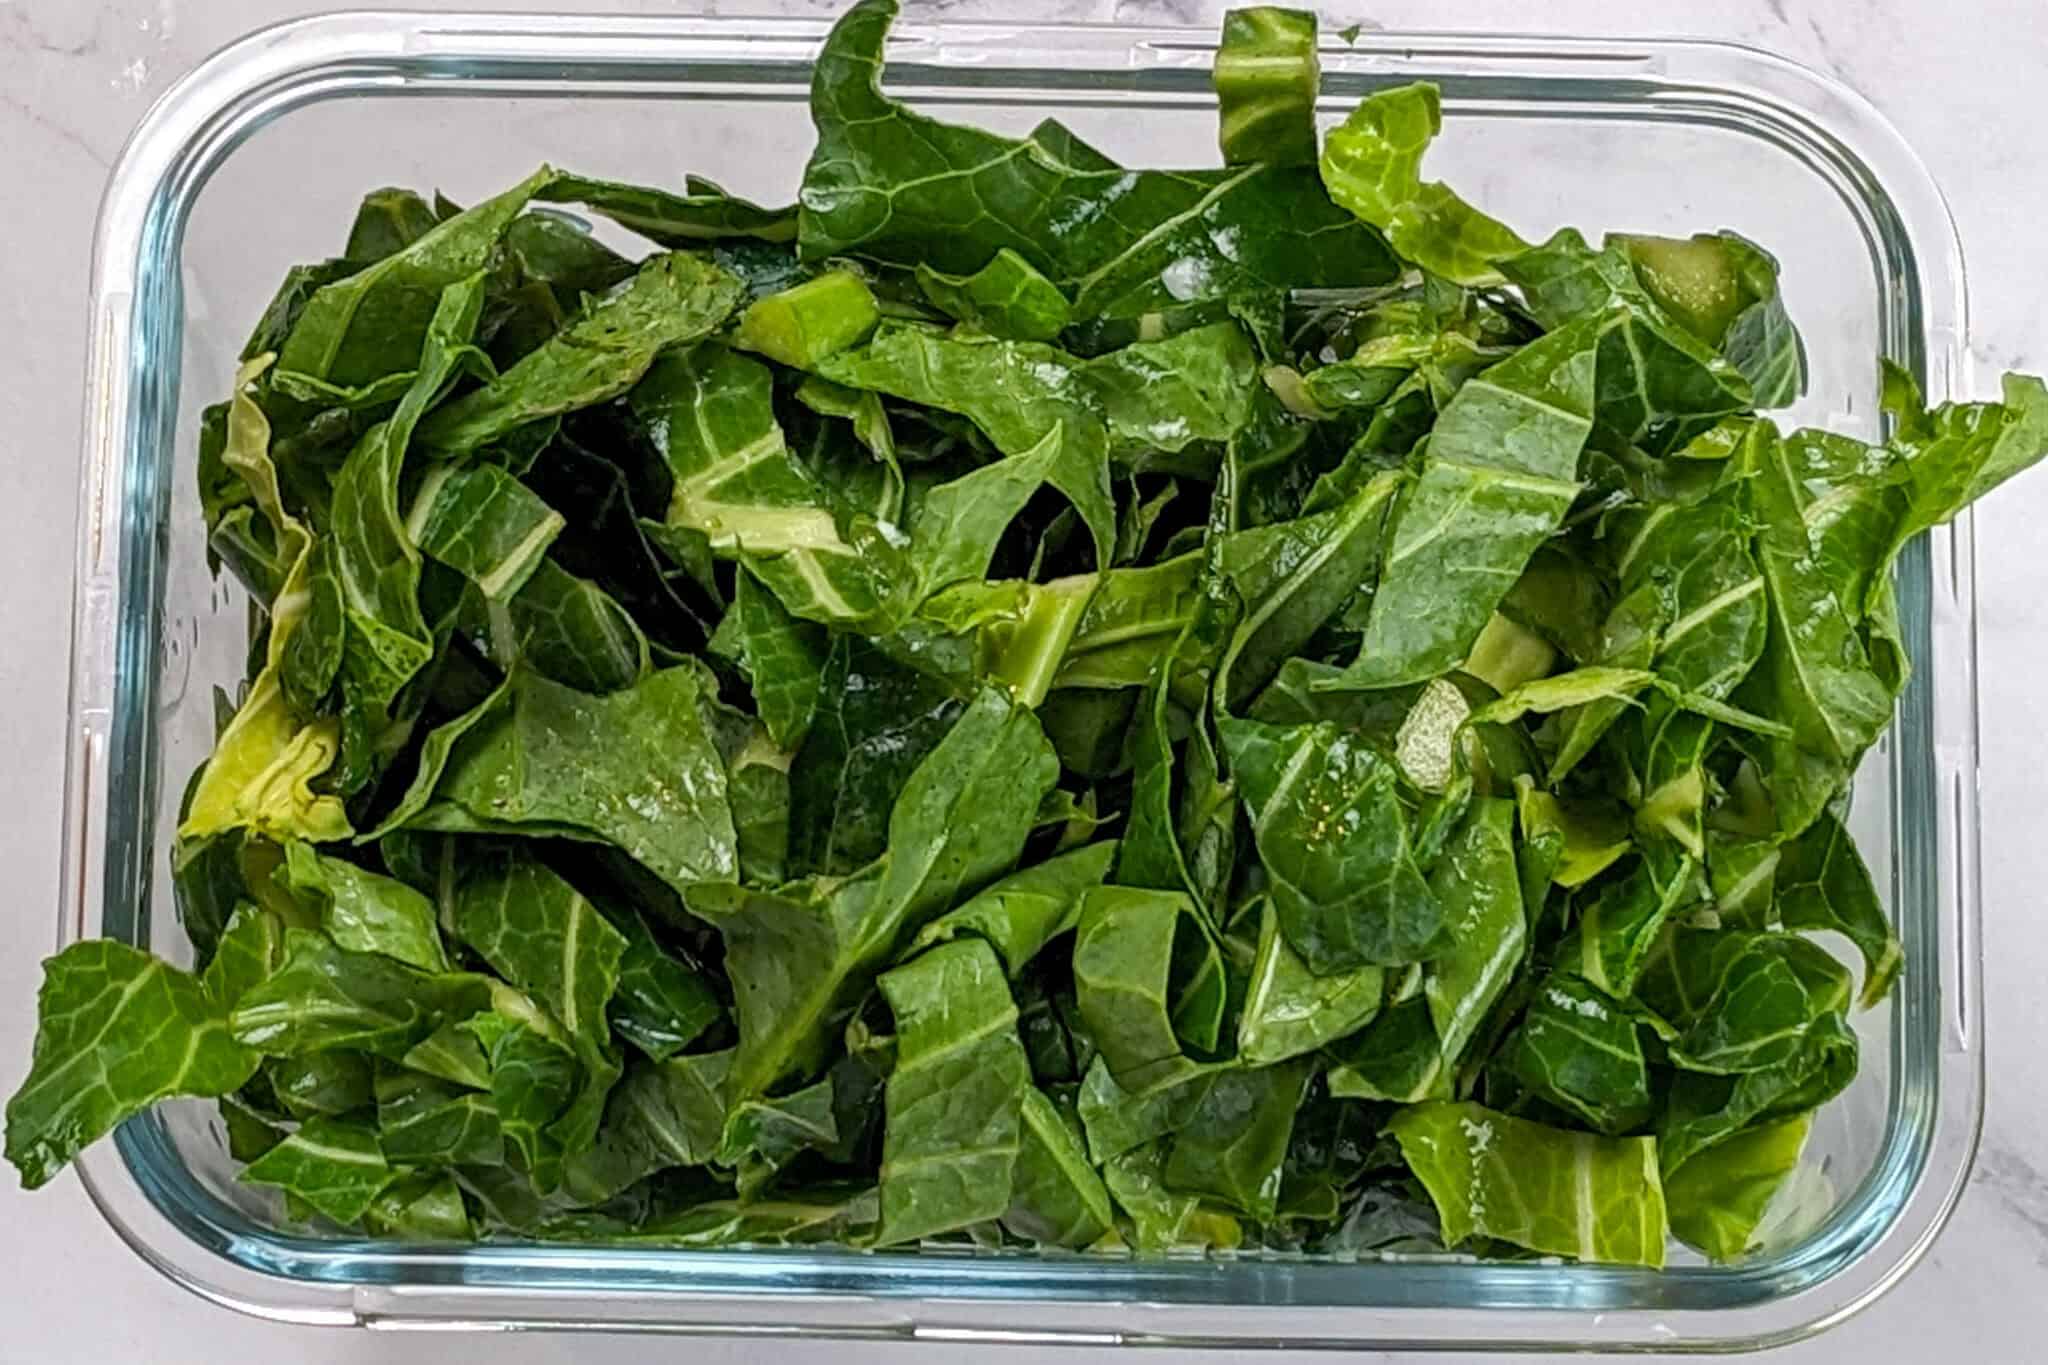
Table of Contents
Jump to:
- The Storage Mission
- Don't Do These Mistakes
- Why You Need to Read This?
- How to Store Collard Greens in the Refrigerator (Step-by-Step)
- Quick Recap: Refrigerator Storage Essentials
- How to Freeze Collard Greens (So They Don’t Turn Mushy Later)
- When to Use Frozen Collard Greens
- Common Mistakes to Avoid When Storing Collard Greens
- Get the Printable Storage Checklist
- Culinary Glossary
- Equipment Recommendations
- Storage Tips
- Frequently Asked Questions
- More Cook's Notebook
- Explore Recipes
- Subscribe to the YouTube Channel
- Have a Comment or Question?
The Storage Mission
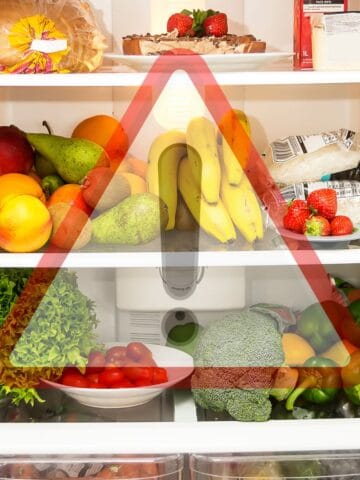
Okay—fresh collard greens have a funny way of turning into a wilted, slimy mystery at the back of the fridge when we least expect it. You know the drill: you buy them with the best of intentions, maybe for that pot of southern-style collard greens you swore you'd make on Sunday... and then life happens.
A week later, they’re sad, soggy, and headed straight for the compost bin. And oh, the guilt! Throwing away leafy greens that were once full of potential hits differently, especially when you’re trying to eat better and not waste food.
Lock In the Freshness
That’s exactly why learning how to store collard greens properly is so important. Not only does it help preserve their valuable nutrients—hello, vitamin K, fiber, and all that good stuff—but it also locks in that bold, earthy flavor of the greens and helps them keep their crisp texture longer.
And don't ignore the bonus: smarter storage = fewer wasted groceries = more meals you actually cook and enjoy. It's not just about leftovers—it's about honoring every nutritious green you bring home.
Don't Do These Mistakes
Now, I’ve made all the mistakes, so you don’t have to. I’ve shoved unwashed collard greens into a plastic bag straight from the store. I’ve skipped the whole drying step and sealed them in with excess moisture, only to open the drawer days later and find a damp, questionable pile of regret.
I’ve even left them totally unwrapped, naked in the crisper drawer, thinking I’d get to them “tomorrow.” Well, I did not.
Luckily, I shop in South Florida, where collard greens are easy to find—either whole and beautiful or already chopped in a bag. I used to grab them on impulse, with no real plan. But once I figured out a few collard greens storage tips, everything changed.
I started cooking with more intention, wasting less, and actually looking forward to pulling out a fresh, still-bright bunch from the fridge instead of playing “How bad is it?” roulette.
Why You Need to Read This?
So, if you’re new to cooking collards (or you’ve just made a few too many “oops” moves), this post is for you. No judgment here—this is a beginner-friendly space where we keep it real. Think of me as that friend in the kitchen who’s showing you the best way to save your greens before they turn on you.
By the end of this post, you’ll know how to keep collard greens fresh like a chef. Whether you’re popping them in the fridge for a few days or freezing them for later, I’ll walk you through the simple steps, tools, and extra storage tricks to extend their shelf life and keep them looking vibrant and tasting delicious.
Let’s save those dark, beautiful green leaves before they become a sad memory in the compost bin.
Recommended Reads
- How to Trim and Slice Collard Greens (Step-by-Step Guide)
- How to Clean Collard Greens | Step-by-Step
- Scotch Bonnet Smoked Turkey Collard Greens Beans Soup
- Green Seasoning Recipe | Epis - Haitian Style
- Frozen Watermelon Lemonade
How to Store Collard Greens in the Refrigerator (Step-by-Step)
So you’ve got your fresh collard greens, clean and ready, and you’re not planning to cook them right away—no problem. The best way to keep them fresh in the fridge is all about balance: you want to protect their dark green color, crisp texture, and valuable nutrients, without trapping too much moisture that leads to soggy sadness.
Here’s my foolproof method for storing collard greens so they stay vibrant for up to 5 days.
Step 1: Make Sure Your Greens Are Completely Dry
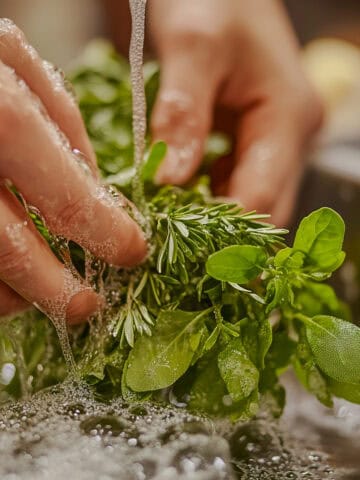
After washing in a bowl of cold water or under cold running water, lay the collard greens out on a clean kitchen towel or pat them dry with paper towels.

Why? Storing damp greens is the fastest route to a slimy, sad outcome. Wet leaves create a damp environment that ruins that crisp texture.
Step 2: Wrap the Leaves
Stack 4–5 leaves together and loosely wrap them in a slightly damp paper towel or a dry clean kitchen towel. You want just enough humidity to keep them hydrated, not soaked.
Step 3: Store in the Right Container
Place the wrapped leaves into an airtight container, zip-top bag, or plastic bag. Press out as much air as possible, then seal it up.
Cook tip: If using a zip bag, keep it slightly unzipped at one corner to allow airflow if your greens are extra dry.
Step 4: Refrigerate in the Crisper Drawer
The crisper drawer of your refrigerator is the absolute best place to store leafy greens like collards, mustard greens, or Swiss chard. The temperature and airflow keep the greens cool and fresh without drying them out completely.
Shelf Life
Properly stored, unwashed collard greens can last 5–7 days, while washed and trimmed greens stay good for about 3–5 days. If you notice new leaves going limp, it’s time to either cook them up or transfer them to the freezer.
Quick Recap: Refrigerator Storage Essentials

- Dry leaves = crisp collards
- Wrap in paper towels or towels, not plastic directly
- Use airtight containers or breathable bags
- Store in the coolest part of the fridge (crisper drawer)
How to Freeze Collard Greens (So They Don’t Turn Mushy Later)
If you’re not planning to use your bunch of collard greens anytime soon—or maybe you stocked up during the cooler months—freezing is the perfect solution. It extends their shelf life, locks in flavor and nutrients, and saves you from watching your greens go limp and guilt-inducing in the back of the fridge.
Now before you toss them in a freezer-safe bag and call it a day—hold up. There’s a method to the madness, and the goal here is to keep your greens from turning into a sad, icy clump of bitter green mush.
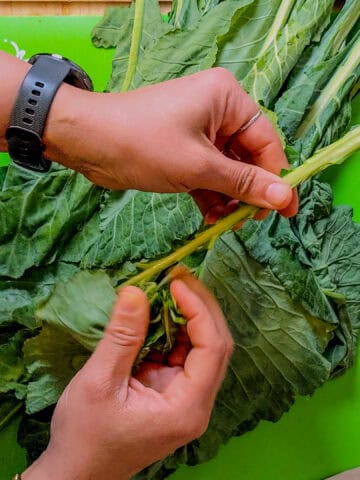
Step 1: Wash and Trim First
Start with fresh collard greens. Wash them thoroughly using your simple rinsing method—a soak in a bowl of cold water, followed by a rinse under cold running water. Then, trim the tough stems as discussed in How to Clean Collard Greens (Step-by-Step), and slice the leaves into tender greens-ready strips or bite-sized pieces.
Why it matters: Prepping now means less hassle later when you're cooking straight from frozen.
Step 2: Blanch in Boiling Water
Bring a large pot of water to a boil. Add your greens in batches, just enough so they stay submerged. Blanch for about 2 minutes.
Tip: This quick dunk in high heat stops enzyme action that causes spoilage and helps preserve the dark green color and valuable nutrients like vitamin K.
Step 3: Chill in an Ice Bath
Transfer your blanched greens directly into a bowl of ice water using a slotted spoon. Let them chill for about the same amount of time—2 minutes—to stop the cooking process.
Step 4: Dry Thoroughly
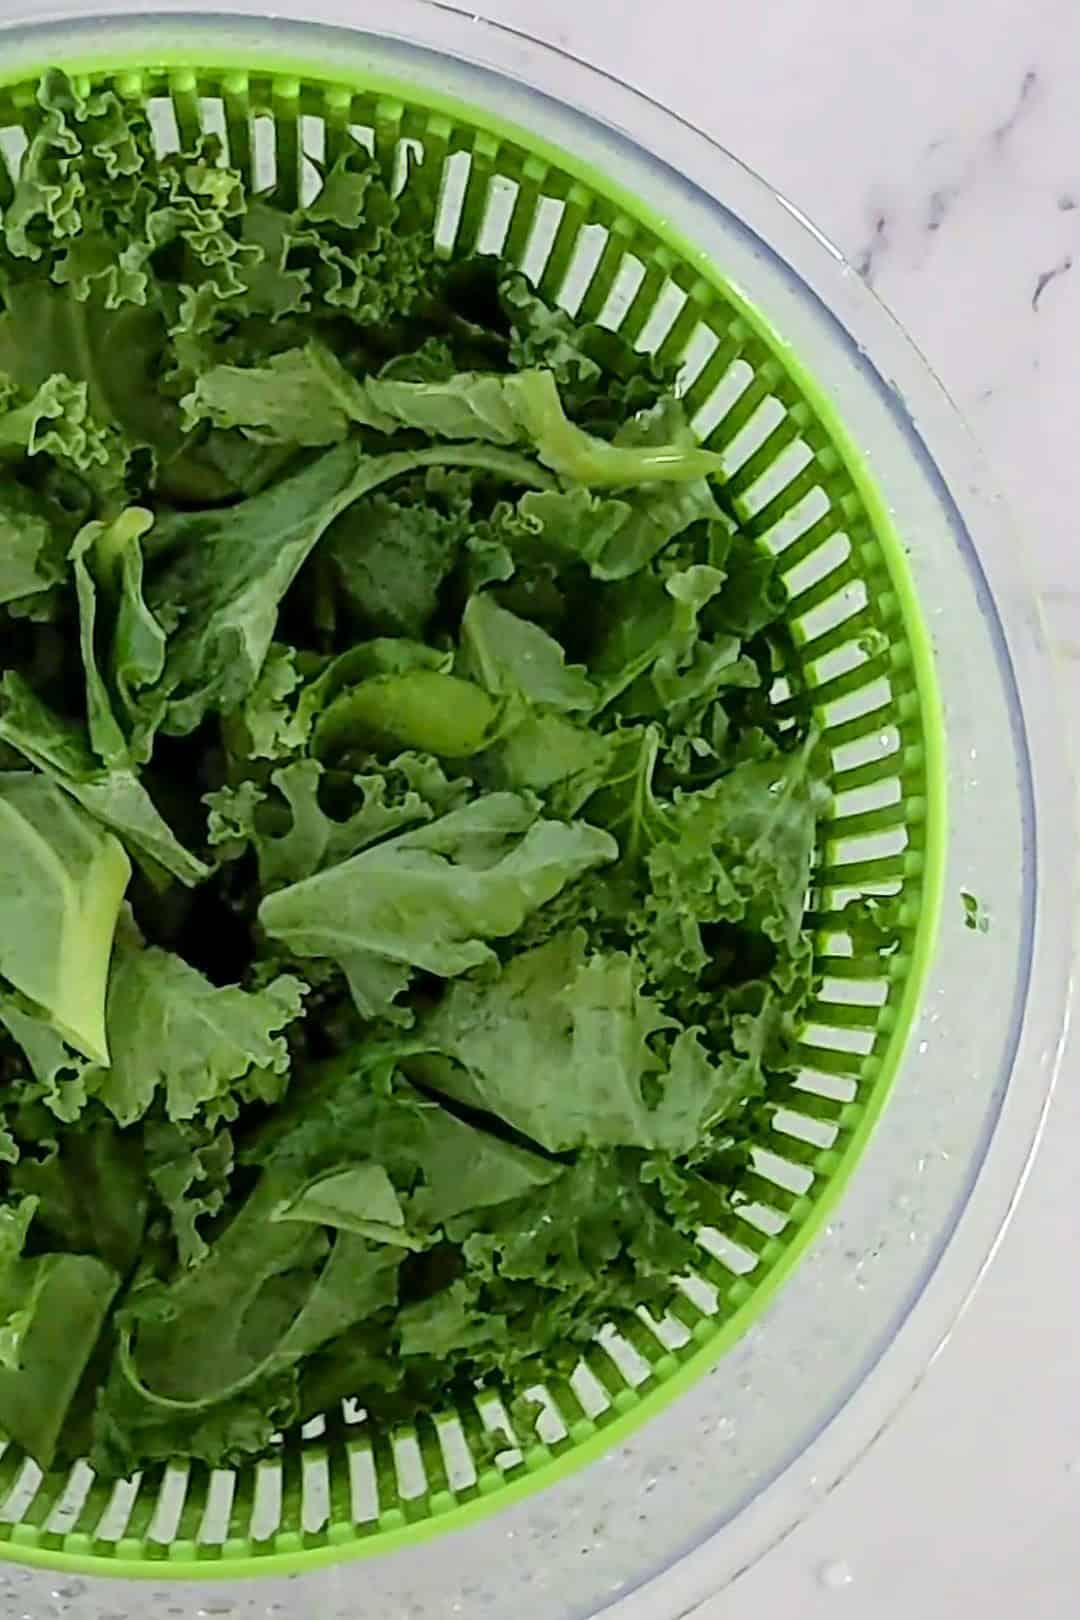
Drain your greens and pat them dry with paper towels or spin them in a salad spinner to remove any excess moisture.
Why? Too much moisture creates freezer burn and affects the crisp texture when reheating.
My Rating: ⭐⭐⭐⭐
Purchased: 03/28/22
Update: 01/15/2025
My Review: Cuisinart is a renowned brand known for its innovative, high-quality kitchen appliances and tools that make cooking and food prep effortless. Additionally, the Cuisinart Salad Spinner has been a trusty tool in my kitchen for years, and it’s proven to be so much more than just a salad spinner! Despite its compact size, it handles everything with ease—from rinsing and drying delicate herbs to cleaning mushrooms and, of course, prepping perfectly dry greens for salads. Its durable design has stood the test of time, and its efficiency has made meal prep so much quicker and easier. If you’re looking for a versatile, long-lasting kitchen tool, this little spinner is a must-have! I've made a post about it, check out my salad spinner post here.
Step 5: Store in Freezer Bags or Containers
Divide into portions and place in a freezer-safe bag, zip-top bag, or airtight container. Flatten the bags to save space and label them with the date. Bonus: Freeze in small amounts so you can pull out only what you need—whether it’s for a soup, stew, or side.
How Long Do Frozen Collard Greens Last?
When stored properly in the coolest part of the freezer, collard greens can last up to 12 months. They’re best used within 6–8 months for optimal flavor and texture. You can cook them straight from frozen—no need to thaw.
When to Use Frozen Collard Greens
Frozen collards work great in:
- Slow-cook recipes with ham hocks, black-eyed peas, or turnip greens
- Braised Southern cuisine classics
- Soups, stews, and sandwich wraps
- Stir-fries with medium heat and a splash of tablespoon of olive oil
Not ideal for salads or raw applications—save your raw collard greens for when they’re freshly picked.
Common Mistakes to Avoid When Storing Collard Greens
Even the best intentions can lead to soggy, bitter, or freezer-burned greens if a few simple steps are missed. Here are the most common mistakes I’ve seen (and made myself), plus how to avoid them so your collard greens storage tips work in real life—not just on Pinterest.
1. Storing Wet Greens
- The Problem: Moisture gets trapped and encourages spoilage.
- The Solution: Pat your greens dry with paper towels or use a salad spinner. Dry greens = longer shelf life and better texture.
2. Tossing Unwrapped Greens into the Crisper
- The Problem: Unprotected greens lose their vibrant color and dry out—or worse, wilt in a soggy mess.
- The Solution: Always wrap greens in a clean kitchen towel or slightly damp paper towel, then place them in an airtight container or zip-top bag.
3. Not Blanching Before Freezing
- The Problem: Freezing raw collard greens without blanching can lead to poor texture, flavor loss, and quick spoilage in the freezer.
- The Solution: A quick blanch and ice bath locks in flavor, texture, and nutrients like vitamin K—especially helpful for winter greens you plan to freeze long term.
4. Using the Wrong Storage Container
- The Problem: Bags with holes, loose wrapping, or cracked lids allow air and excess moisture, which ruins your greens.
- The Solution: Use airtight containers, sealed bags, or freezer-safe bags. Press out air before freezing, and always store in the coolest part of the freezer.
5. Letting Greens Sit Too Long
- The Problem: You wait too long and lose that crisp texture and flavor of the greens.
- The Solution: Use fresh collard greens within 5 days if refrigerated, or label frozen greens to use within 6–8 months for the best results.
Get the Printable Storage Checklist
Culinary Glossary
This section concisely defines key ingredients and techniques related to this post to enhance understanding and improve cooking skills.
- Collard Greens - A type of leafy vegetable in the cabbage family, known for its dark green leaves, sturdy texture, and bold flavor. Common in Southern cuisine and highly nutritious, packed with fiber and vitamin K.
- Blanching - A cooking method where vegetables are briefly boiled and then plunged into a bowl of ice water to stop the cooking process. This helps preserve color, texture, and nutrients before freezing.
- Crisper Drawer - The humidity-controlled drawer found at the bottom of most refrigerators. It’s the absolute best place to store leafy greens like collards to maintain freshness and extend their shelf life.
- Airtight Container - A food storage container with a secure seal that prevents air from getting in or out. Helps prevent wilting, spoilage, and absorption of odors when storing fresh collard greens.
- Freezer-Safe Bag - A thicker plastic bag designed for freezer use that protects against freezer burn. Ideal for long-term storage of blanched collard greens.
- Salad Spinner - A kitchen tool that spins washed greens to remove excess moisture quickly. Useful before storing collards to keep them crisp and prevent spoilage.
- Zip-Top Bag - A reusable or disposable plastic bag that seals closed with a zipper-like track. Great for both fridge and freezer storage, especially when you remove excess air.
- Paper Towels - Absorbent kitchen towels used to pat dry greens after washing. Essential for keeping stored collards from becoming slimy or soggy.
- Ice Bath - A bowl filled with ice and water used after blanching vegetables. Quickly cools the collards, locking in their vibrant color and stopping the cooking process.
- Shelf Life - The amount of time food stays fresh and safe to eat. Properly stored collard greens last about 3–5 days in the fridge and up to 12 months in the freezer.
Equipment Recommendations
Salad Spinner - A salad spinner is used to remove excess moisture from washed collard greens quickly before storage, which helps prevent sogginess and spoilage.
If you don’t have one yet, you can pat the leaves dry thoroughly with paper towels or a clean kitchen towel—but once you're ready to upgrade your prep game, check out this guide on salad spinners for my recommended picks.
Large Pot - A large pot is perfect for blanching collard greens in boiling water before freezing to help preserve their vibrant color, crisp texture, and nutrients. You can also use a wide stockpot or even a deep sauté pan, as long as the leaves stay fully submerged during blanching.
Bowl of Ice Water - Used to immediately chill blanched greens, the ice water bath stops the cooking process in its tracks and locks in that beautiful dark green color. If you don’t have a large prep bowl, a deep mixing bowl filled with cold water and a few handfuls of ice cubes works just as well.
Slotted Spoon - This handy tool is used to lift your collard greens out of boiling water and into the ice bath without bringing too much liquid along for the ride. If a slotted spoon isn’t available, kitchen tongs or a mesh strainer can get the job done too.
Paper Towels - After rinsing or blanching, paper towels are essential for gently drying your greens to avoid excess moisture that can lead to spoilage. You can also use a clean kitchen towel—especially if you’re prepping a large batch and want to be more eco-friendly.
Airtight Container - This is your go-to for storing collards in the fridge, keeping out air and locking in moisture so your greens stay crisp and usable for days. I highly recommend what I use at home, they are plastic containers wtih a colander insert with clipable lids. After rinsing the ingredient you imediatly place it in the container and it will stay freah way longer than a regular container or bag. If you don’t have an airtight container, a well-sealed zip-top bag or covered glass dish will also work, though be sure it’s sealed tightly.
Zip-Top Bags or Freezer-Safe Bags - These are perfect for freezing collard greens—especially after blanching—because they reduce exposure to air, protect against freezer burn, and make it easy to portion out. You can use freezer-safe containers instead, which are especially helpful when freezing cooked greens like a batch of southern-style collard greens with ham hocks.
Clean Kitchen Towel - Wrapping trimmed greens in a clean kitchen towel before refrigeration helps regulate moisture and keeps them from wilting. You can also wrap them in a slightly damp paper towel, which gives the same result if you’re short on towels.
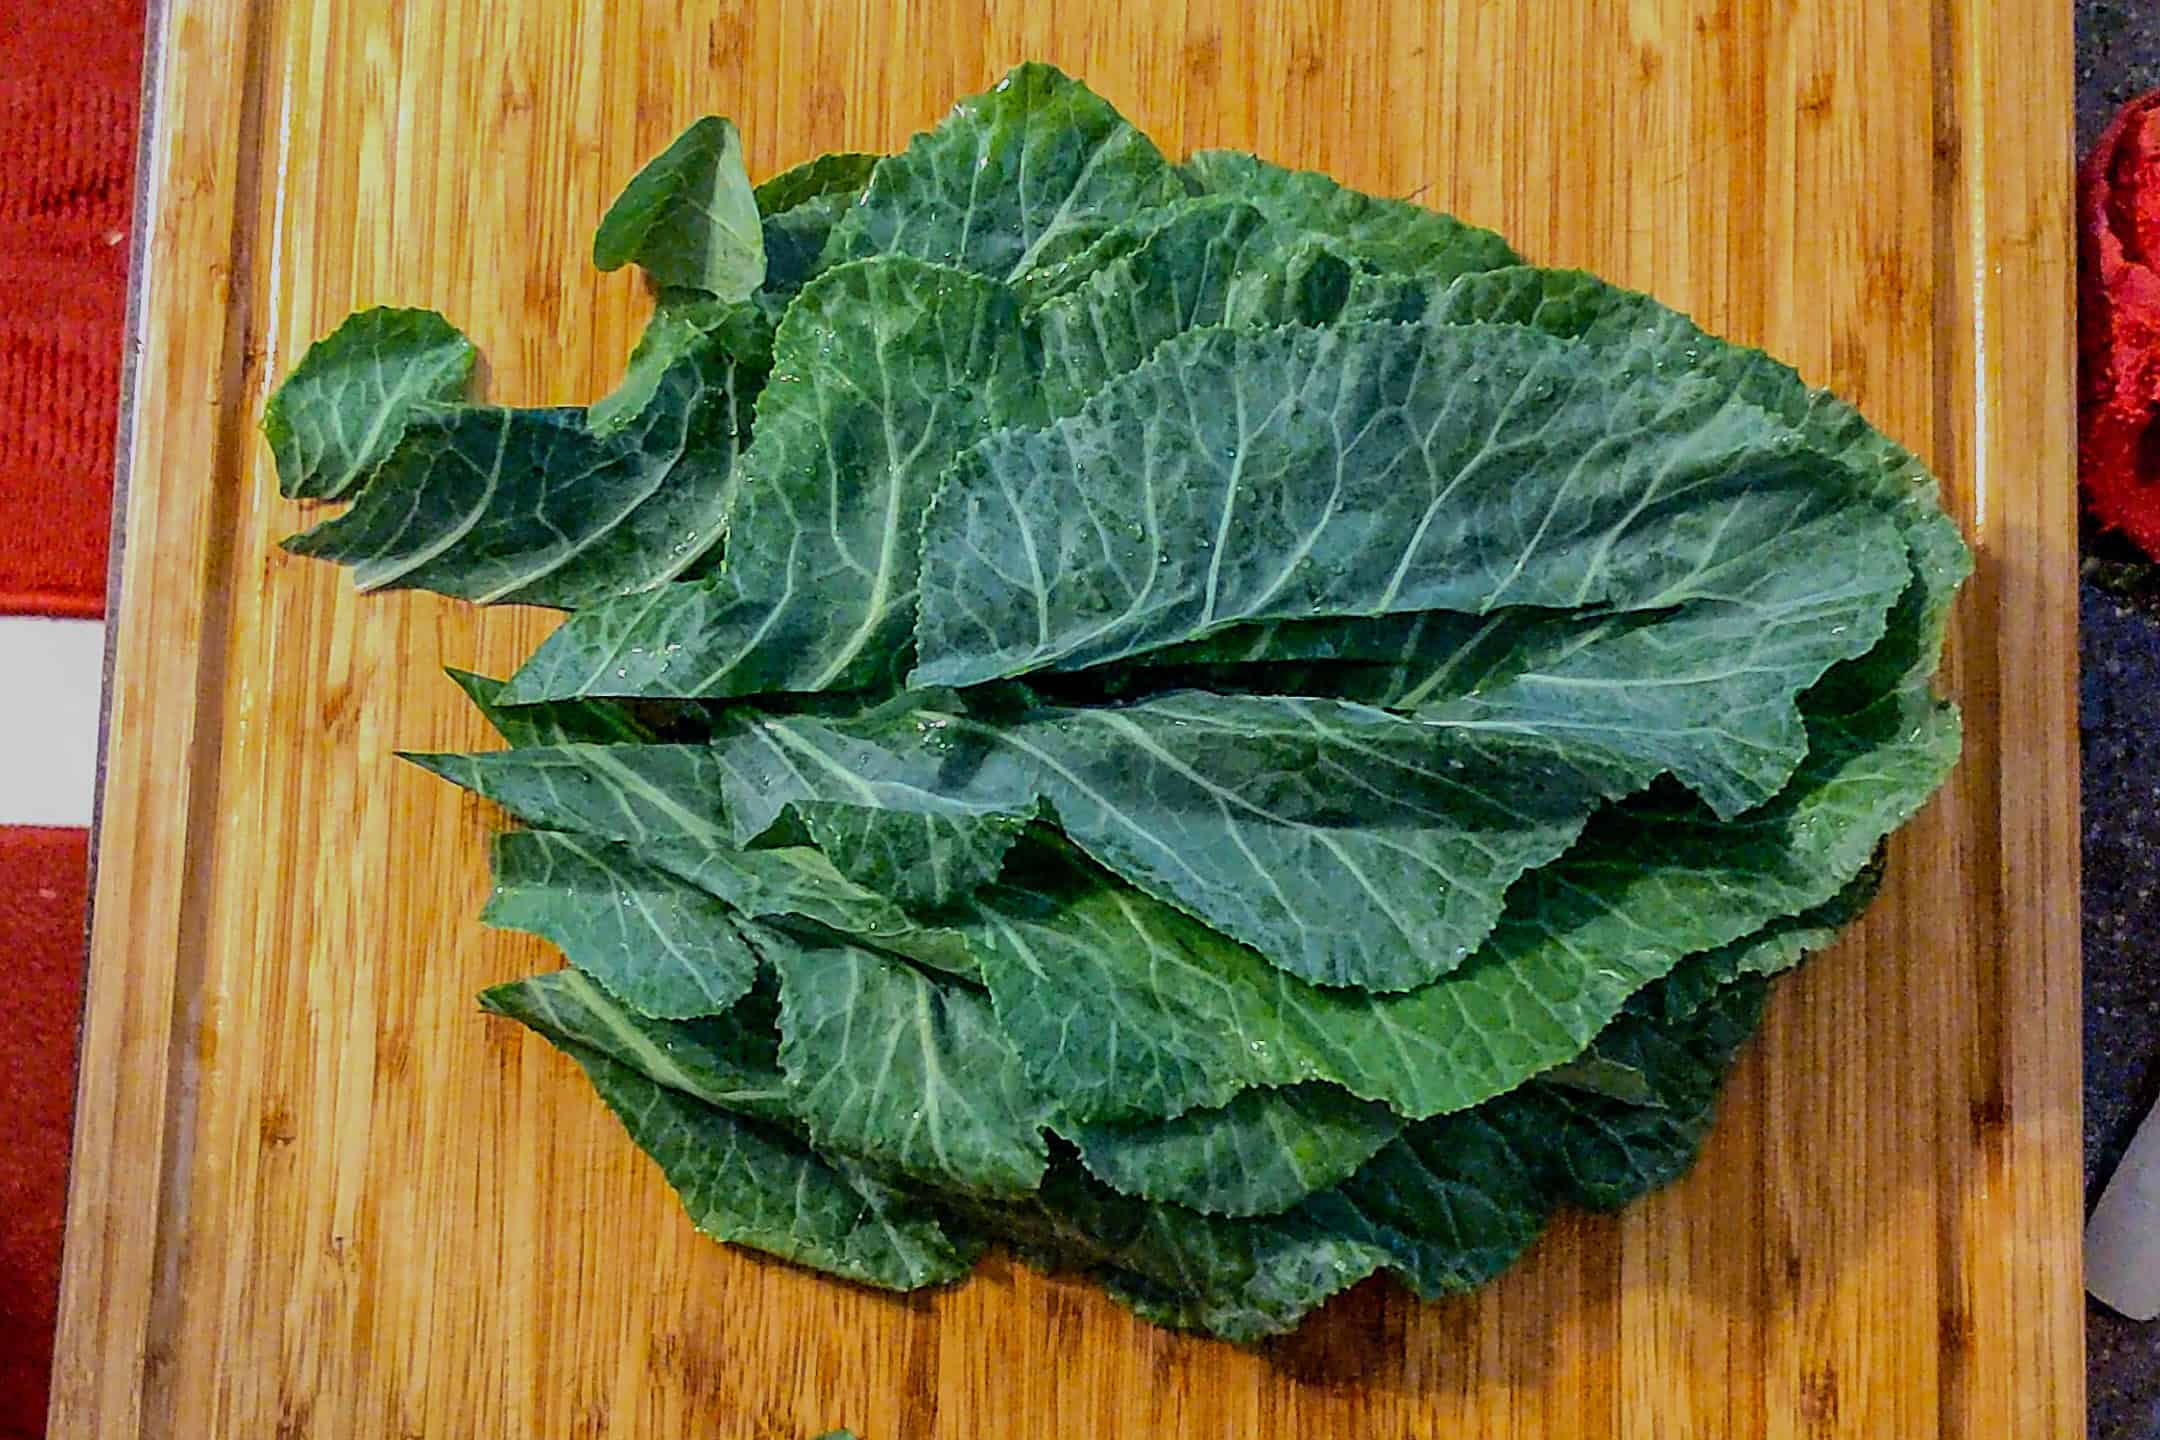
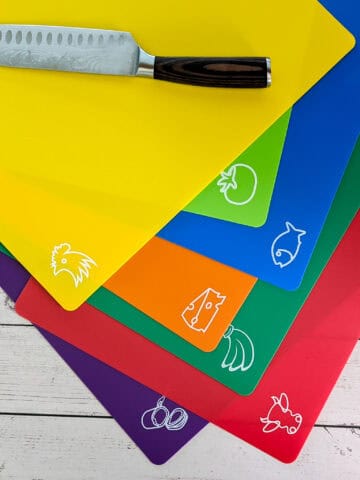
Knife (Chef’s or Paring) - A sharp knife makes trimming tough stems and slicing collard greens into manageable pieces quick and easy. If you're in a pinch, kitchen scissors can help with stem trimming, although they won’t give you the same clean cut for slicing leaves.
Cutting Board - You’ll need a cutting board as a clean, stable surface for trimming and slicing your greens safely. If you’re low on space, a rimmed baking sheet or clean countertop can do in a pinch—just be extra cautious with your knife.
Kitchen Must Haves - Find other tools I use here.
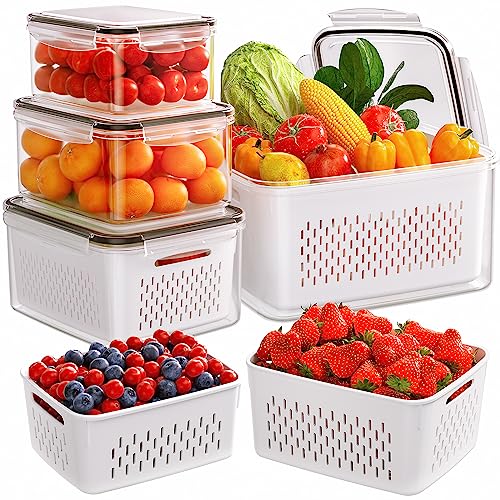
My Rating: ⭐⭐⭐⭐⭐
Purchased: April 07, 2024
My Review: I absolutely love these 5-pack fruit storage containers—they completely exceeded my expectations! I was truly surprised at how long they kept my produce fresh, especially delicate items like berries and lettuce that usually spoil quickly. The removable colanders are super convenient for rinsing and draining right in the container, and the leakproof lids make fridge organization a breeze. I was so impressed with how well they worked, I went ahead and bought three packs! These have definitely become a go-to in my kitchen for keeping fruits, veggies, and even prepped meats fresher for longer.
Airtight Food Containers
I interchange glass food storage containers with plastic clipping lids or wooden push-ins. I always suggest glass storage containers because they can be microwaved, they hold food without staining, and the glass keeps the food at a more stable temperature, keeping it fresher and longer.
Try the OXO Good Grips Smart Seal Glass Rectangle Food Storage Containers or the Pyrex Freshlock Glass Food Storage Containers.
Storage Tips
Cook's Notebook is your Cooking Tips Resource Guide. Become a better home cook with tips to help you cook more efficiently.
- Dry thoroughly before storing. Moisture is the enemy—always dry your greens with a clean kitchen towel, paper towels, or a salad spinner to prevent soggy, spoiled leaves.
- Wrap before you bag. Loosely wrap collards in a slightly damp paper towel or towel before placing them in an airtight container or zip-top bag—this helps maintain ideal humidity.
- Use the crisper drawer. The crisper drawer of your refrigerator is the absolute best place for storing leafy greens like collards, keeping them cool and crisp for up to 5 days.
- Blanch before freezing. If you plan to freeze, always blanch your greens in a large pot of water and chill in a bowl of ice water to lock in color, texture, and nutrients.
- Label and portion frozen greens. Freeze in small amounts using freezer-safe bags or containers, label them with the date, and store in the coolest part of the freezer for up to 12 months.
Frequently Asked Questions
Here, you will find a list of common questions that I have answered. If you have questions, please write them in the comment section below.
It depends on when you plan to use them. If you're cooking them within a day or two, go ahead and wash, dry thoroughly, and wrap in paper towels before placing them in an airtight container.
But if you’re storing them longer, it’s better to keep unwashed collard greens dry and wash just before use to reduce excess moisture and prevent spoilage.
If stored properly in the crisper drawer of your refrigerator—wrapped in a clean kitchen towel or paper towels, inside a plastic bag or sealed container—fresh collard greens can last about 3 to 5 days. Unwashed greens may last up to a full week.
You can, but it’s not recommended. Freezing raw collard greens often results in a mushy texture and bitter flavor. Blanching in a large pot of water for just 2 minutes, followed by a quick dunk in a bowl of ice water, helps preserve their vibrant color, texture, and valuable nutrients.
Dry the chopped greens thoroughly, then wrap them in a slightly damp paper towel and store in an airtight container or zip-top bag in the fridge. If you won’t be using them within a few days, freeze them in freezer-safe bags after blanching.
Bad collard greens will lose their dark green color, become slimy, give off a funky smell, or develop black spots. If they’re wilted but still smell fresh, you may be able to revive them in a bowl of cold water before cooking.
More Cook's Notebook
Your kitchen resource!
- Mastering FIFO: The Simple Method to Keep Your Food Fresh
- How to Prevent Cross-Contamination in Your Kitchen
- Diamond Slit Chicken Breast (Video & Pictures)
- How to Slice Chicken Perfectly Every Time


Explore Recipes
How about checking some recipes out. Try these:
- Bold and Easy Caribbean Cooking with Haitian Recipes
- One-Pan Calabrian Chickpea Pasta Recipe | Fast & Flavorful
- Curry Shepherd’s Pie with Cauliflower-Potato Mash | A Comforting Vegetarian Twist
- 20 Irresistible Fish Recipes


Subscribe to the YouTube Channel
SUBSCRIBE: 👈To my YouTube Channel to Get Notifications of New Videos.


Chef Maika Frederic
Personal Chef and Educator
Chef Maika is a Haitian-American personal chef, food blogger, and culinary expert passionate about bold flavors and approachable recipes. Owner of Growth Culinary and with years of experience in top kitchens, she shares diverse, flavorful meals and time-saving tips to inspire home cooks. Read More About Just Maika Cooking
Have a Comment or Question?
If you have a question or comment about this post, please post it below. You will definitely get a quick response. It also helps our other readers to stay informed. Thanks!

Leave a Reply