
Trimming collard greens is a useful technique every Southern kitchen and beyond should know to remove tough stems and ensure tender, flavorful greens that cook evenly.
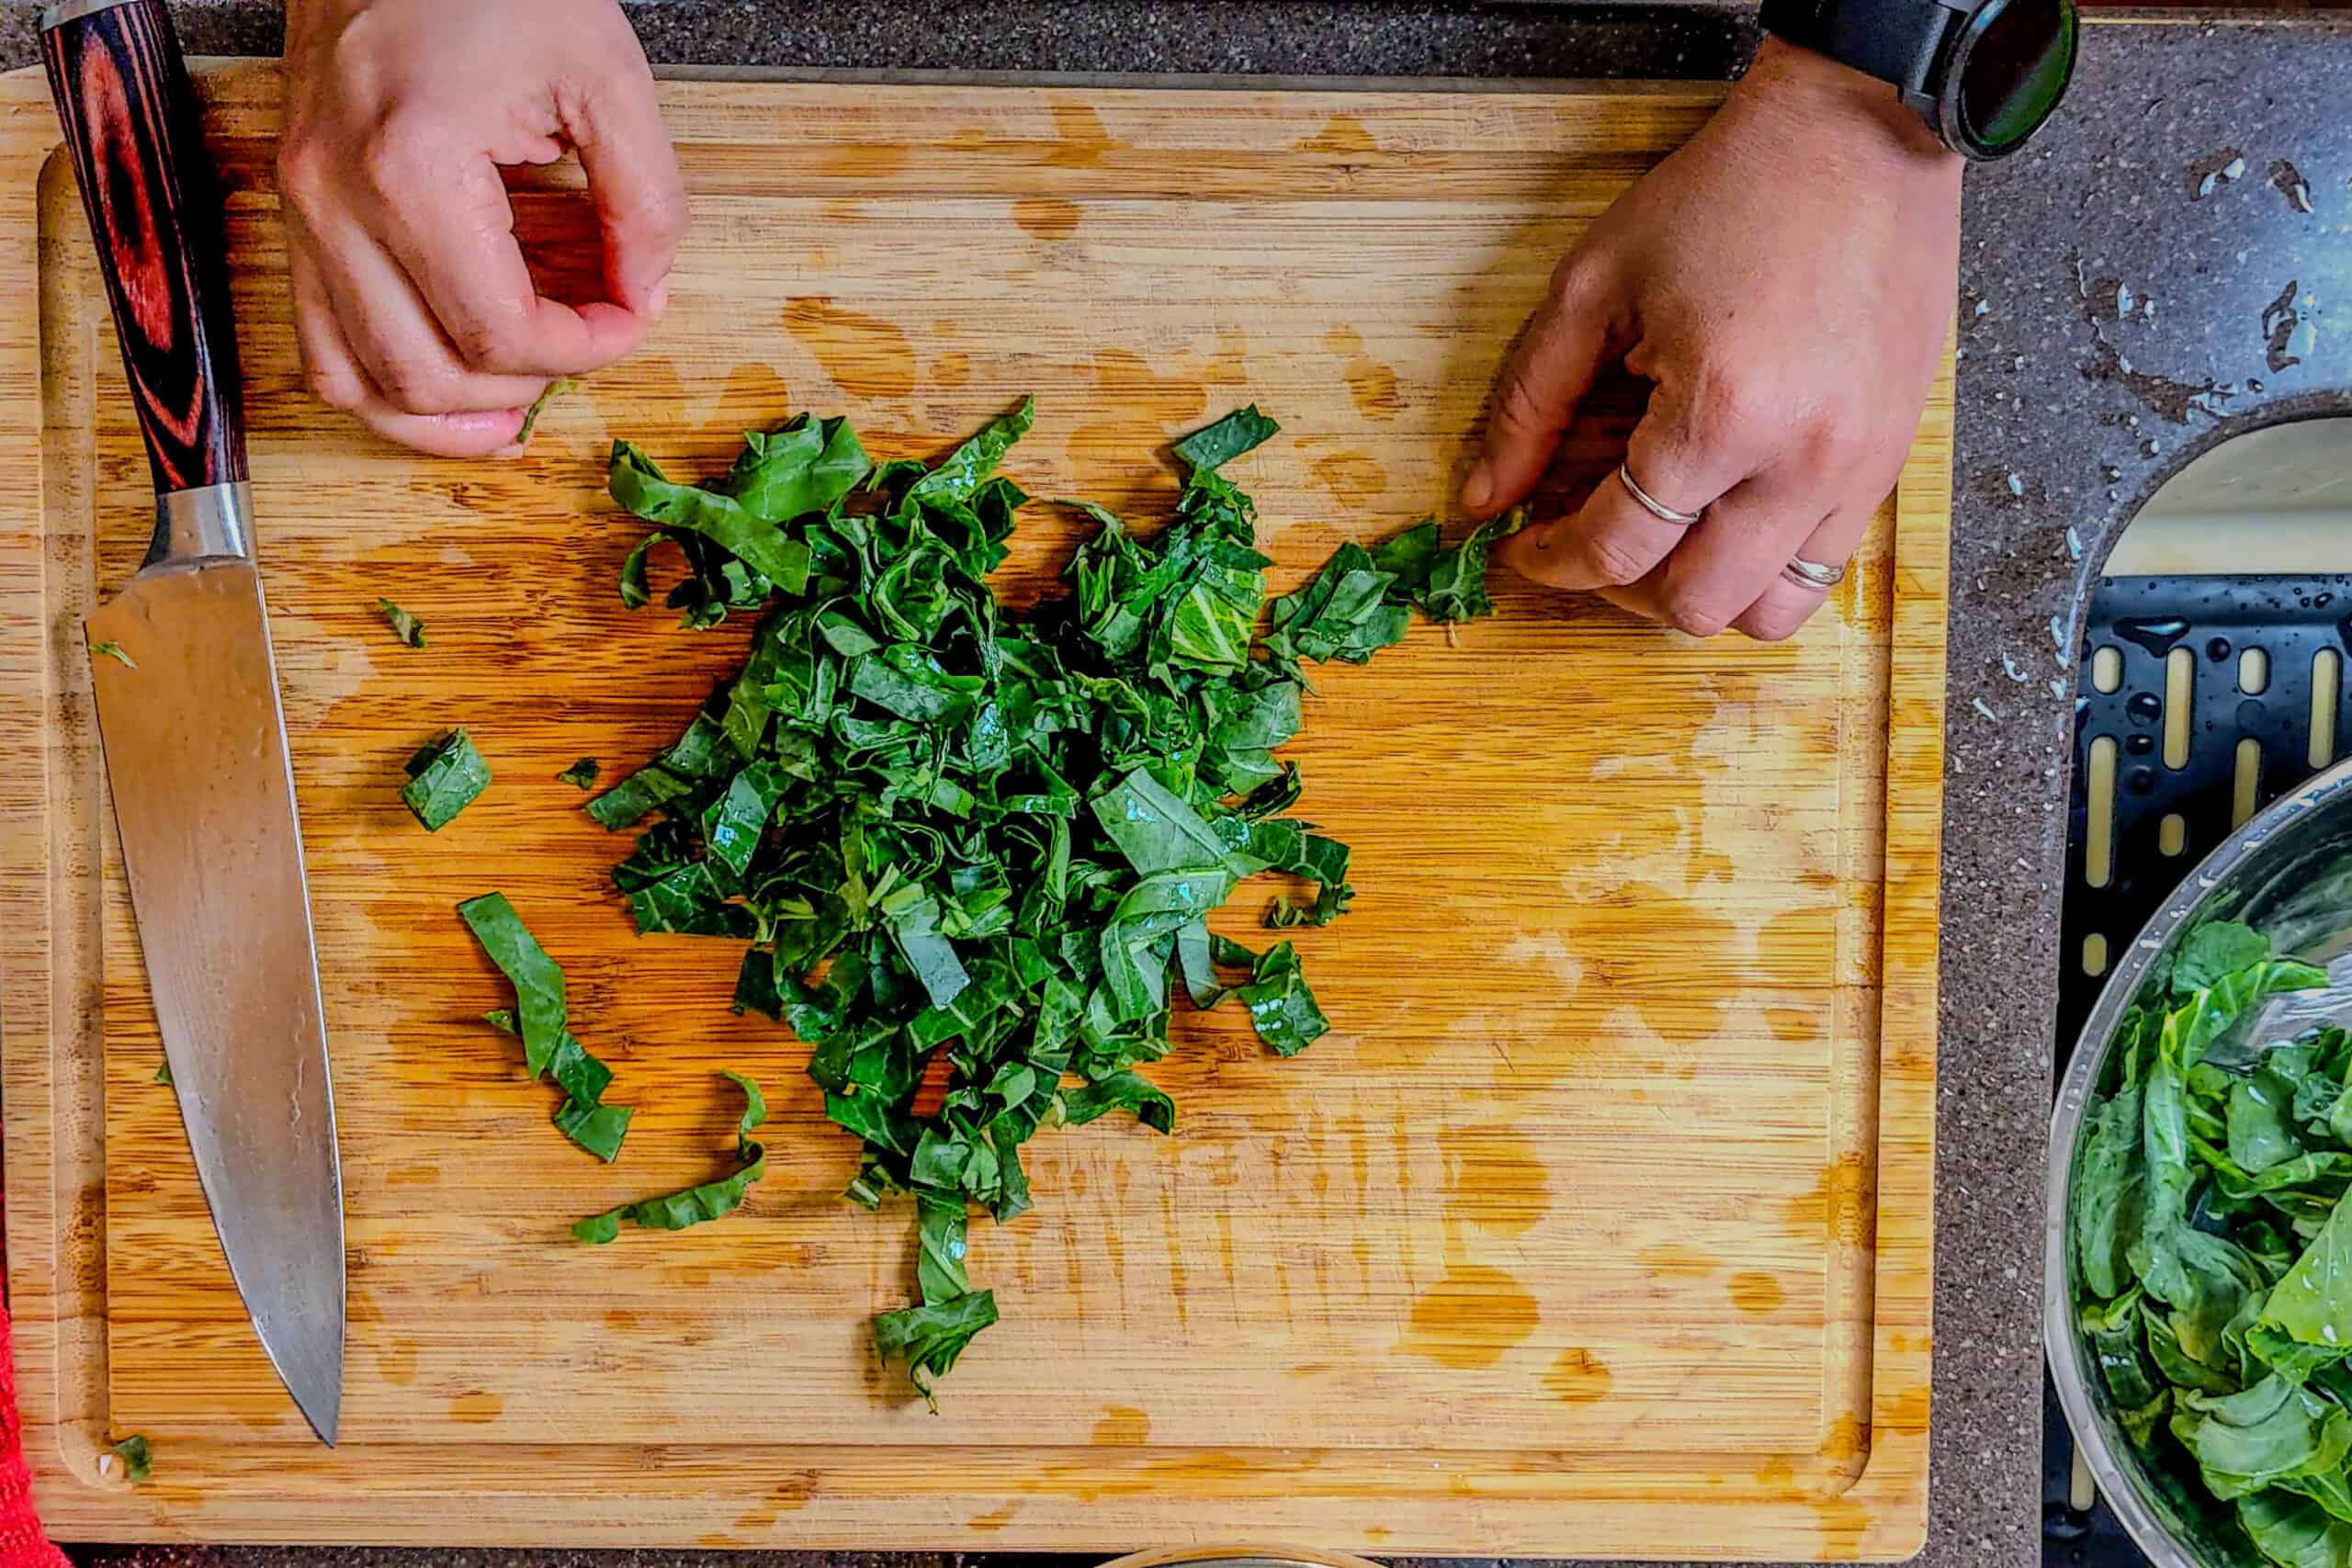
Table of Contents
Jump to:
- Prepping Fresh Collard Greens
- Greens for the Body and Soul
- Why Trimming Is a Must
- Culinary Glossary
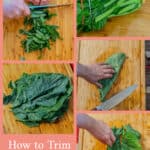
- Instructions with Pictures
- Step 1: Trim the Bottom Stems (While Bunched Together)
- Step 2: Remove the Tough Central Stem
- Method 1: Folding & Slicing
- Step 3a: Stack and Roll
- Method 2: Removing by Hand
- Step 3b: Stack and Roll Leaves
- Step 4a: Slice the Leaves
- Step 4b: Optional – Chop into Bite-Sized Pieces
- What is "Pot Liquor"?
- Equipment
- Storage
- Prepping Tips Recap
- Frequently Asked Questions
- More Cook's Notebook Articles
- Trending Recipes
- Subscribe to the YouTube Channel
- Have a Comment or Question?
Prepping Fresh Collard Greens
Trimming collard greens is more than just a kitchen task—it’s a useful technique every Southern kitchen and beyond should know, especially if you want tender, flavorful greens that cook evenly and don’t feel like you’re chewing on a tree branch.
It doesn't matter if you're preparing a pot of southern-style collard greens simmered with ham hocks or tossing greens into your favorite southern soul food cuisine recipe, knowing how to remove the tough stem and slice the leaves properly is a skill that transforms your dish from basic to bold.
This step-by-step guide walks home cooks through the easiest ways to prep fresh collard greens, helping you unlock their best texture, flavor, and tradition—one leaf at a time.
Greens for the Body and Soul
Collard greens may be a cornerstone of Southern cooking, but they’re not just for soul food and Sunday suppers—they’re a versatile, nutrient-rich leafy green that can be enjoyed in cuisines far beyond the American South.
Health Benefits
Packed with fiber, vitamins A, C, and K, plus calcium and iron, collard greens support bone health, aid digestion, and may even reduce the risk of chronic diseases like heart disease and certain cancers (Harvard School of Public Health, NIH, New Entry).
Convenience
I personally love heading to my local store here in South Florida, where I can find fresh collard greens in their whole form or already chopped and bagged—making it easy to grab what I need for any meal. These greens are not only a fantastic side dish, but they also work beautifully as a substitute for kale, cabbage, or even spinach in soups, wraps, stir-fries, or grain bowls.
Goals
As a chef, my mission is to encourage everyone to try something new—especially if it means expanding your knowledge and use of fresh ingredients in the kitchen. If collards aren’t already a staple in your home, consider this your sign to give them a place on your plate.

How to Clean Collard Greens | Step-by-Step
Learn how to clean collard greens the right way with this step-by-step guide designed for beginner home cooks—because nobody wants to bite into gritty, sandy, or “crunchy” greens.
From soaking and swishing to drying them properly, this post will help you confidently remove dirt, bugs, and tough surprises hiding in your leafy greens, so you’re left with tender, flavorful collards ready for your favorite soul food recipes.
Why Trimming Is a Must
Once you’ve got your clean collard greens ready, it’s time to trim—and believe me, this isn’t a step you want to skip. Fresh collard greens, like many leafy greens, come with a tough stem running right through the middle.
While that central rib supports the structure of the leaf, it doesn’t soften much during the cooking process, and biting into it feels like chewing a twig.
For Delicious Results
Learning the easiest way to remove the stem and slice your greens into thin strips is the best way to set yourself up for delicious results—whether you’re simmering them with ham hocks, tossing them into a slow cooker, or giving them a quick sauté.
This step-by-step guide shows you how to trim collards the right way, using everyday tools and beginner-friendly methods that fit perfectly into your cooking routine. So, let's get into it!
My Rating: ⭐⭐⭐⭐⭐
Purchased: November 9, 2023
My Review: As a professional chef and culinary instructor, I rely on quality knives both at home and in my cooking classes. After purchasing the PAUDIN Santoku Knife and loving its performance, I decided to invest in the 7-Piece Chef Knife Set—and I’m so glad I did! These knives are lightweight yet incredibly sharp, making prep work effortless whether I’m dicing, slicing, or chopping. The high-carbon stainless steel blades hold their edge well, and the Pakkawood handles offer a comfortable, balanced grip for extended use. I’ve used this set in my instruction classes and home kitchen, and it consistently delivers precision and ease. If you're looking for a reliable, professional-quality knife set without breaking the bank, PAUDIN is a fantastic choice! I highly recommend it for home cooks and professionals alike!

Recommended Reads
- How to Clean Collard Greens | Step-by-Step
- Scotch Bonnet Smoked Turkey Collard Greens Beans Soup
- Tips on How to Prepare and Cook Mushrooms
- 9 Ways to Save Time in the Kitchen
- Best Must-Have Home Kitchen Essentials
Culinary Glossary
This section concisely defines key ingredients and techniques related to this post to enhance understanding and improve cooking skills.
- Collard Greens - A hearty leafy green vegetable with thick, fanlike leaves and tough stems, often used in Southern cuisine. Part of the cruciferous vegetable family, known for its earthy flavor and nutrient density.
- Tough Stem - The fibrous, thick central rib that runs through collard green leaves. It must be removed before cooking for a tender texture and even cooking time.
- Cutting Board - A flat, sturdy surface used for trimming, rolling, and slicing greens. Provides stability and safety while using a sharp knife.
- Chef’s Knife - A large, all-purpose kitchen knife used for trimming stems and slicing stacked collard leaves. Its sharp edge makes clean cuts with minimal effort.
- Paring Knife - A small, precise knife perfect for detailed tasks like slicing out the central rib from folded leaves.
- Clean Kitchen Towel / Paper Towels - Used to pat dry collard greens after washing. Removing excess moisture helps prevent slipping while cutting and avoids soggy greens when cooking.
- Stack, Roll, and Slice - A prep technique where trimmed leaves are stacked, rolled tightly like a cigar, and sliced crosswise into thin strips for quick, even cooking.
- Thin Strips - Uniform slices of collard greens (typically ½ inch wide) that cook evenly and are ideal for braising, sautéing, or stewing.
- Fresh Greens - Recently harvested, crisp, vibrant leafy vegetables—key to achieving the best flavor and texture in cooked dishes.
- Southern-Style Collard Greens - A traditional dish in Southern U.S. cuisine where collard greens are slow-cooked with ingredients like smoked meat, garlic, onions, and pot likker.
- Ham Hocks - A cut of pork from the pig’s leg, usually smoked, used to flavor collard greens and other Southern dishes with rich, savory depth.
- Airtight Container - A sealed food storage container that keeps prepped greens fresh in the fridge, preventing wilting and odor transfer.
- Plastic Freezer Bags - Heavy-duty resealable bags used to store chopped or blanched collard greens in the freezer for long-term use.
- Southern Cuisine - A regional style of cooking in the U.S. characterized by bold flavors, slow-cooked dishes, and comfort food staples like collard greens, cornbread, and black-eyed peas.
Instructions with Pictures
Follow the instructions and cooking tips below using the step-by-step picture guide.
How to Clean Collard Greens | Step-by-Step
Learn how to clean collard greens the right way with this step-by-step guide designed for beginner home cooks—because nobody wants to bite into gritty, sandy, or “crunchy” greens.
From soaking and swishing to drying them properly, this post will help you confidently remove dirt, bugs, and tough surprises hiding in your leafy greens, so you’re left with tender, flavorful collards ready for your favorite soul food recipes. Read more on how to clean Collard Greens here.
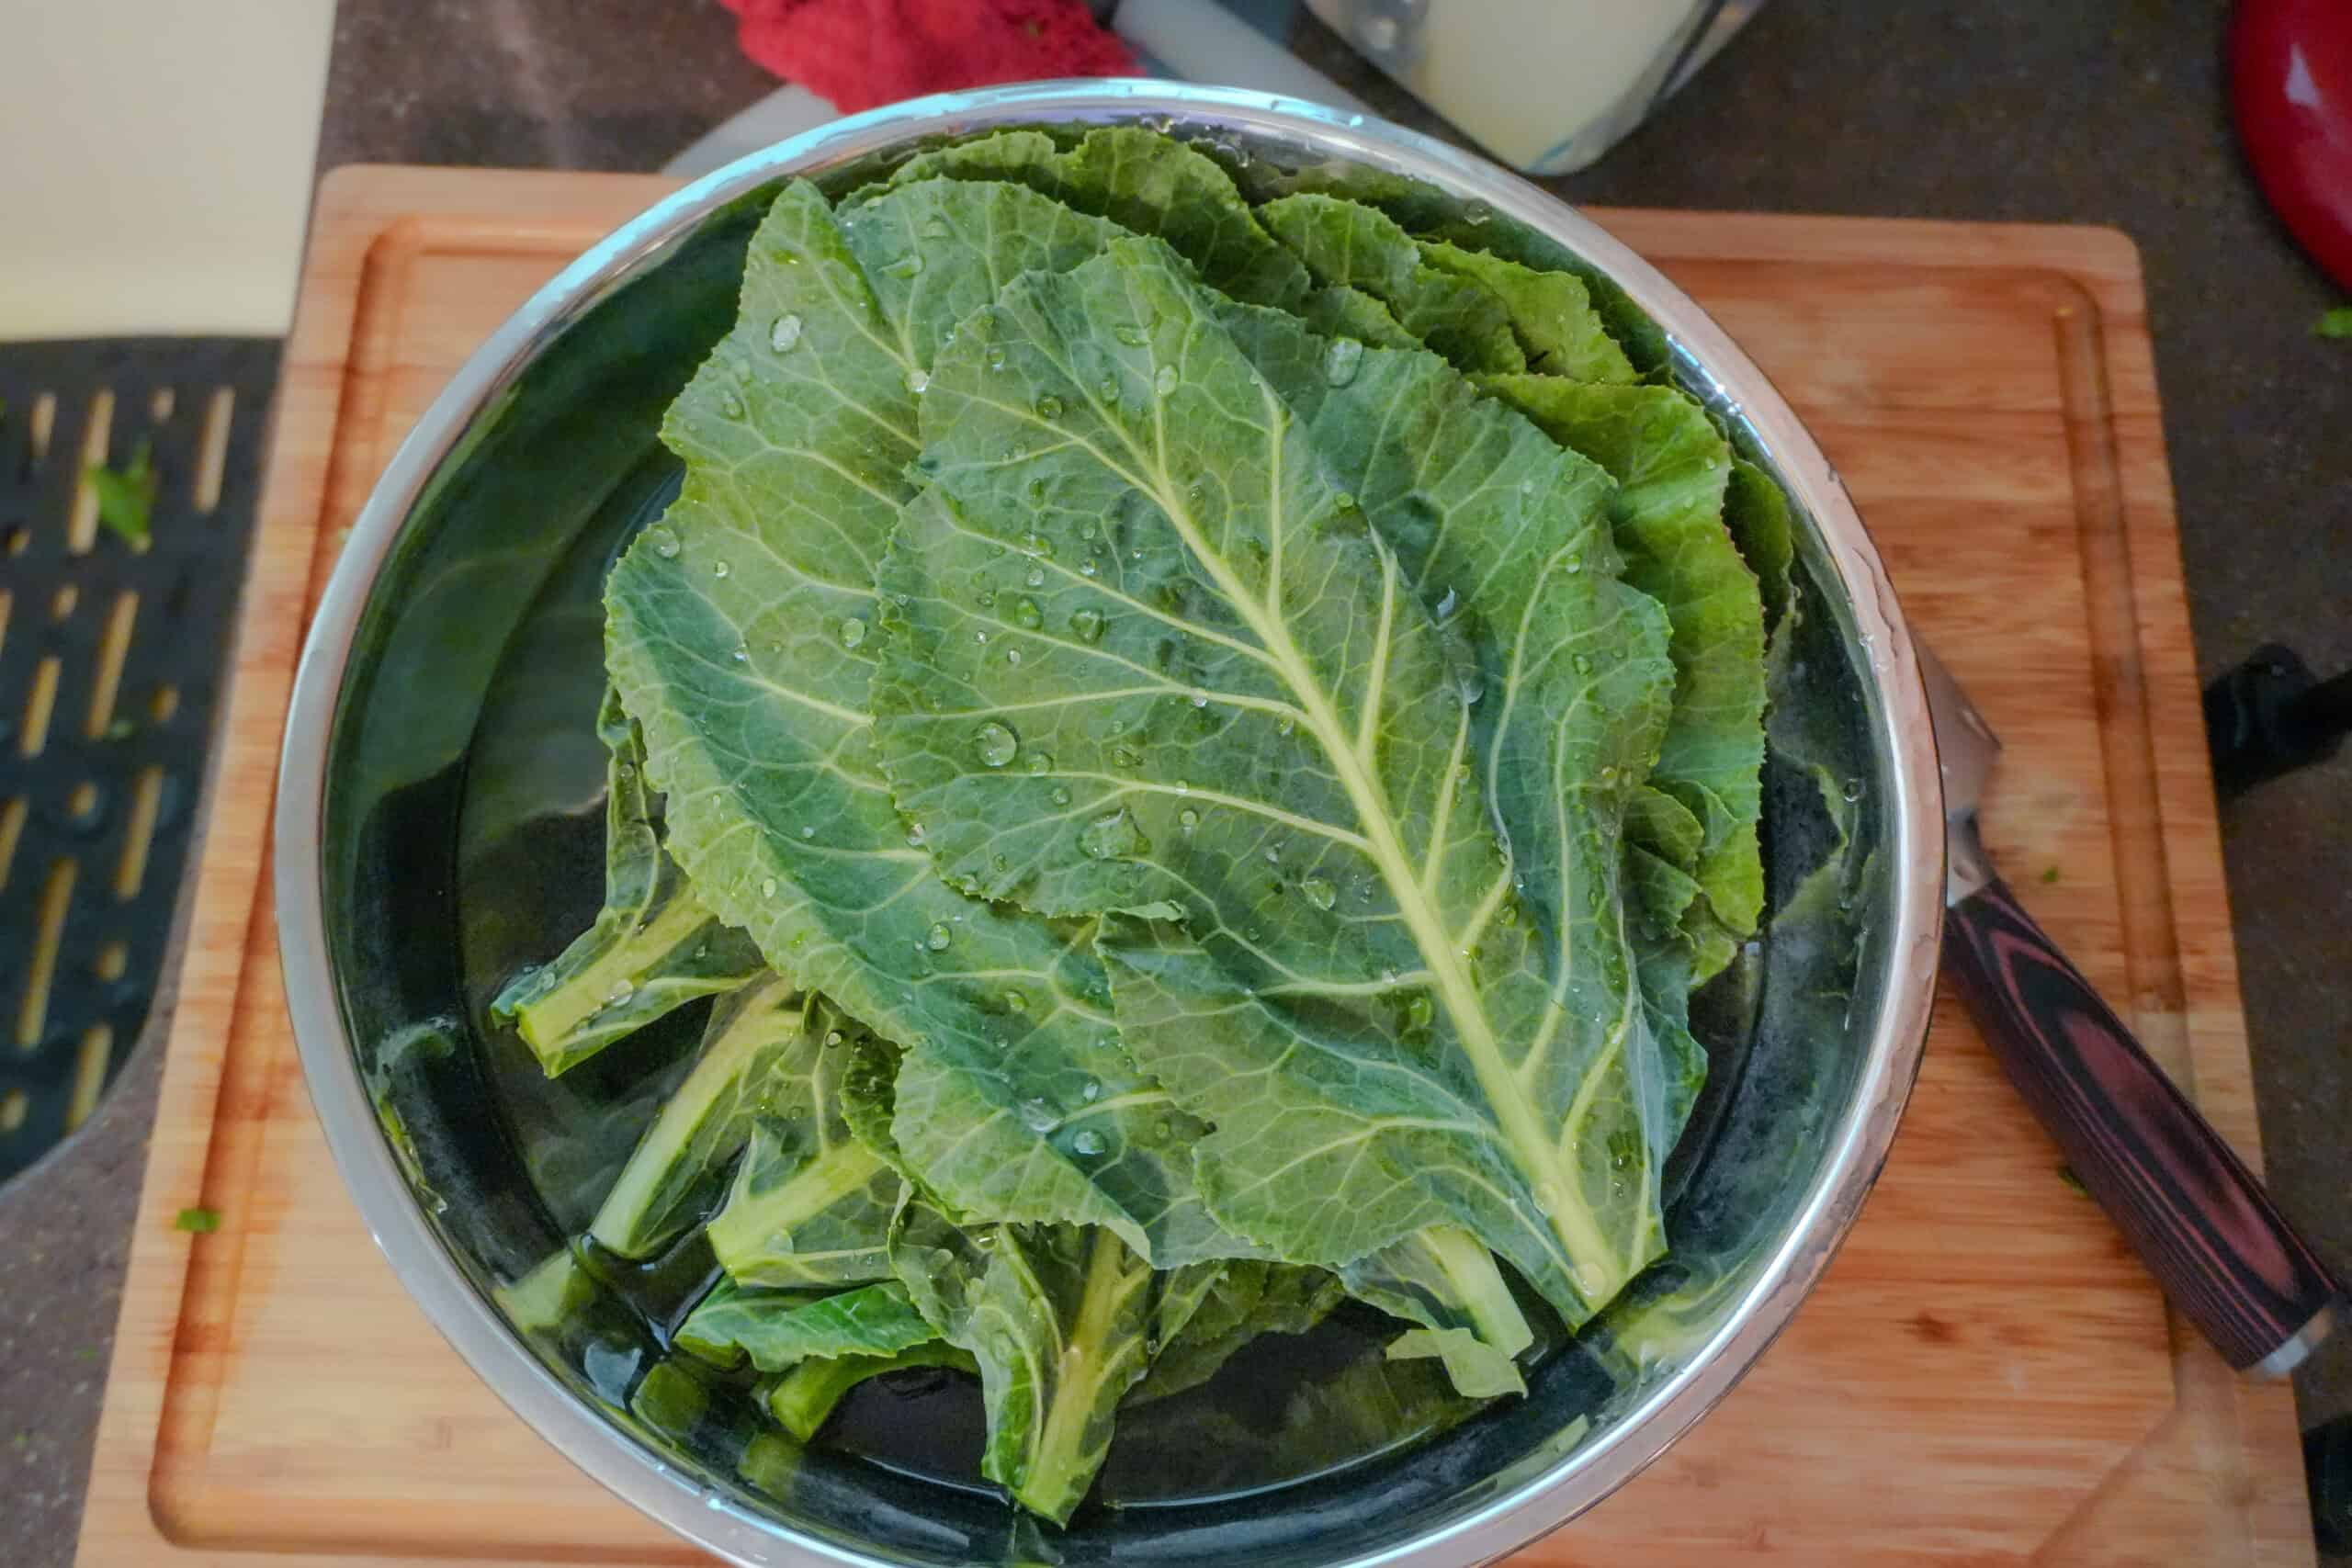
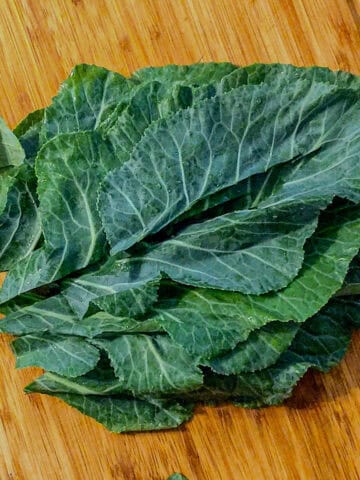
Step 1: Trim the Bottom Stems (While Bunched Together)
Start with a fresh bunch of collards straight from the grocery store or your veg world of choice. If they’re still tied with a rubber band, don’t remove it yet.
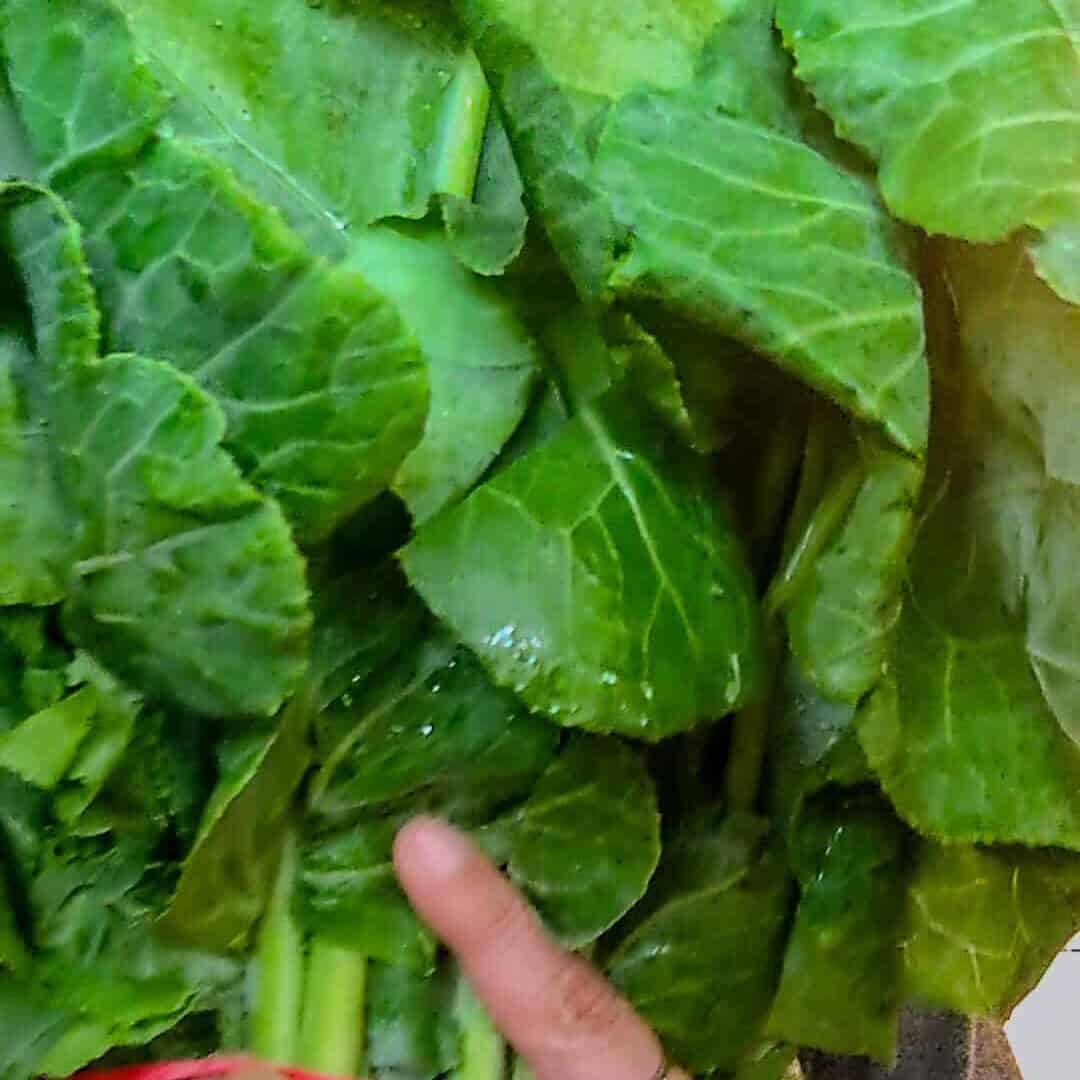
Make sure the bottom stems are not soft or mushy.
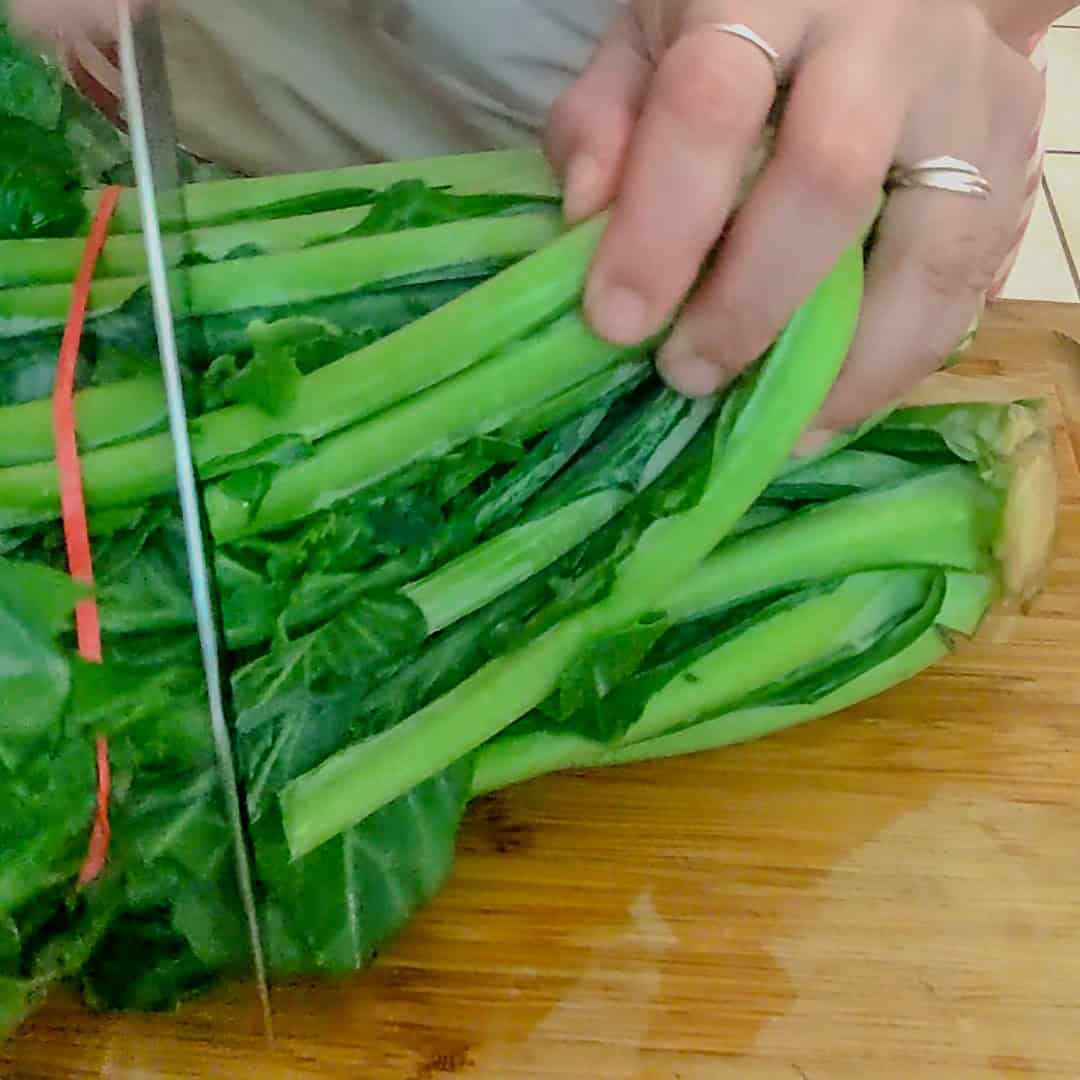
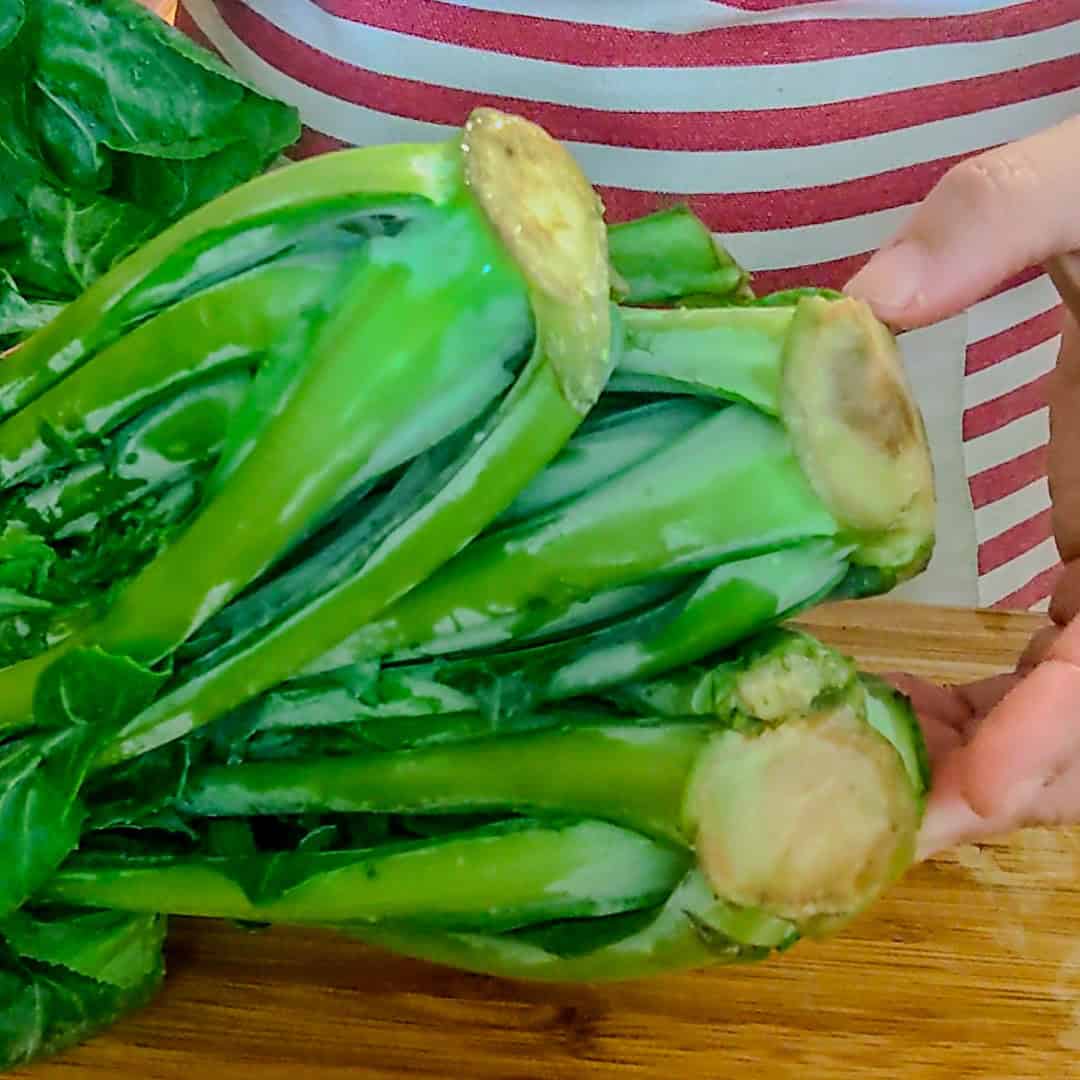
Lay the bunch flat on a cutting board, keeping the rubber band on.
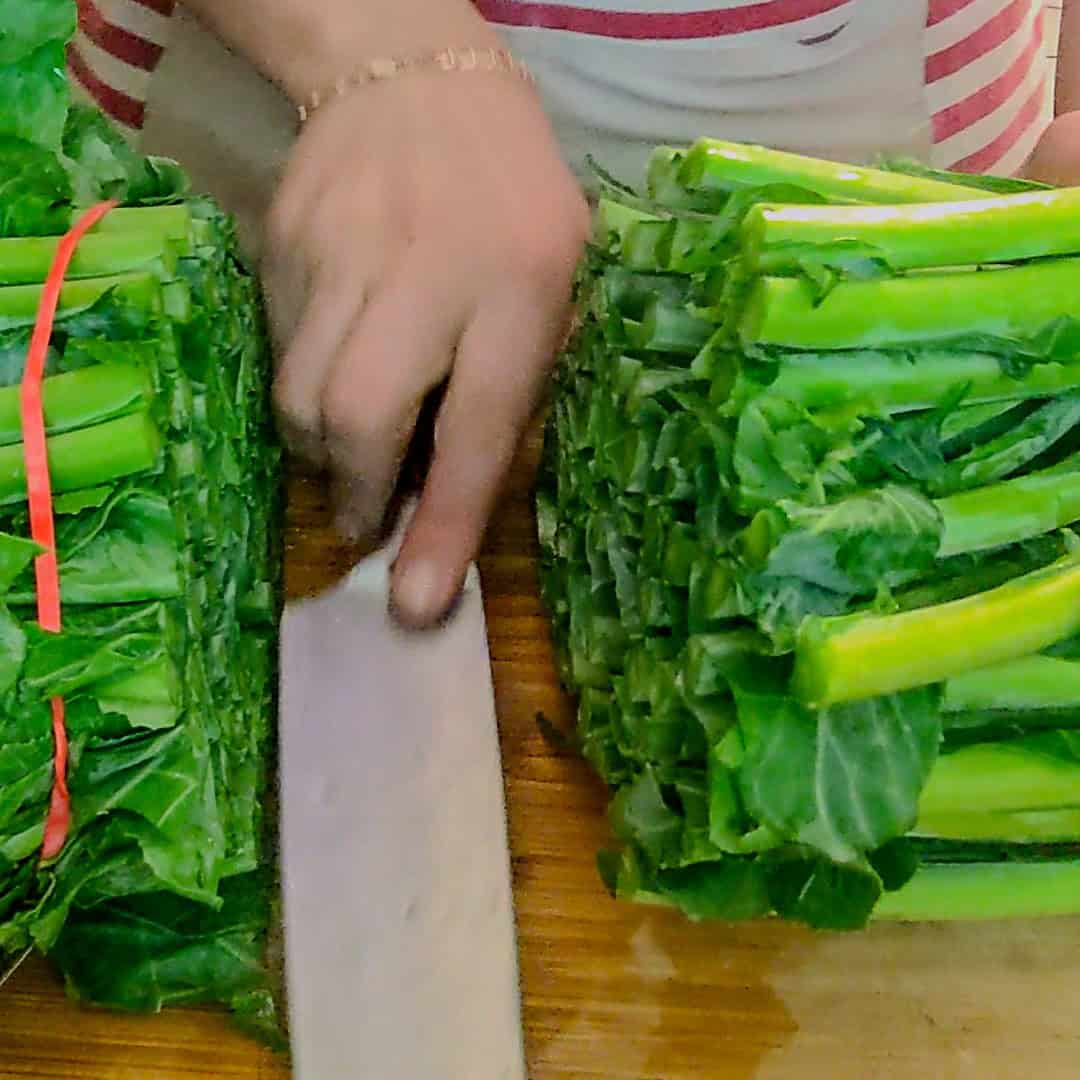
Use a sharp knife (a chef’s knife or paring knife, both work) to cut about an inch above the base, removing the hardest part of the stem.

Chef Tip: Removing the bottom while the bunch is intact makes this a quicker, cleaner first cut—and keeps the flavor of the greens intact during cooking.
Step 2: Remove the Tough Central Stem
You’ve got options here, depending on how hands-on you like to be.
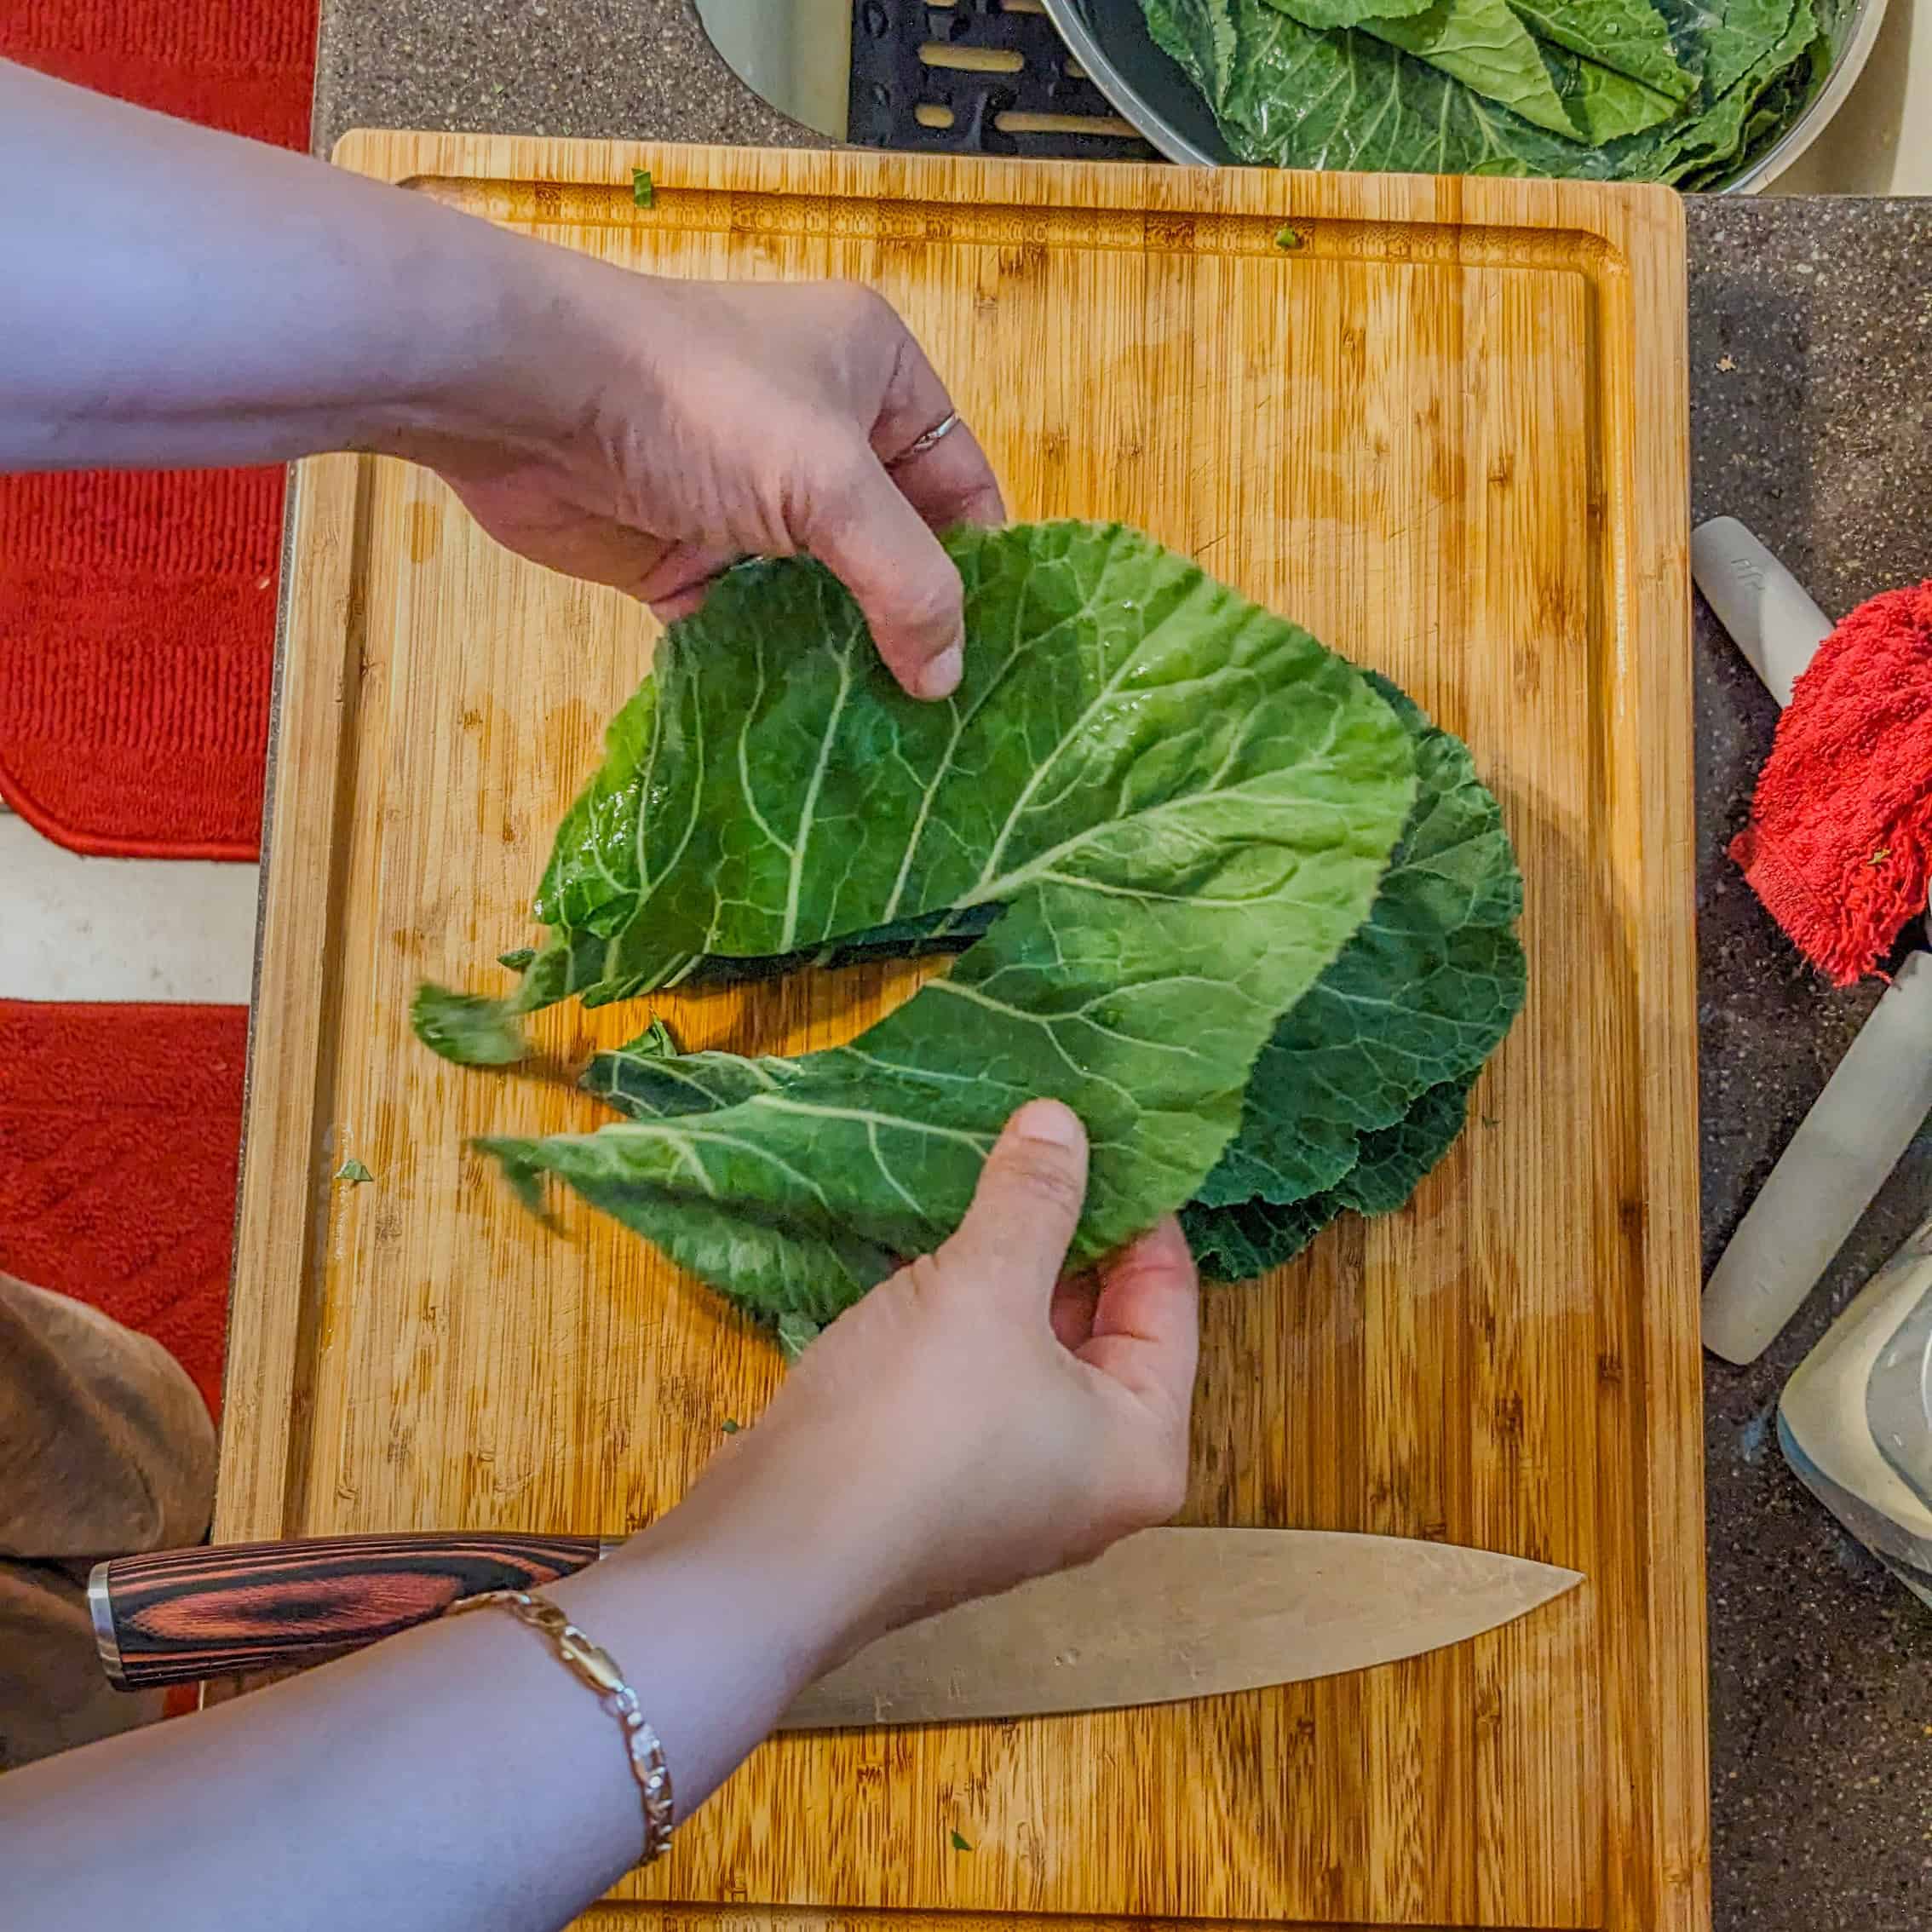
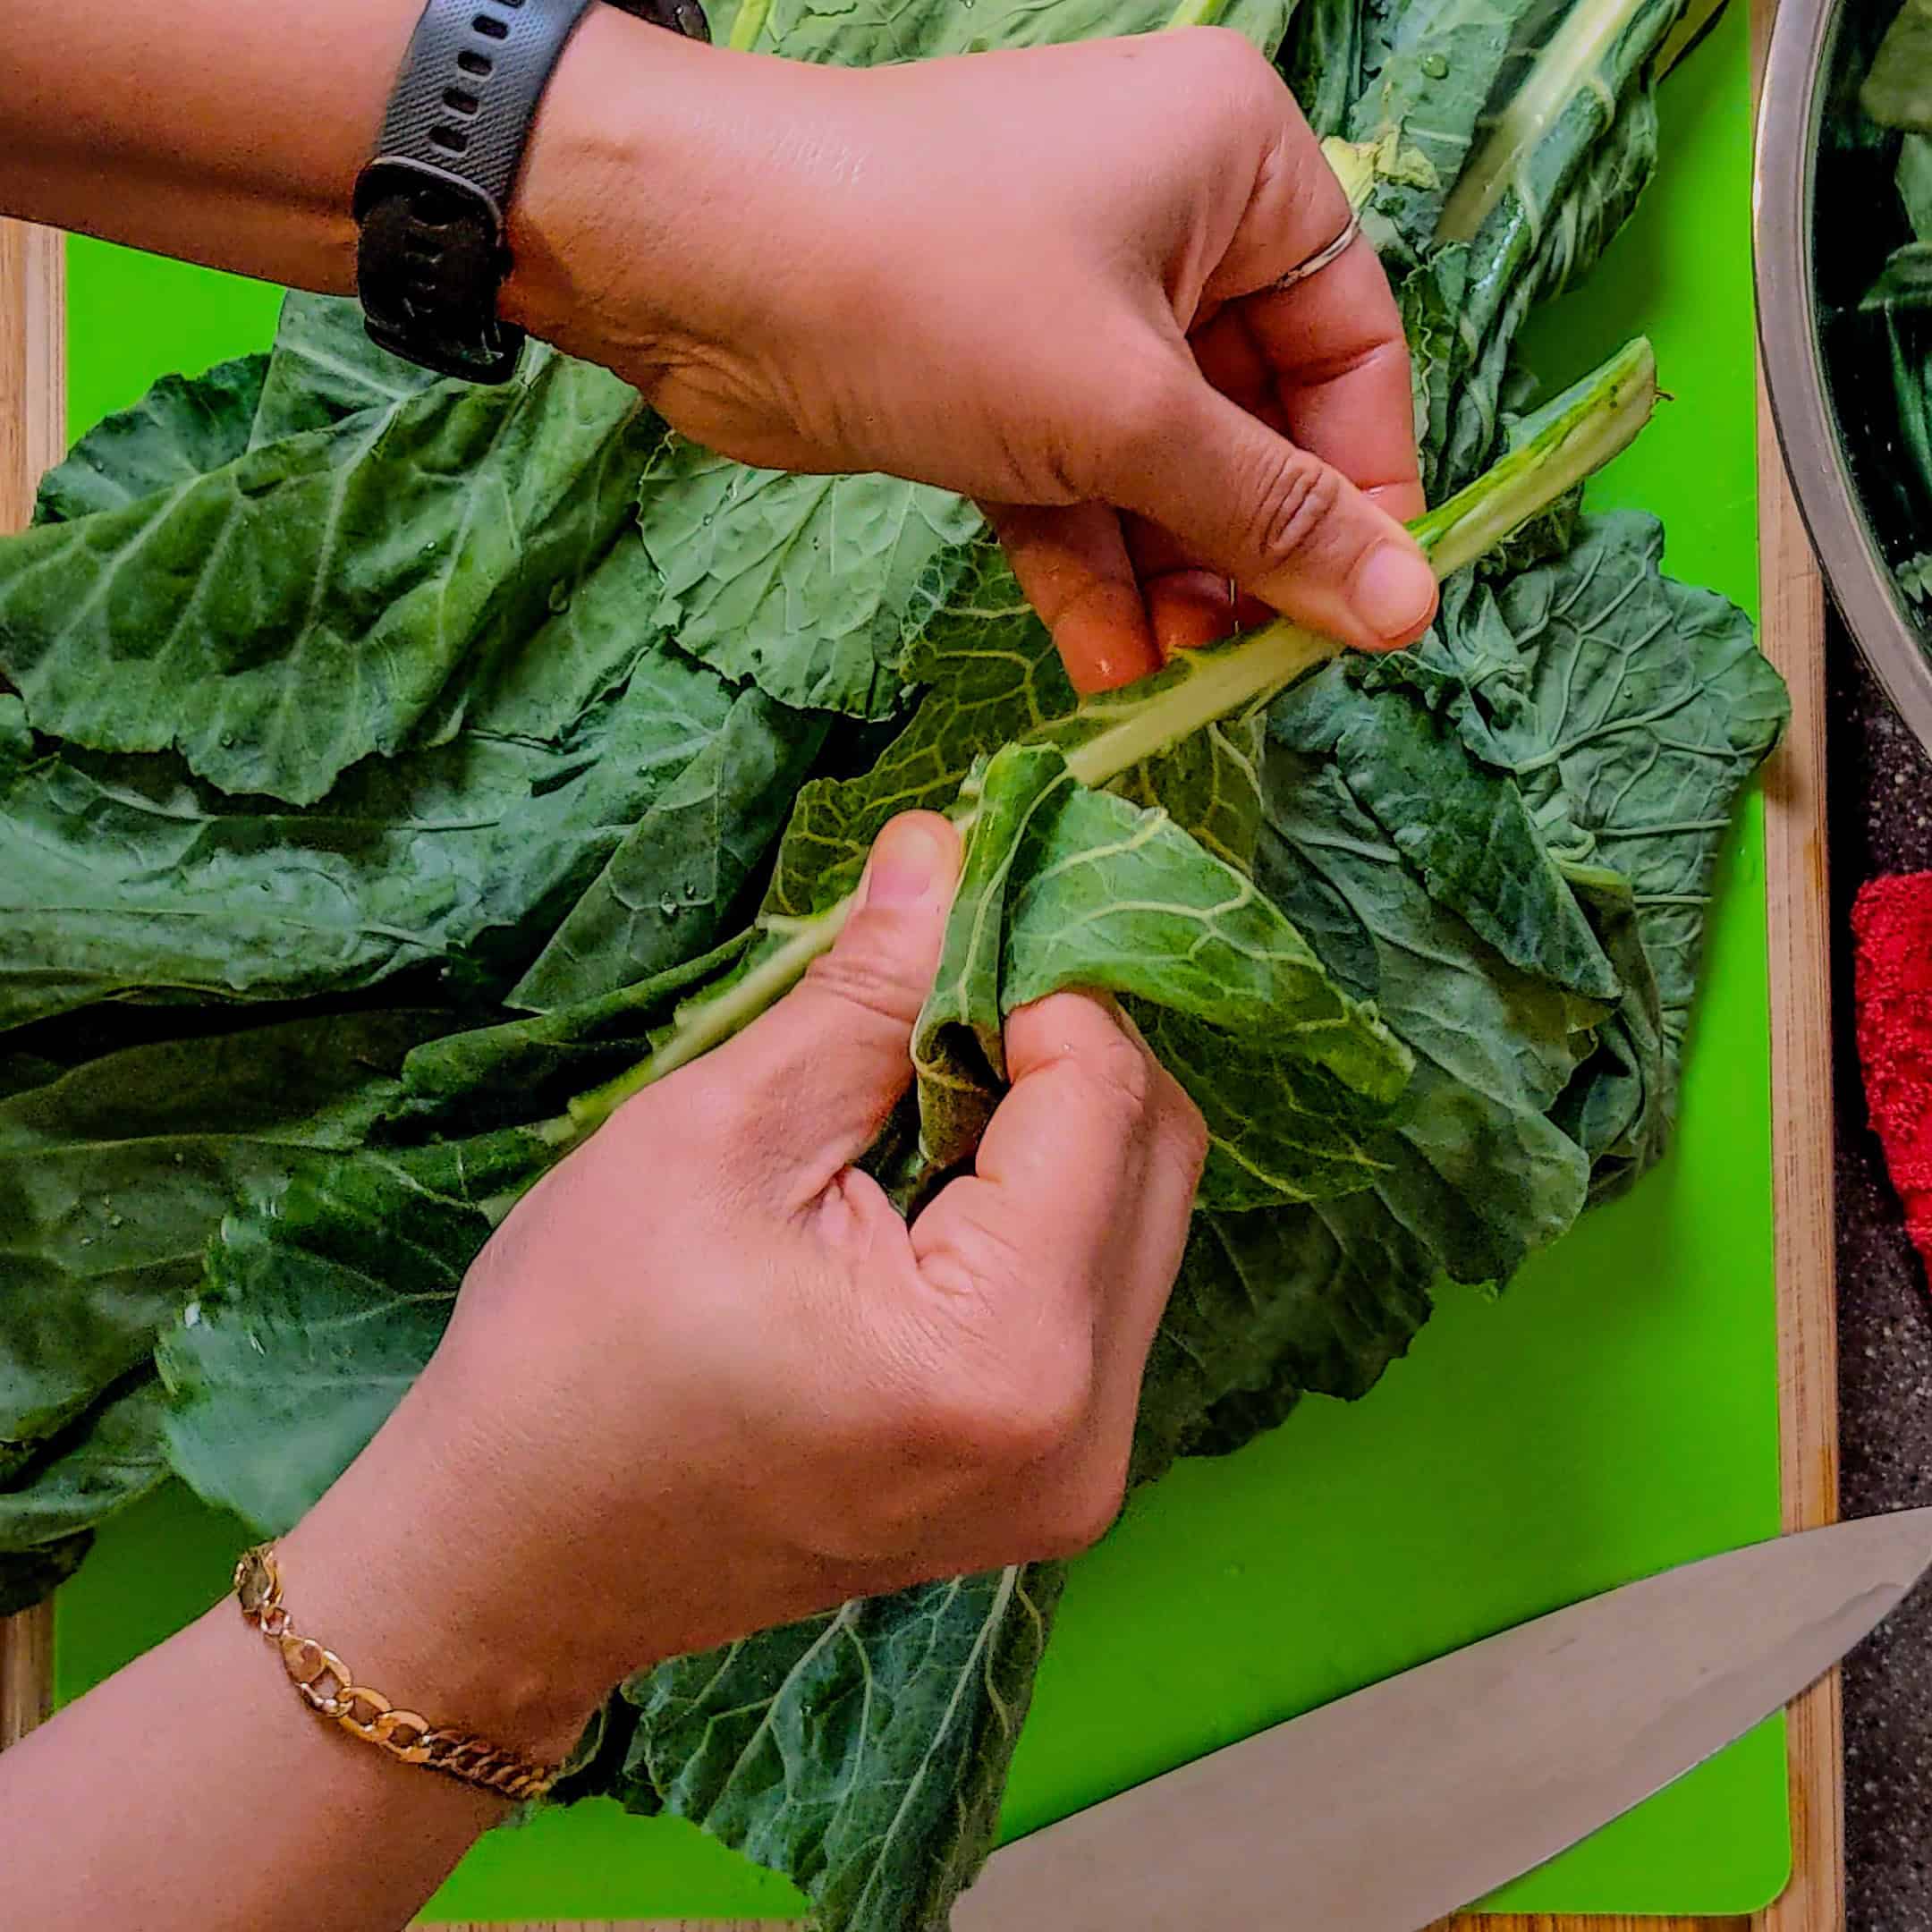
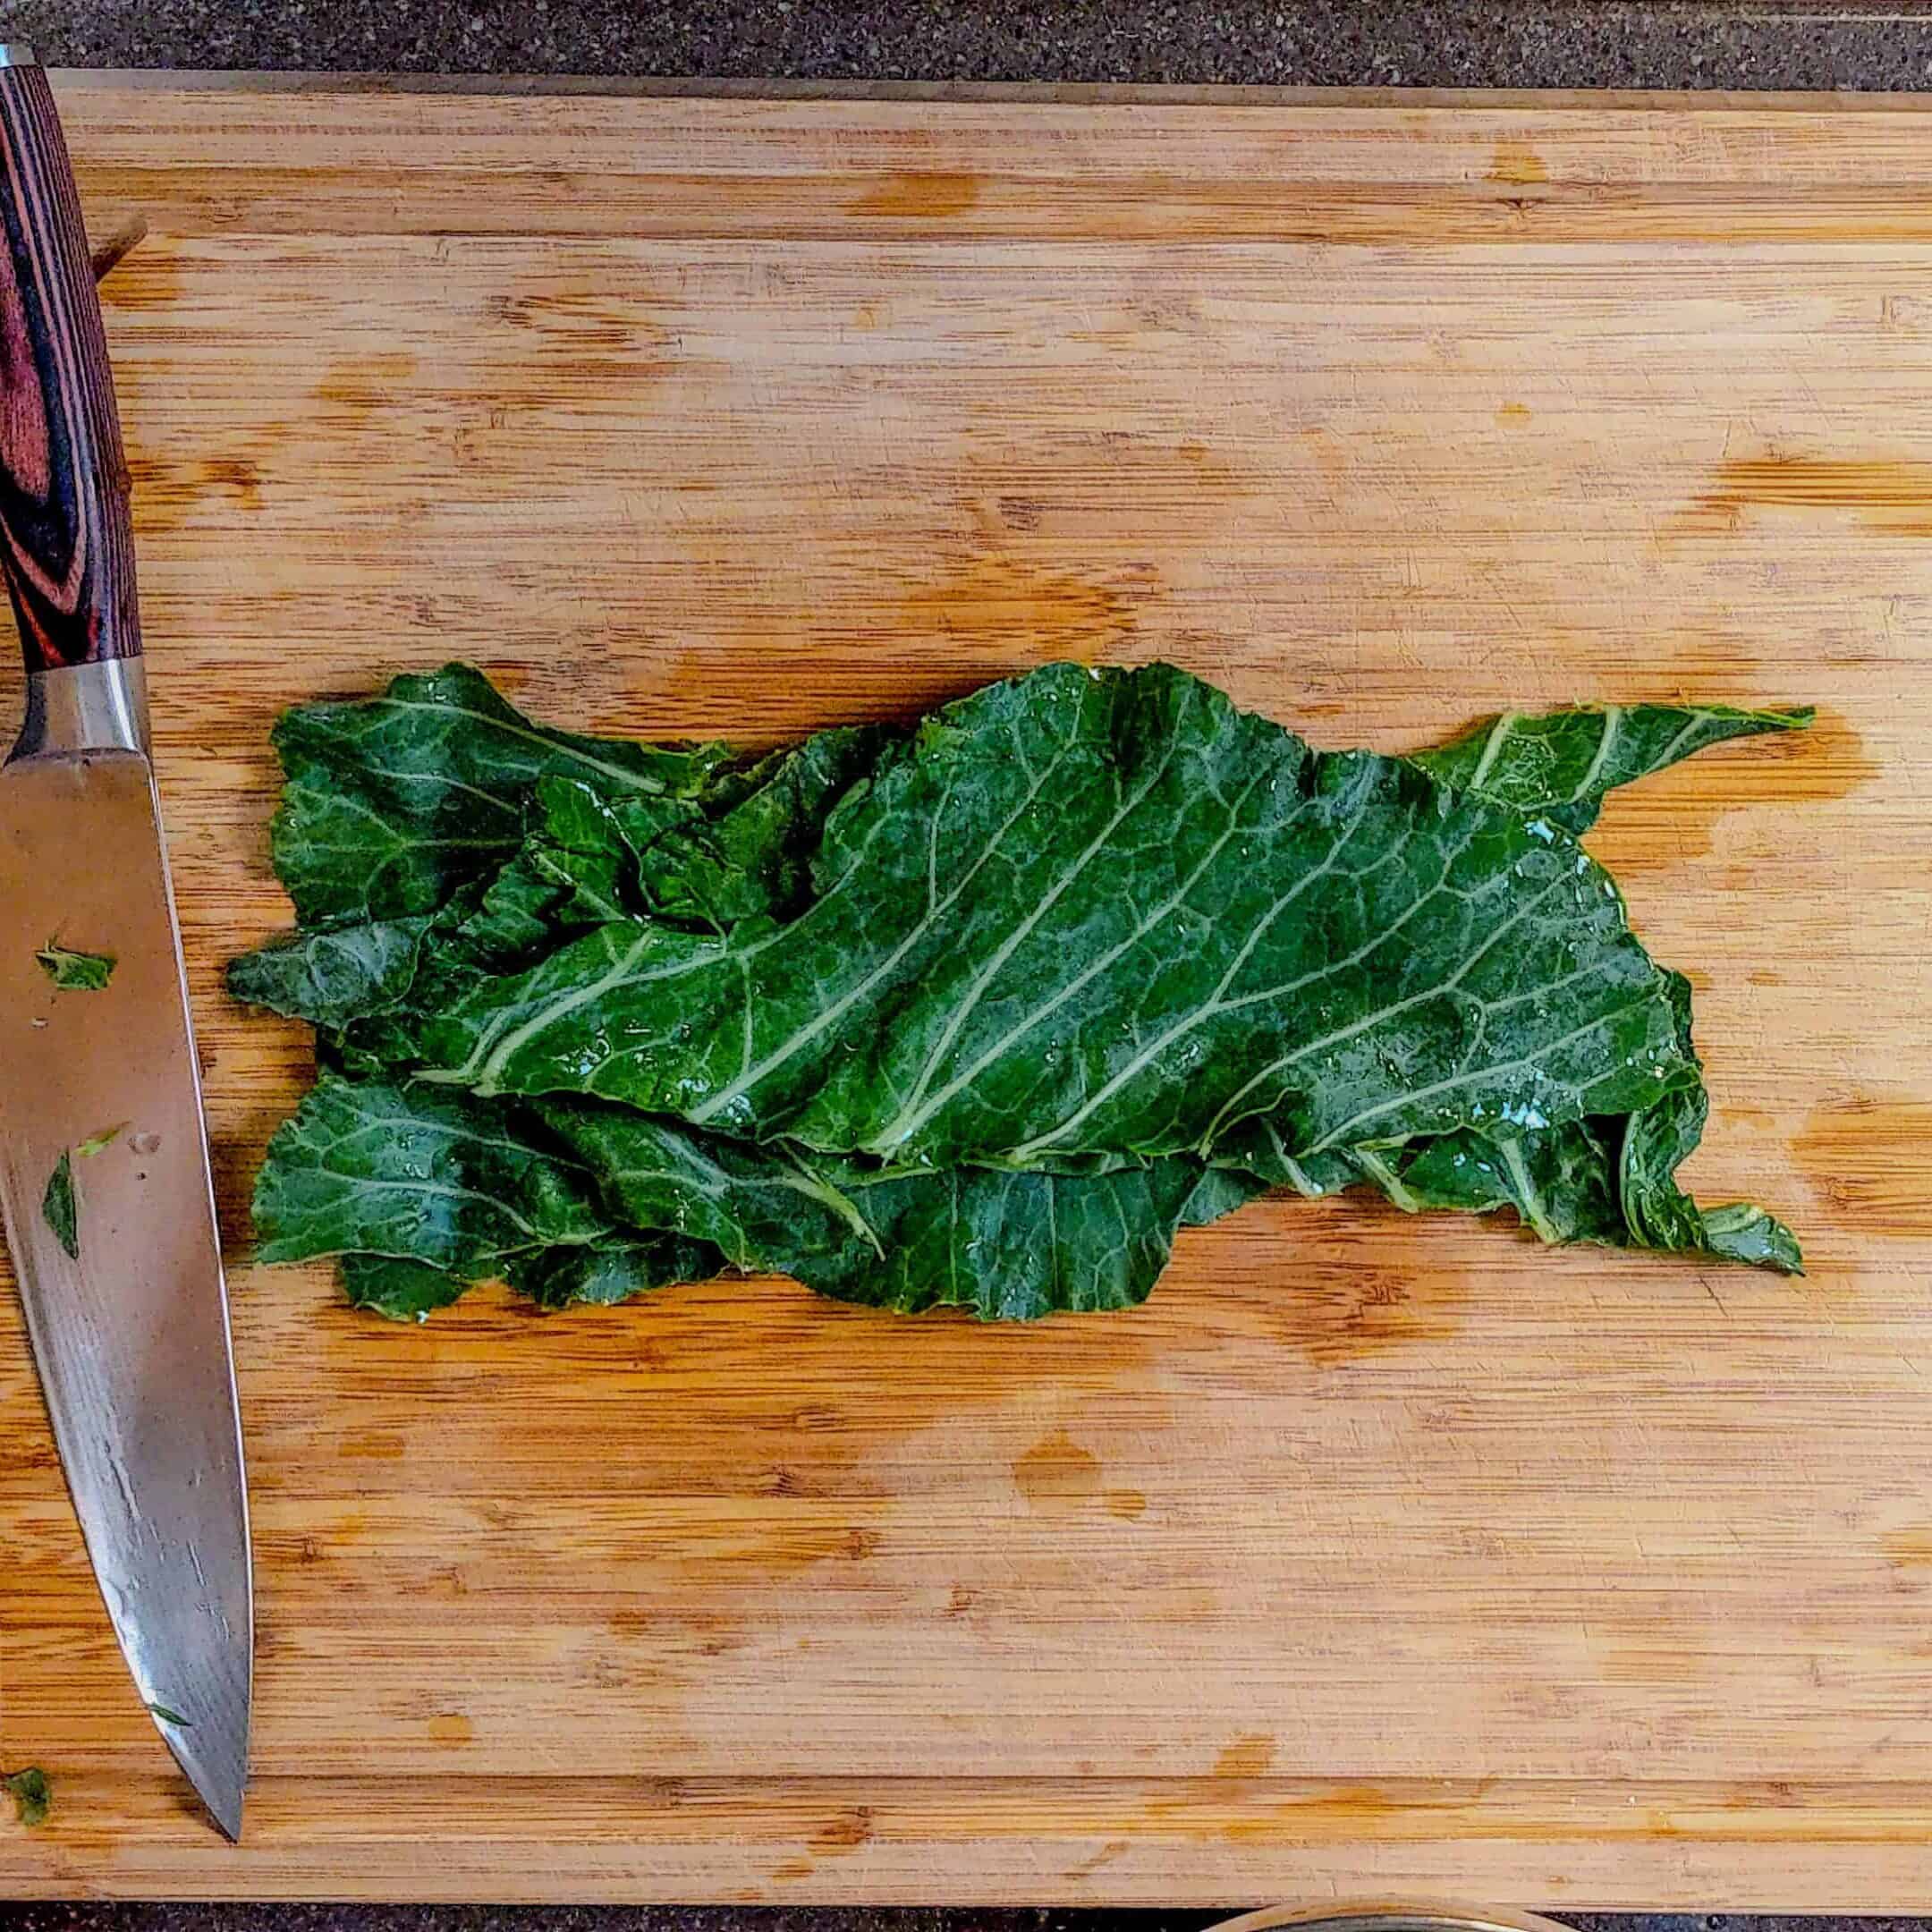
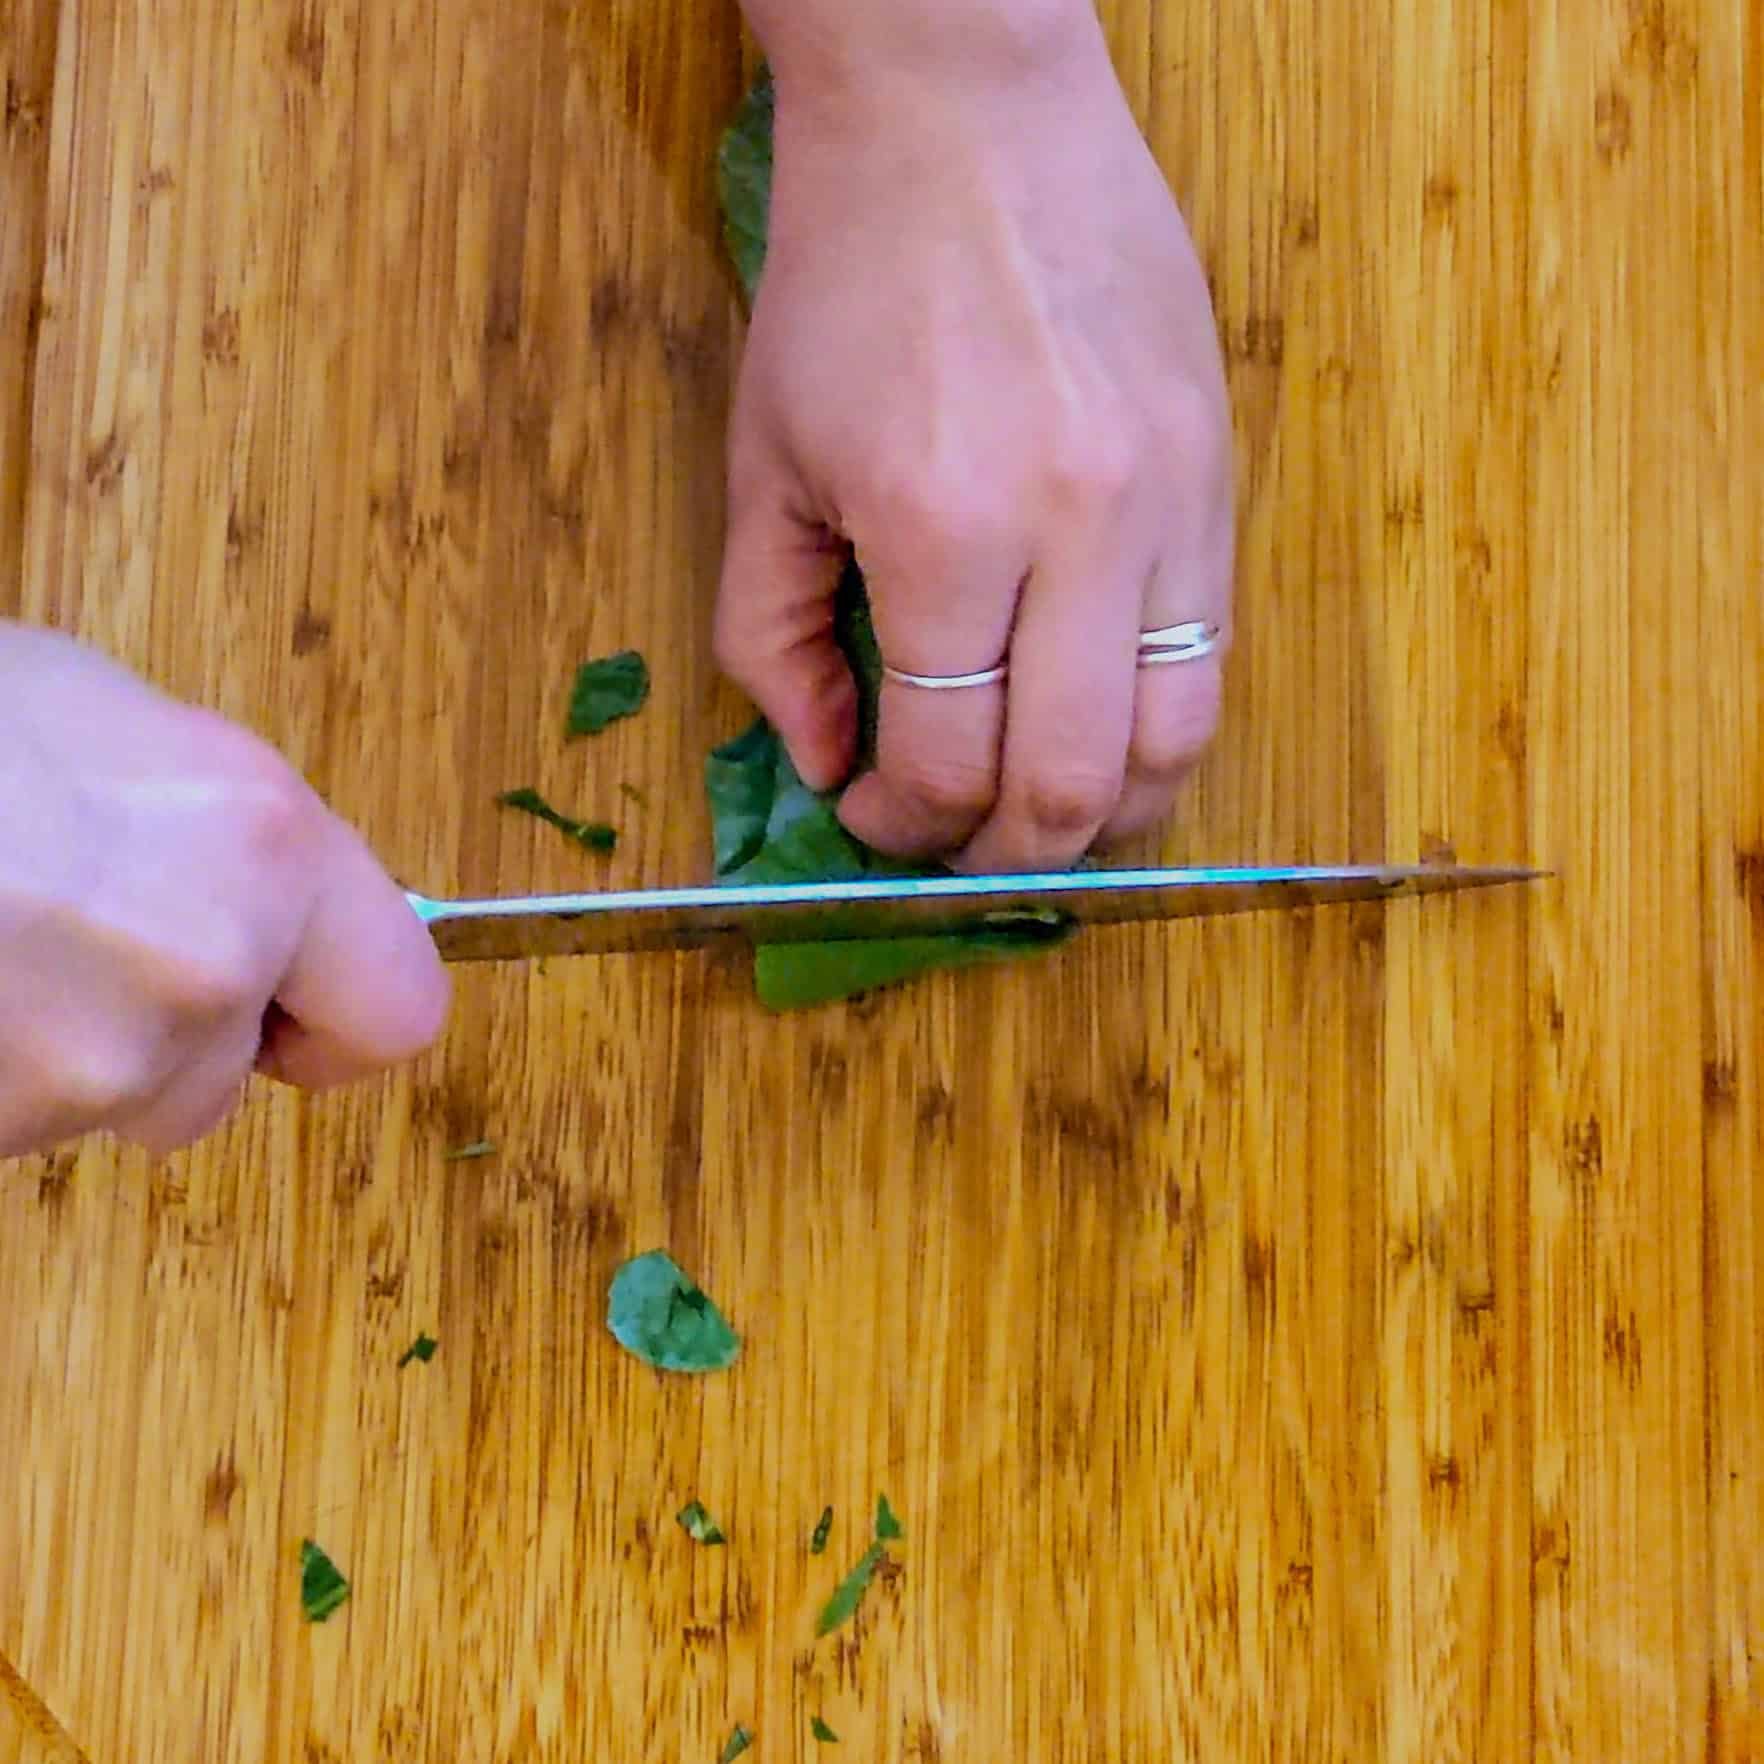
Method 1: Folding & Slicing
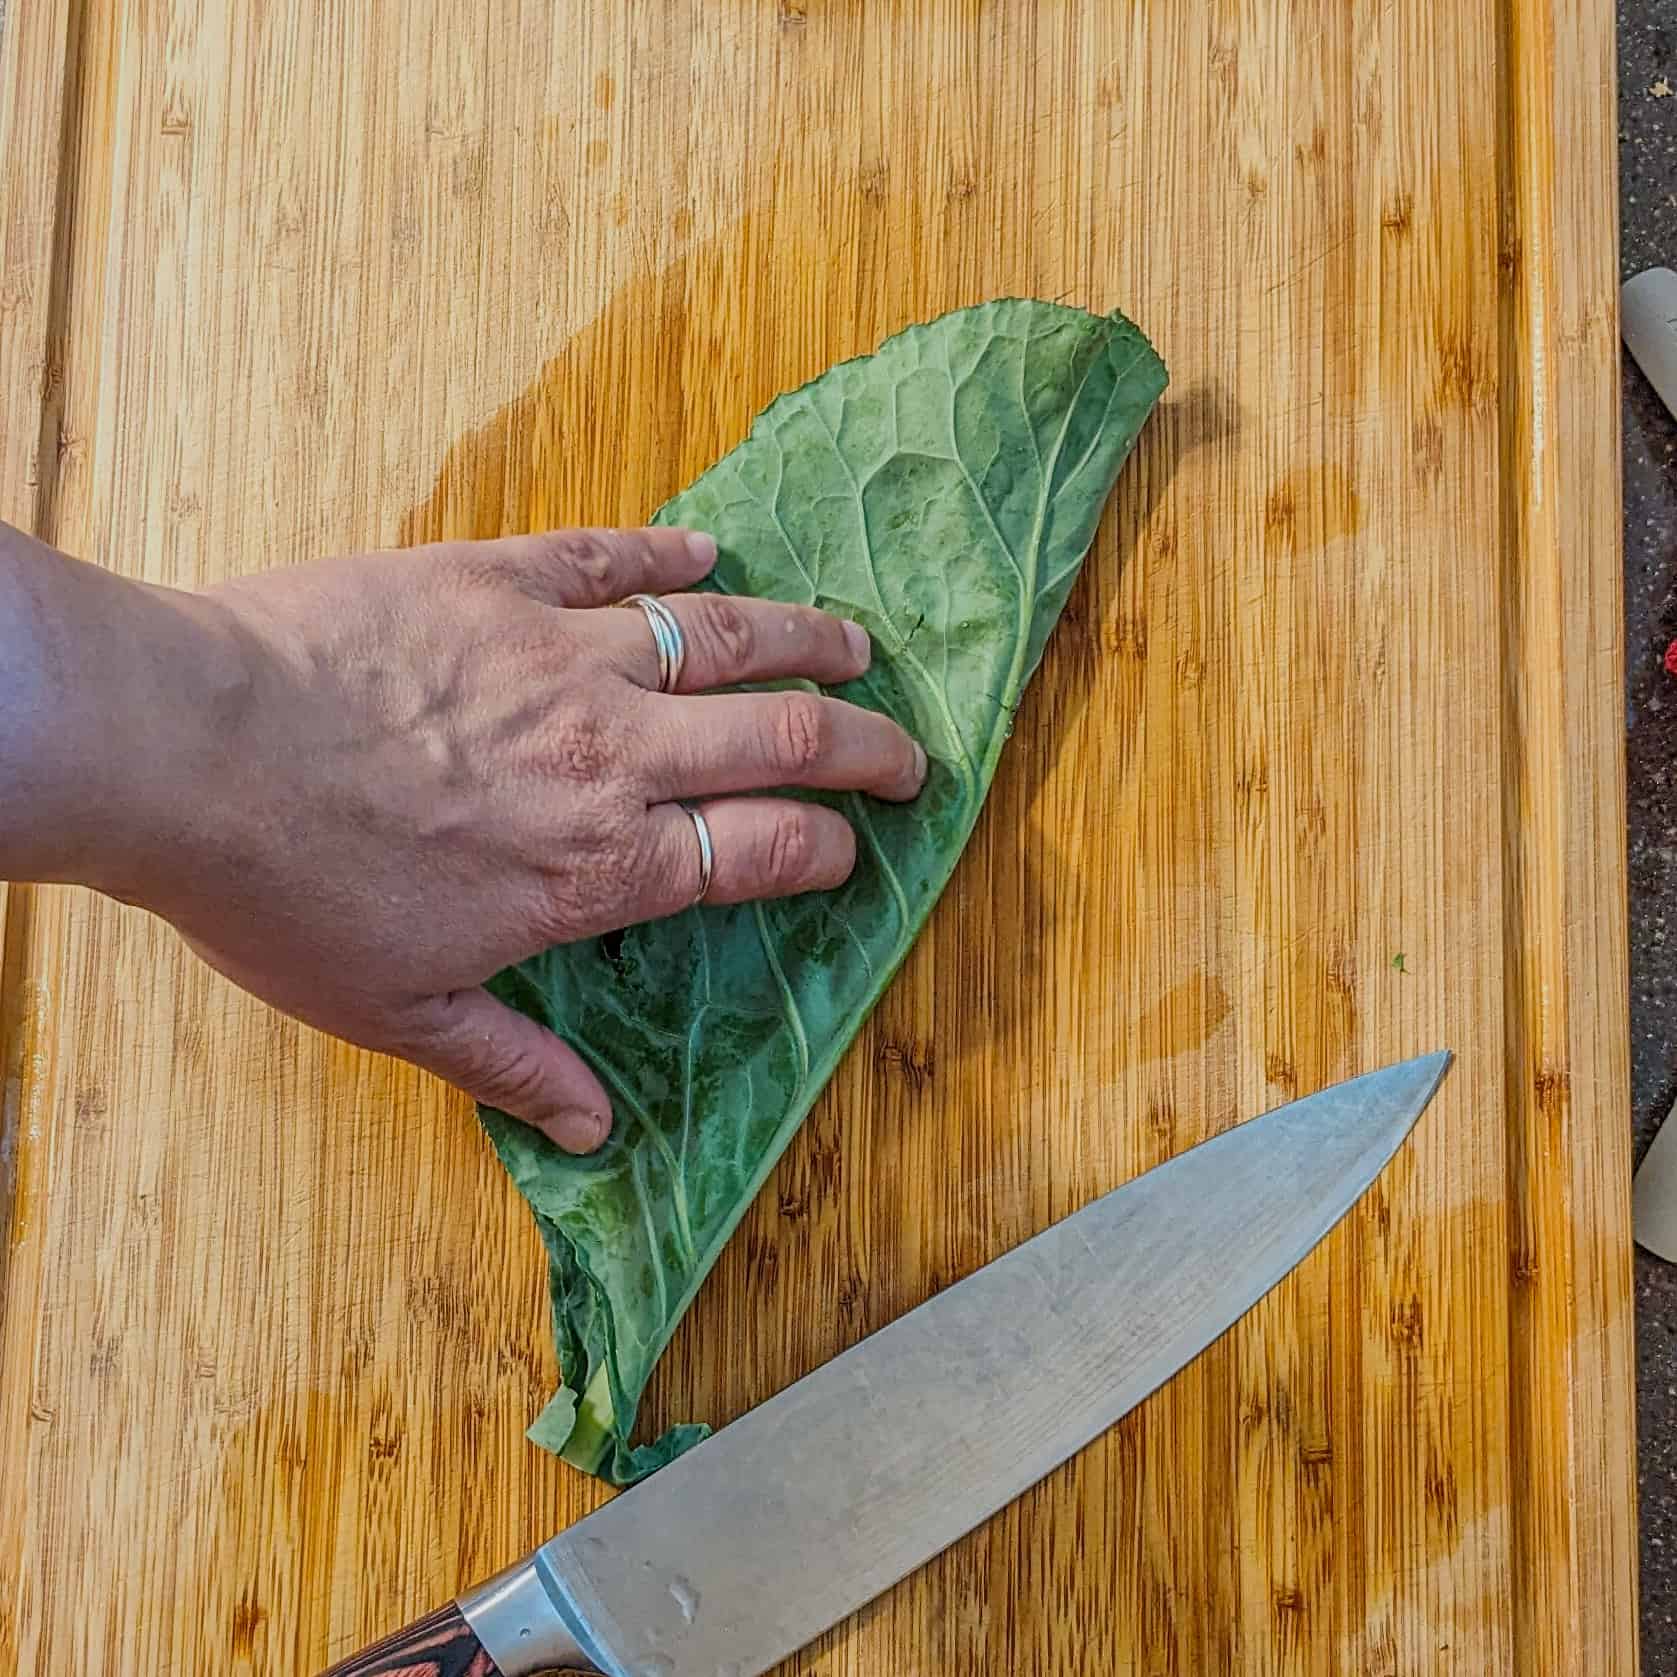
Fold each leaf in half lengthwise, lining up the tough stem along one edge.
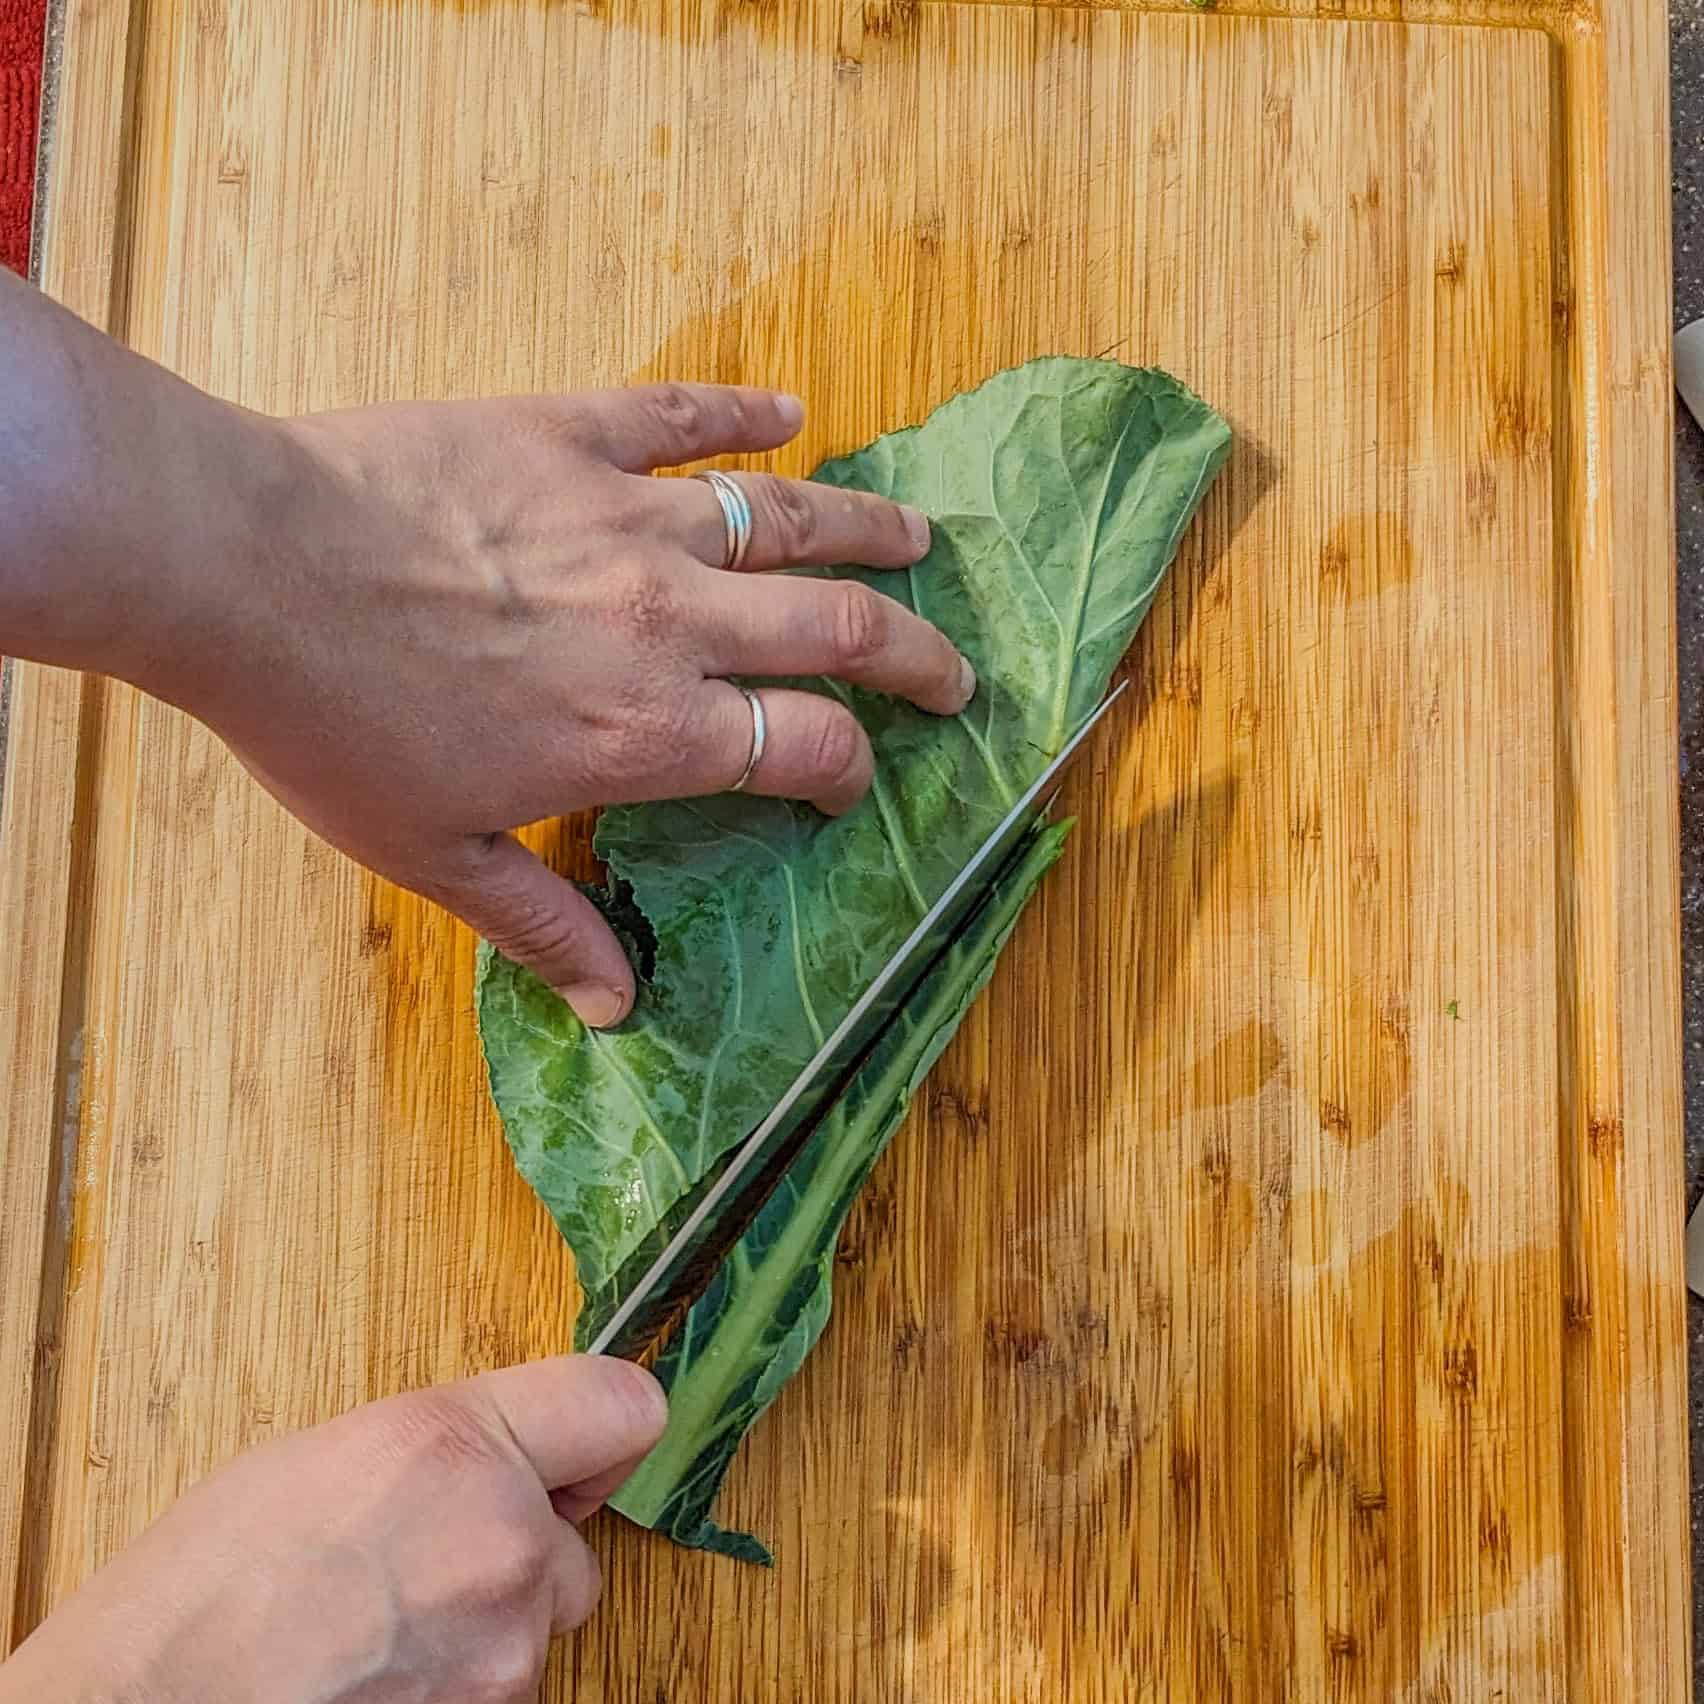
Run your paring knife or chef’s knife along the edge to slice it out cleanly.
Why It Works: This useful technique gives you precise cuts, making it great for home cooks who want control and consistency.
Once you have removed all the stems, you can start stacking.
Step 3a: Stack and Roll
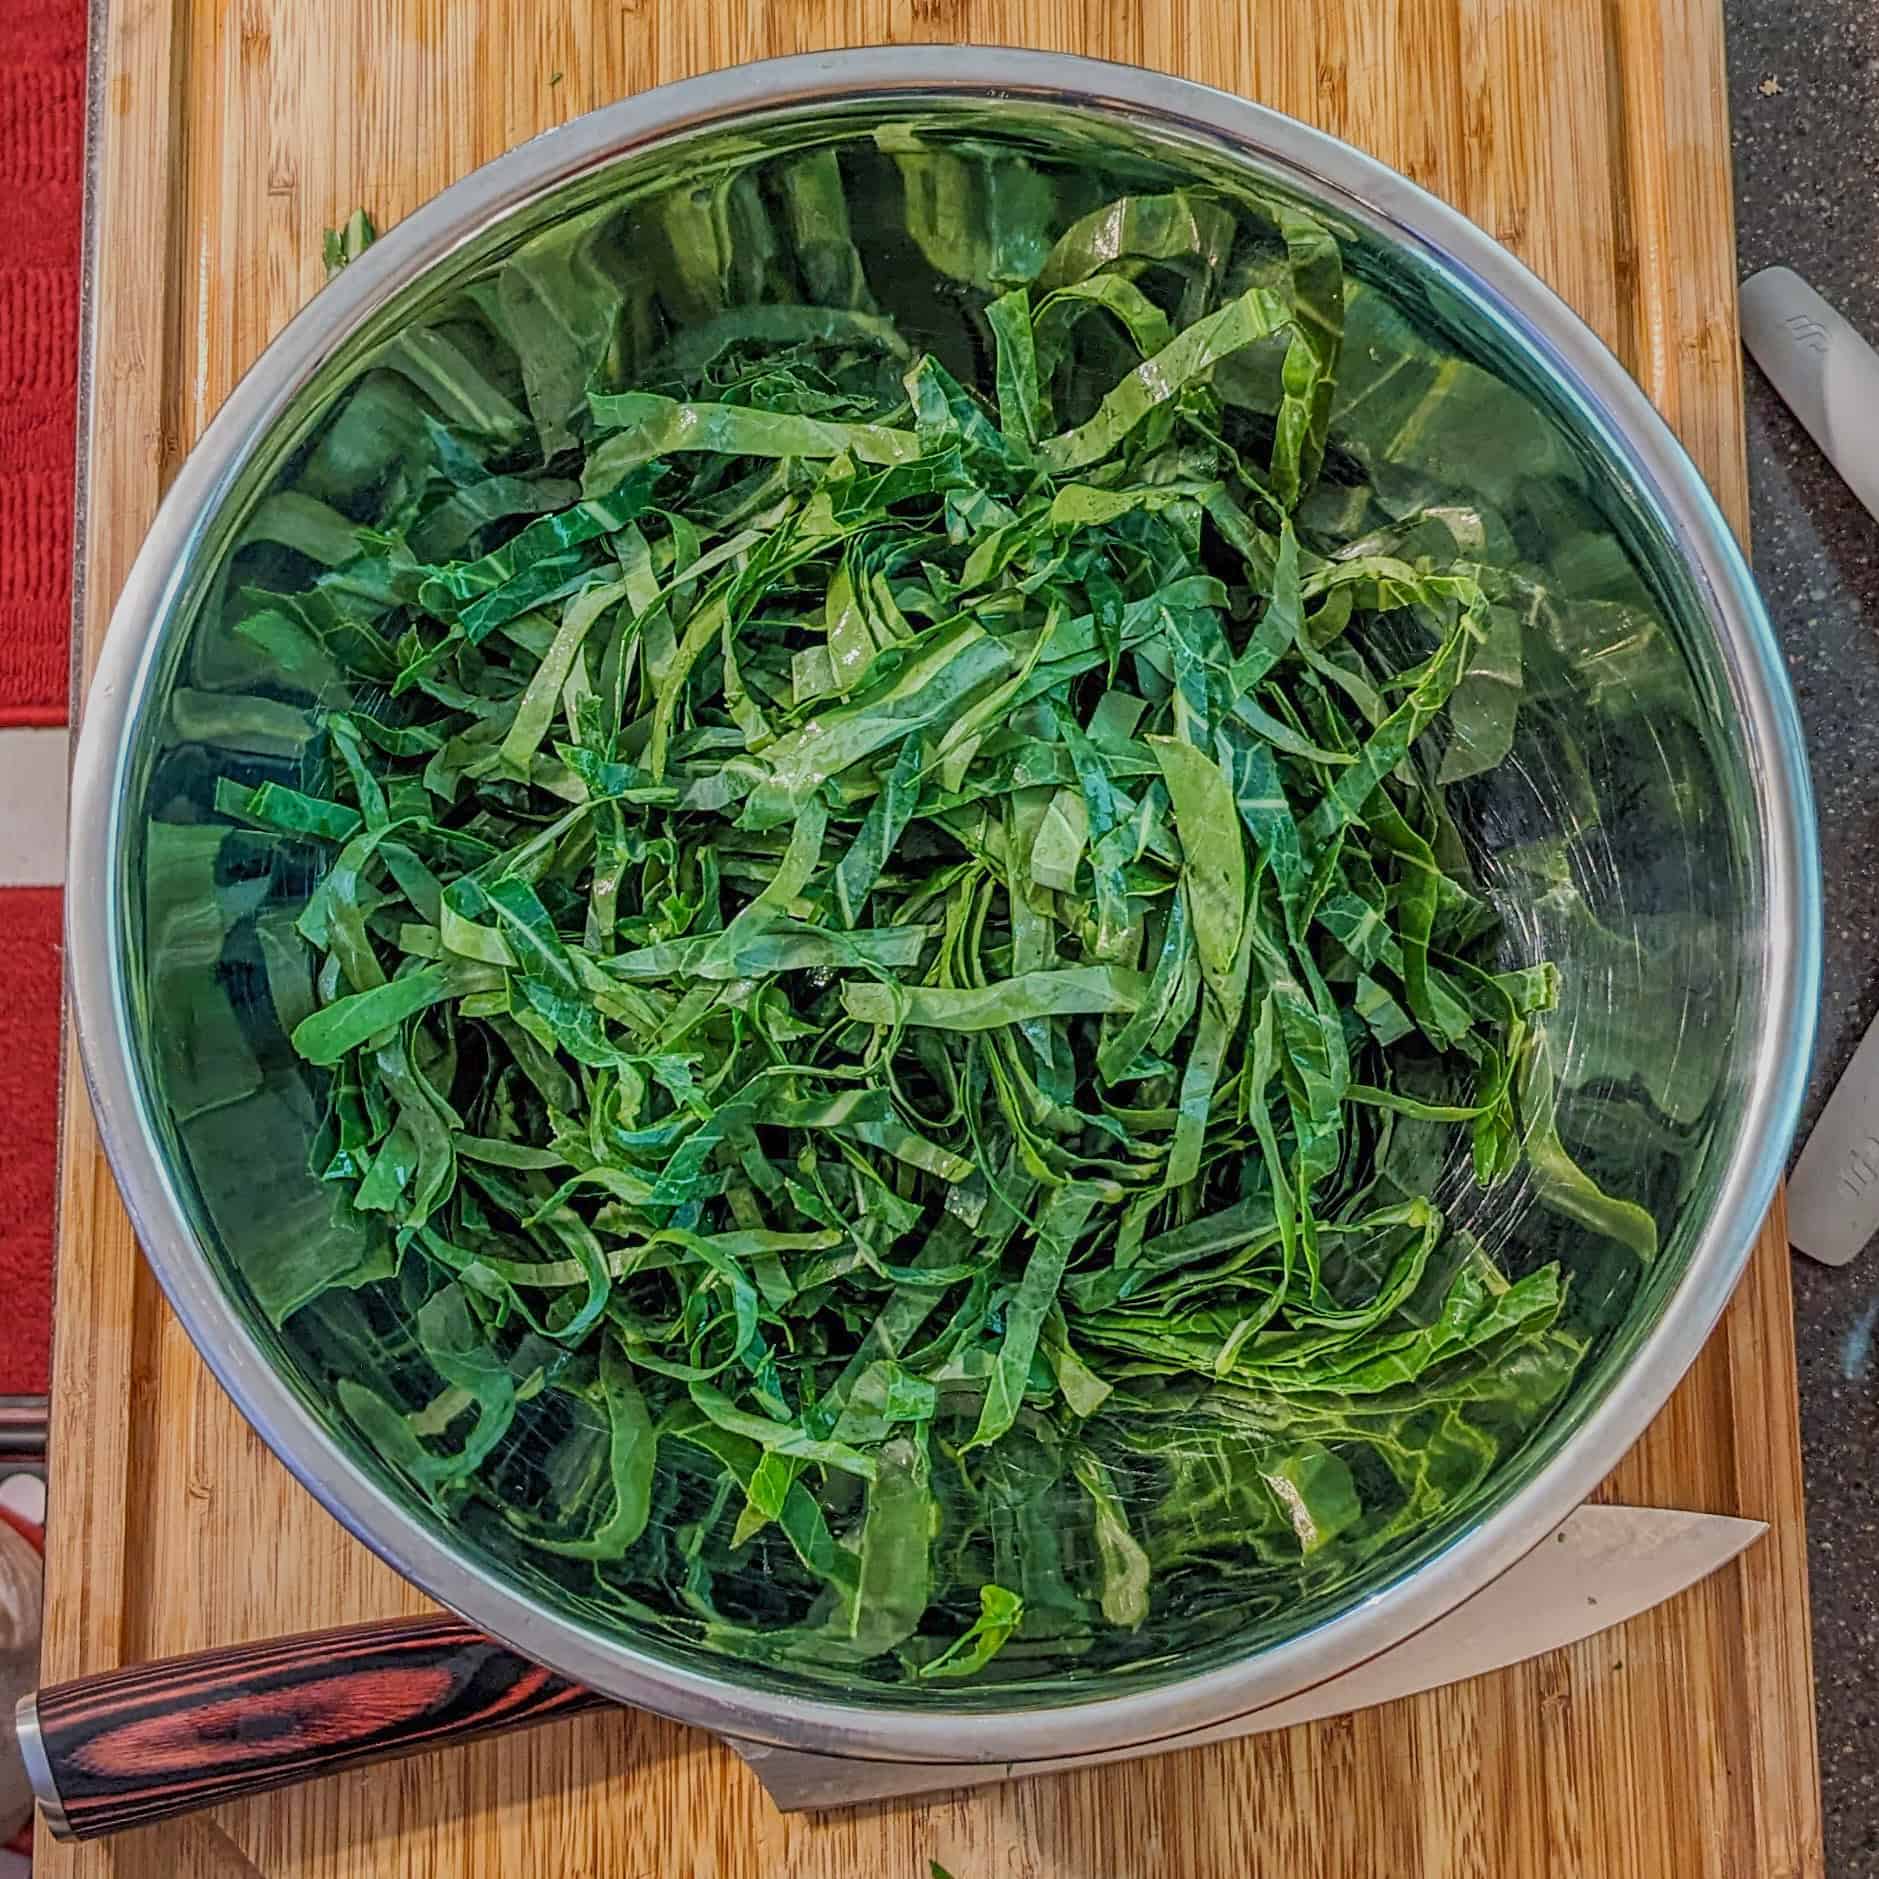
Once stem-free, it’s time to transform those fresh greens into beautiful ribbons or chopped pieces.
Stack 4–6 leaves with the biggest ones on the bottom.
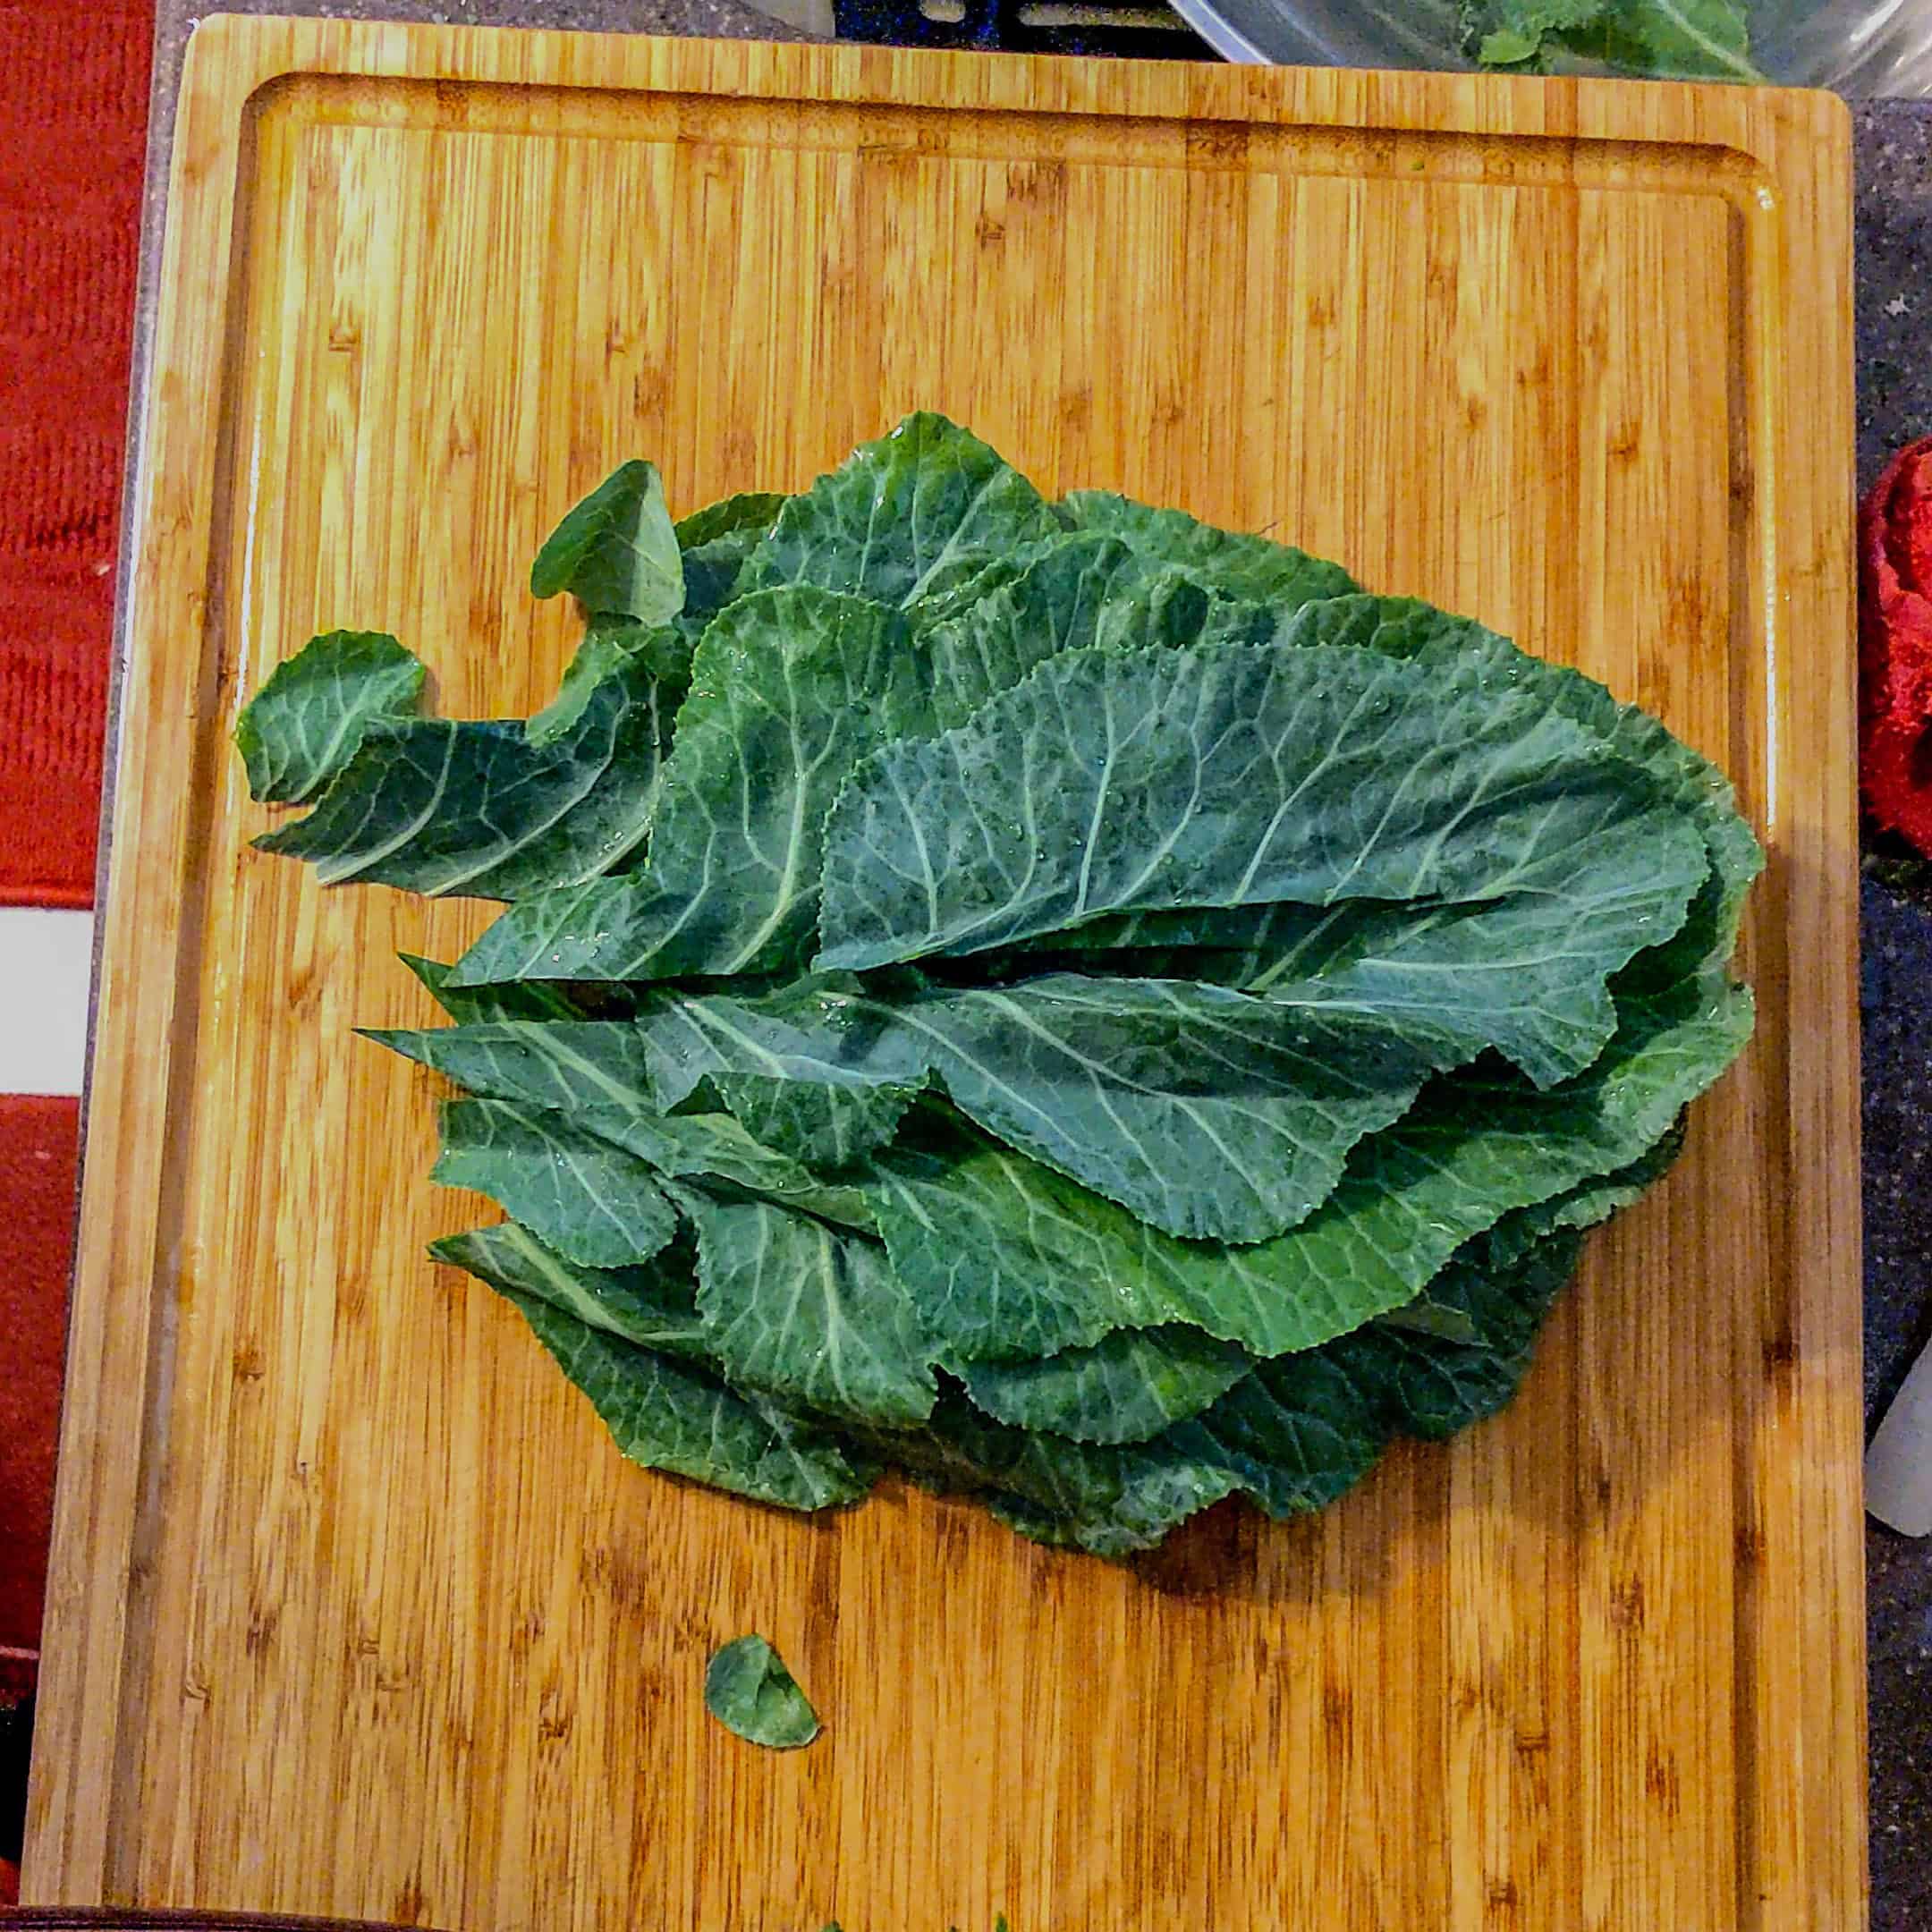
Don't stack too much. This will make it difficult to roll.
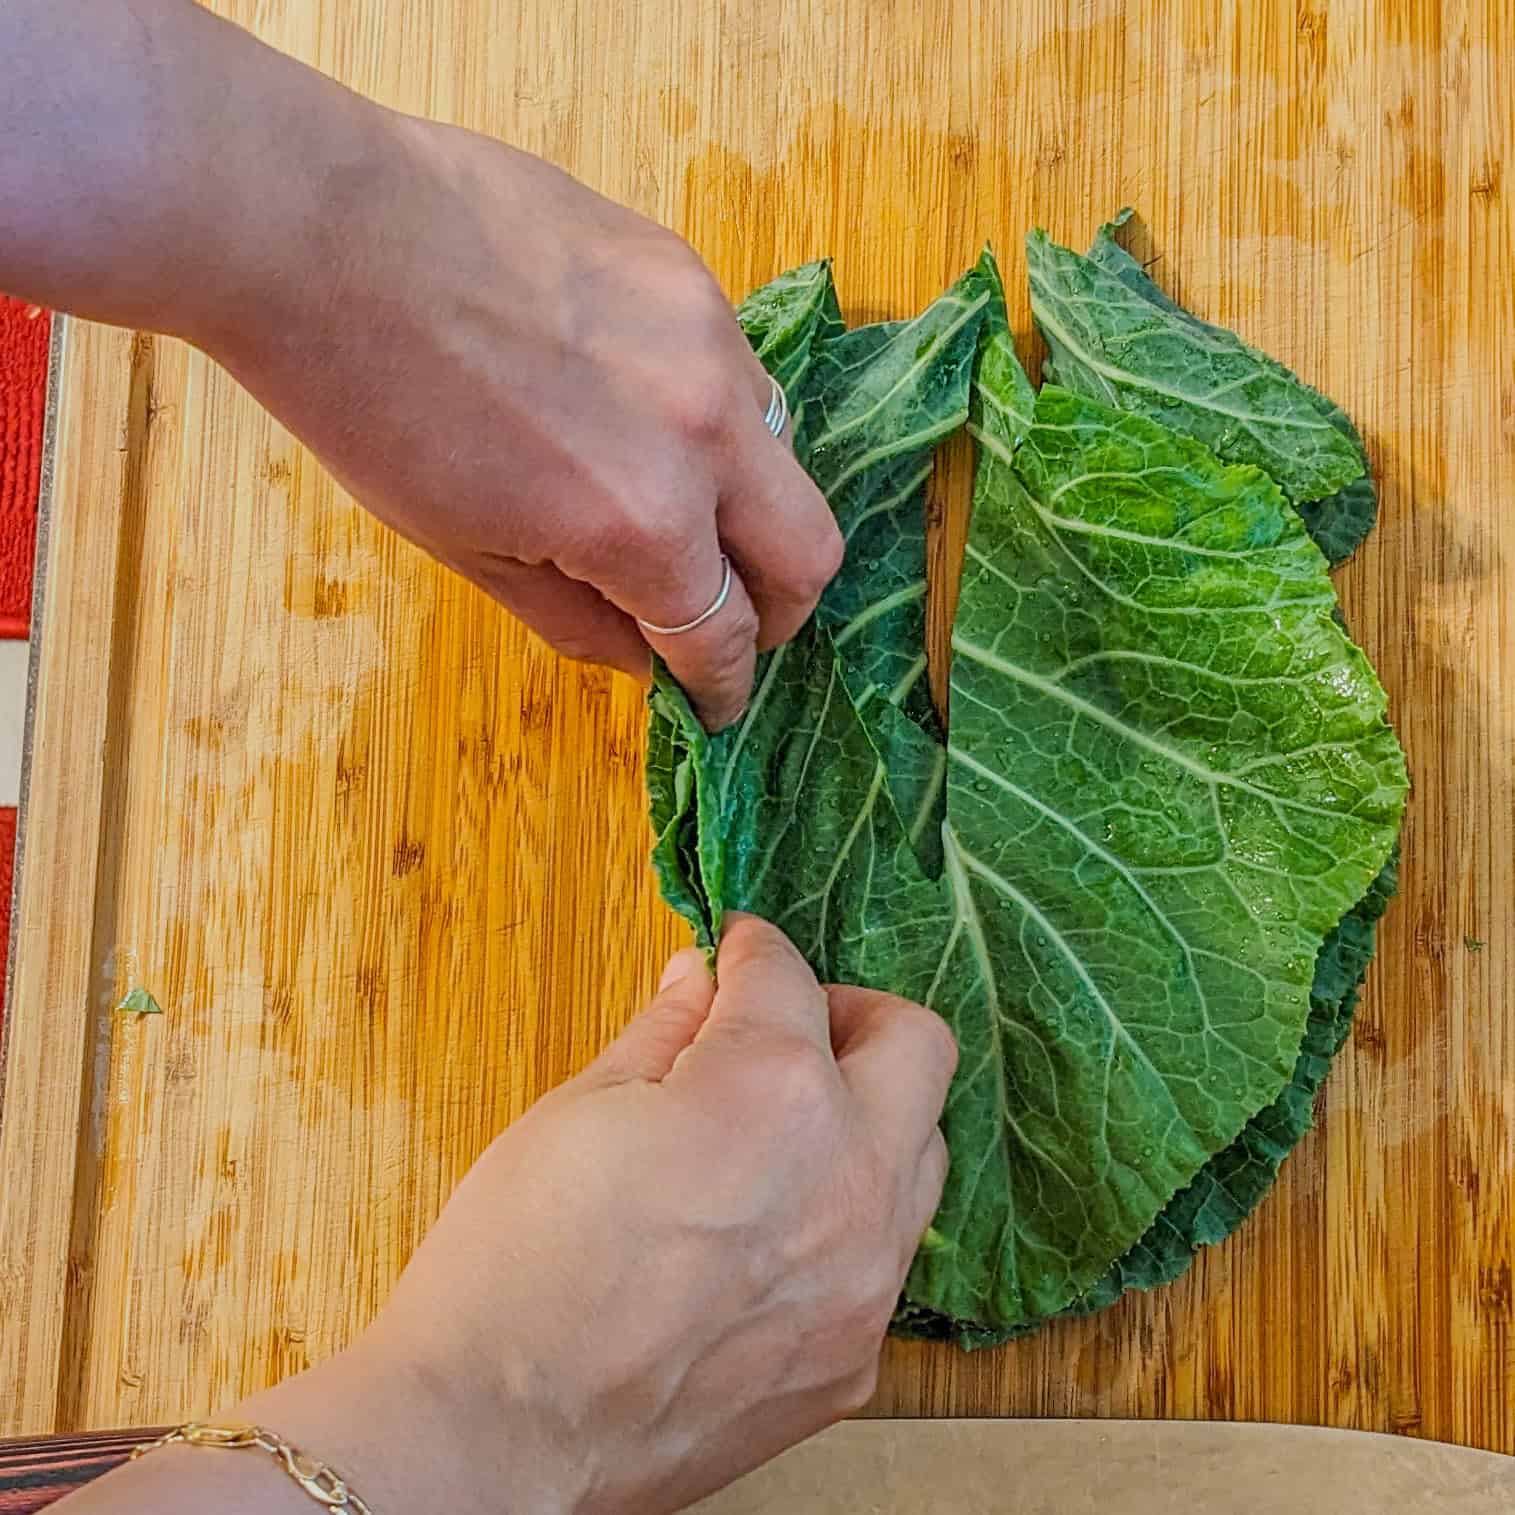
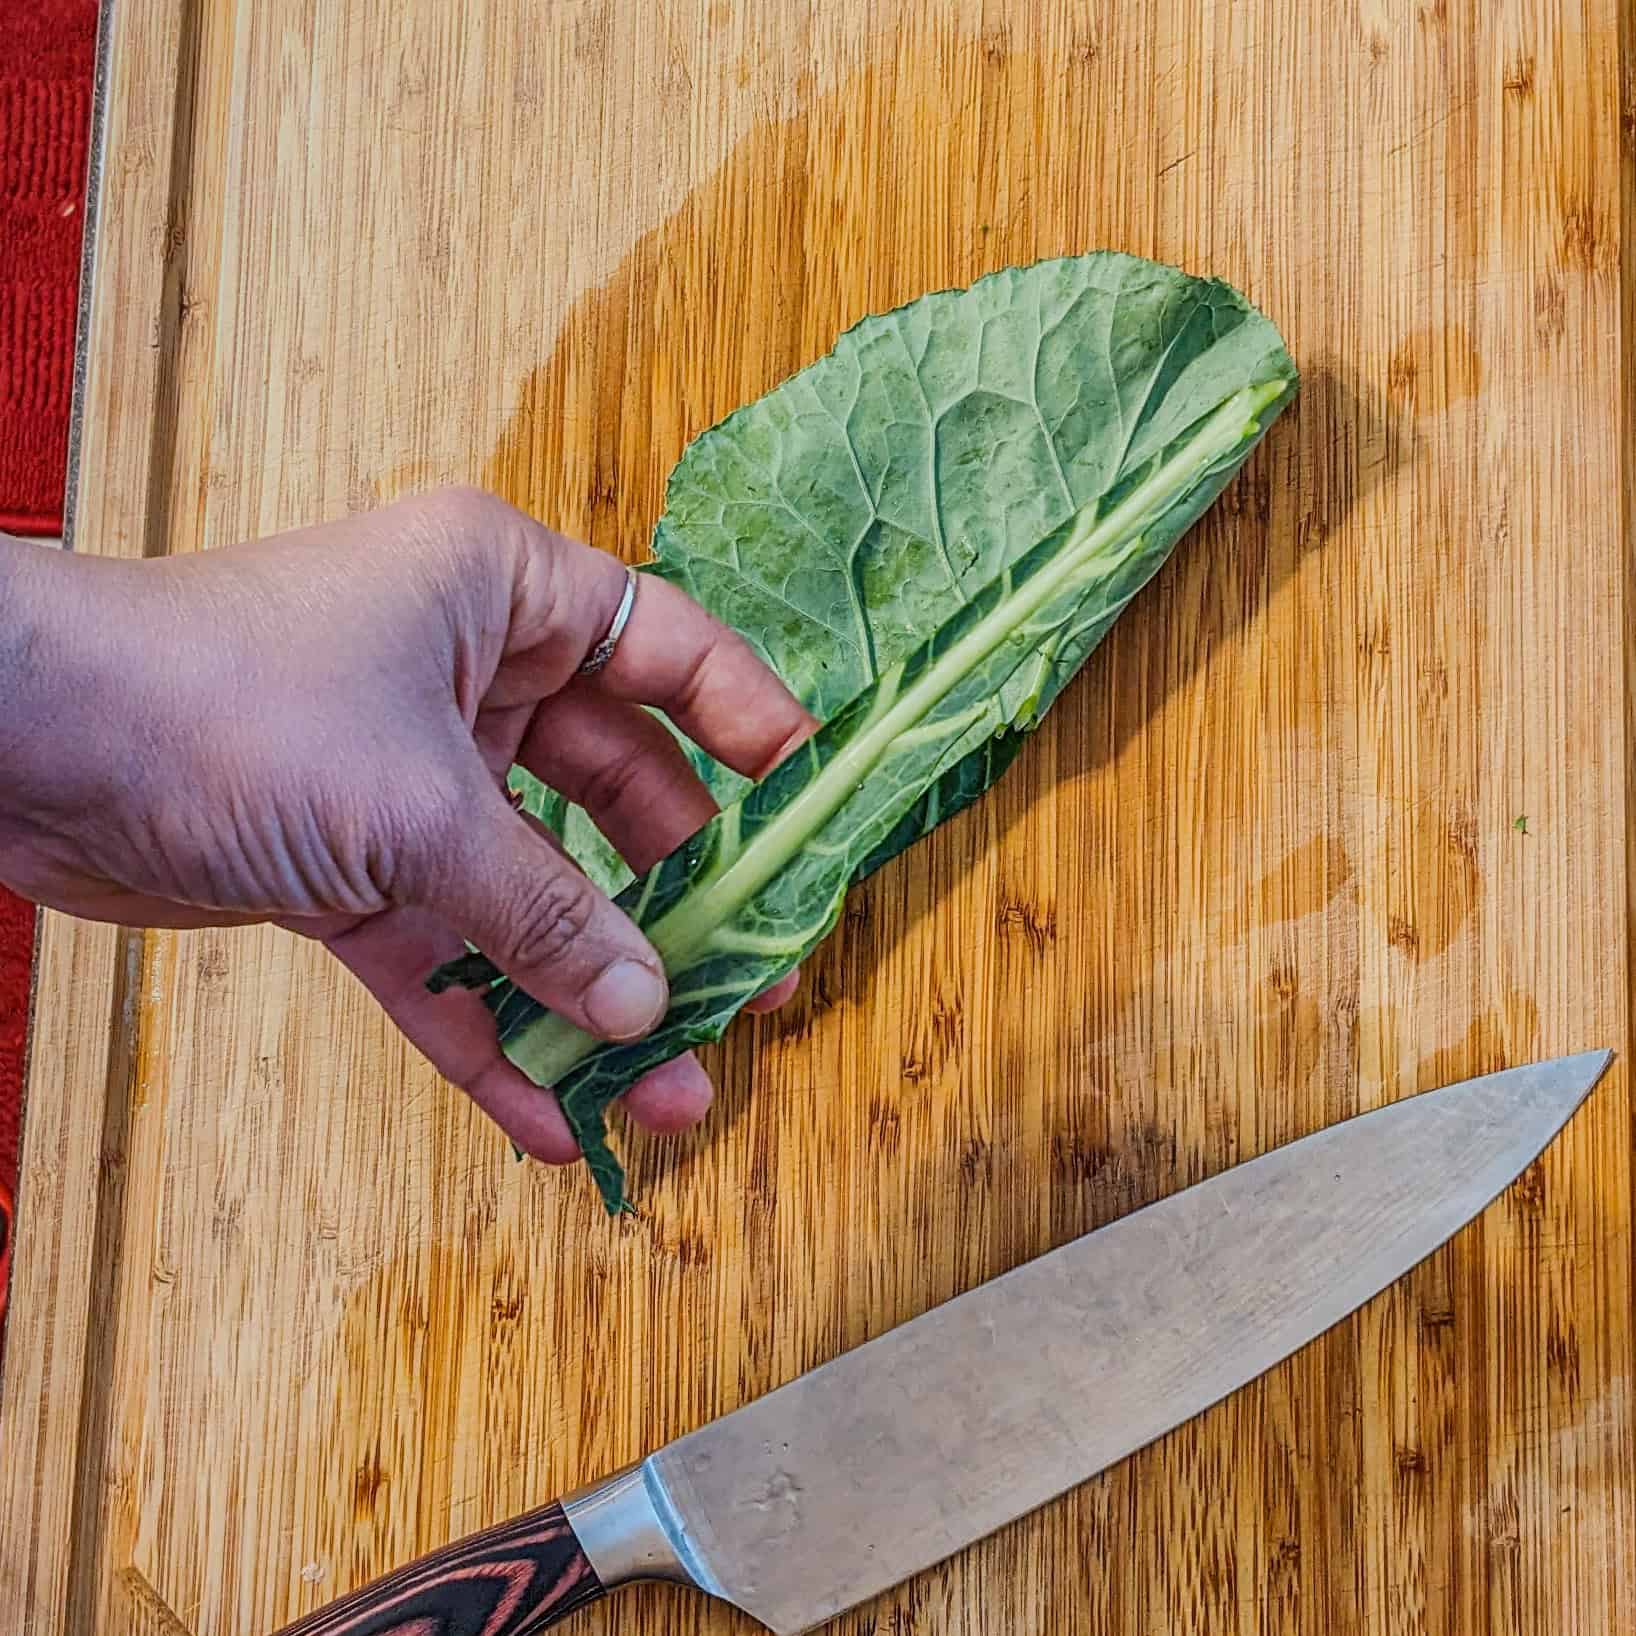
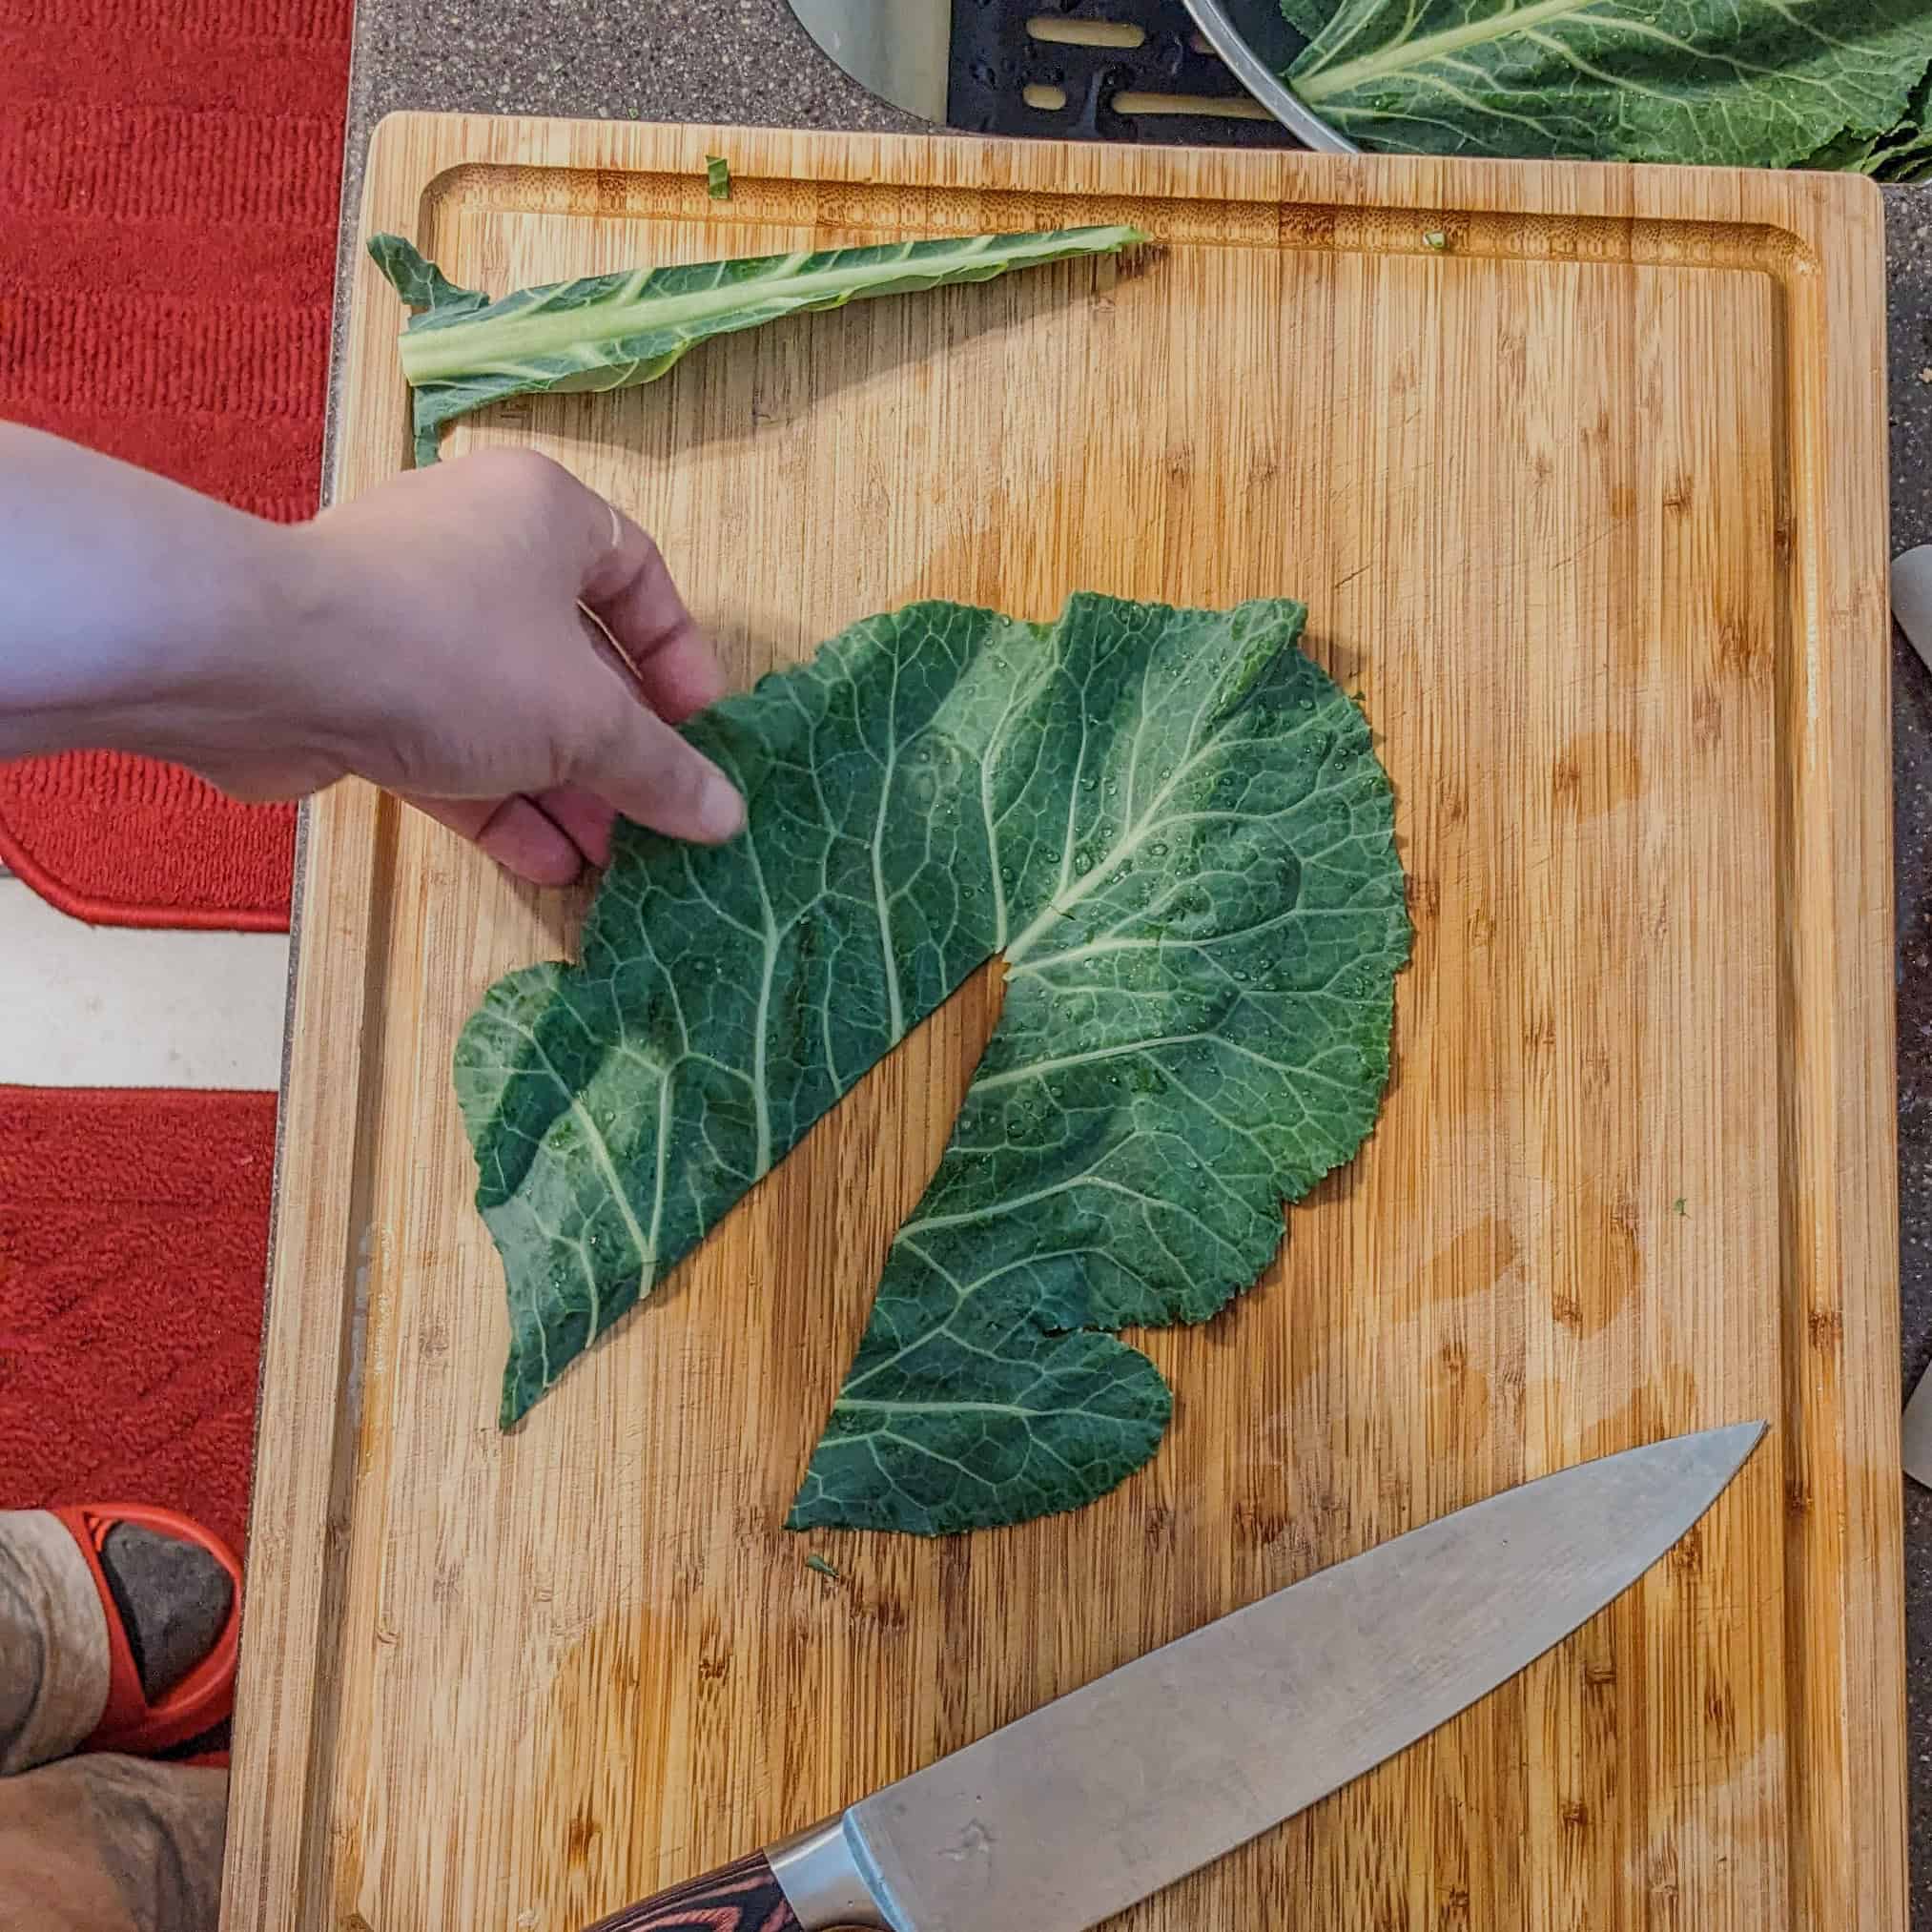
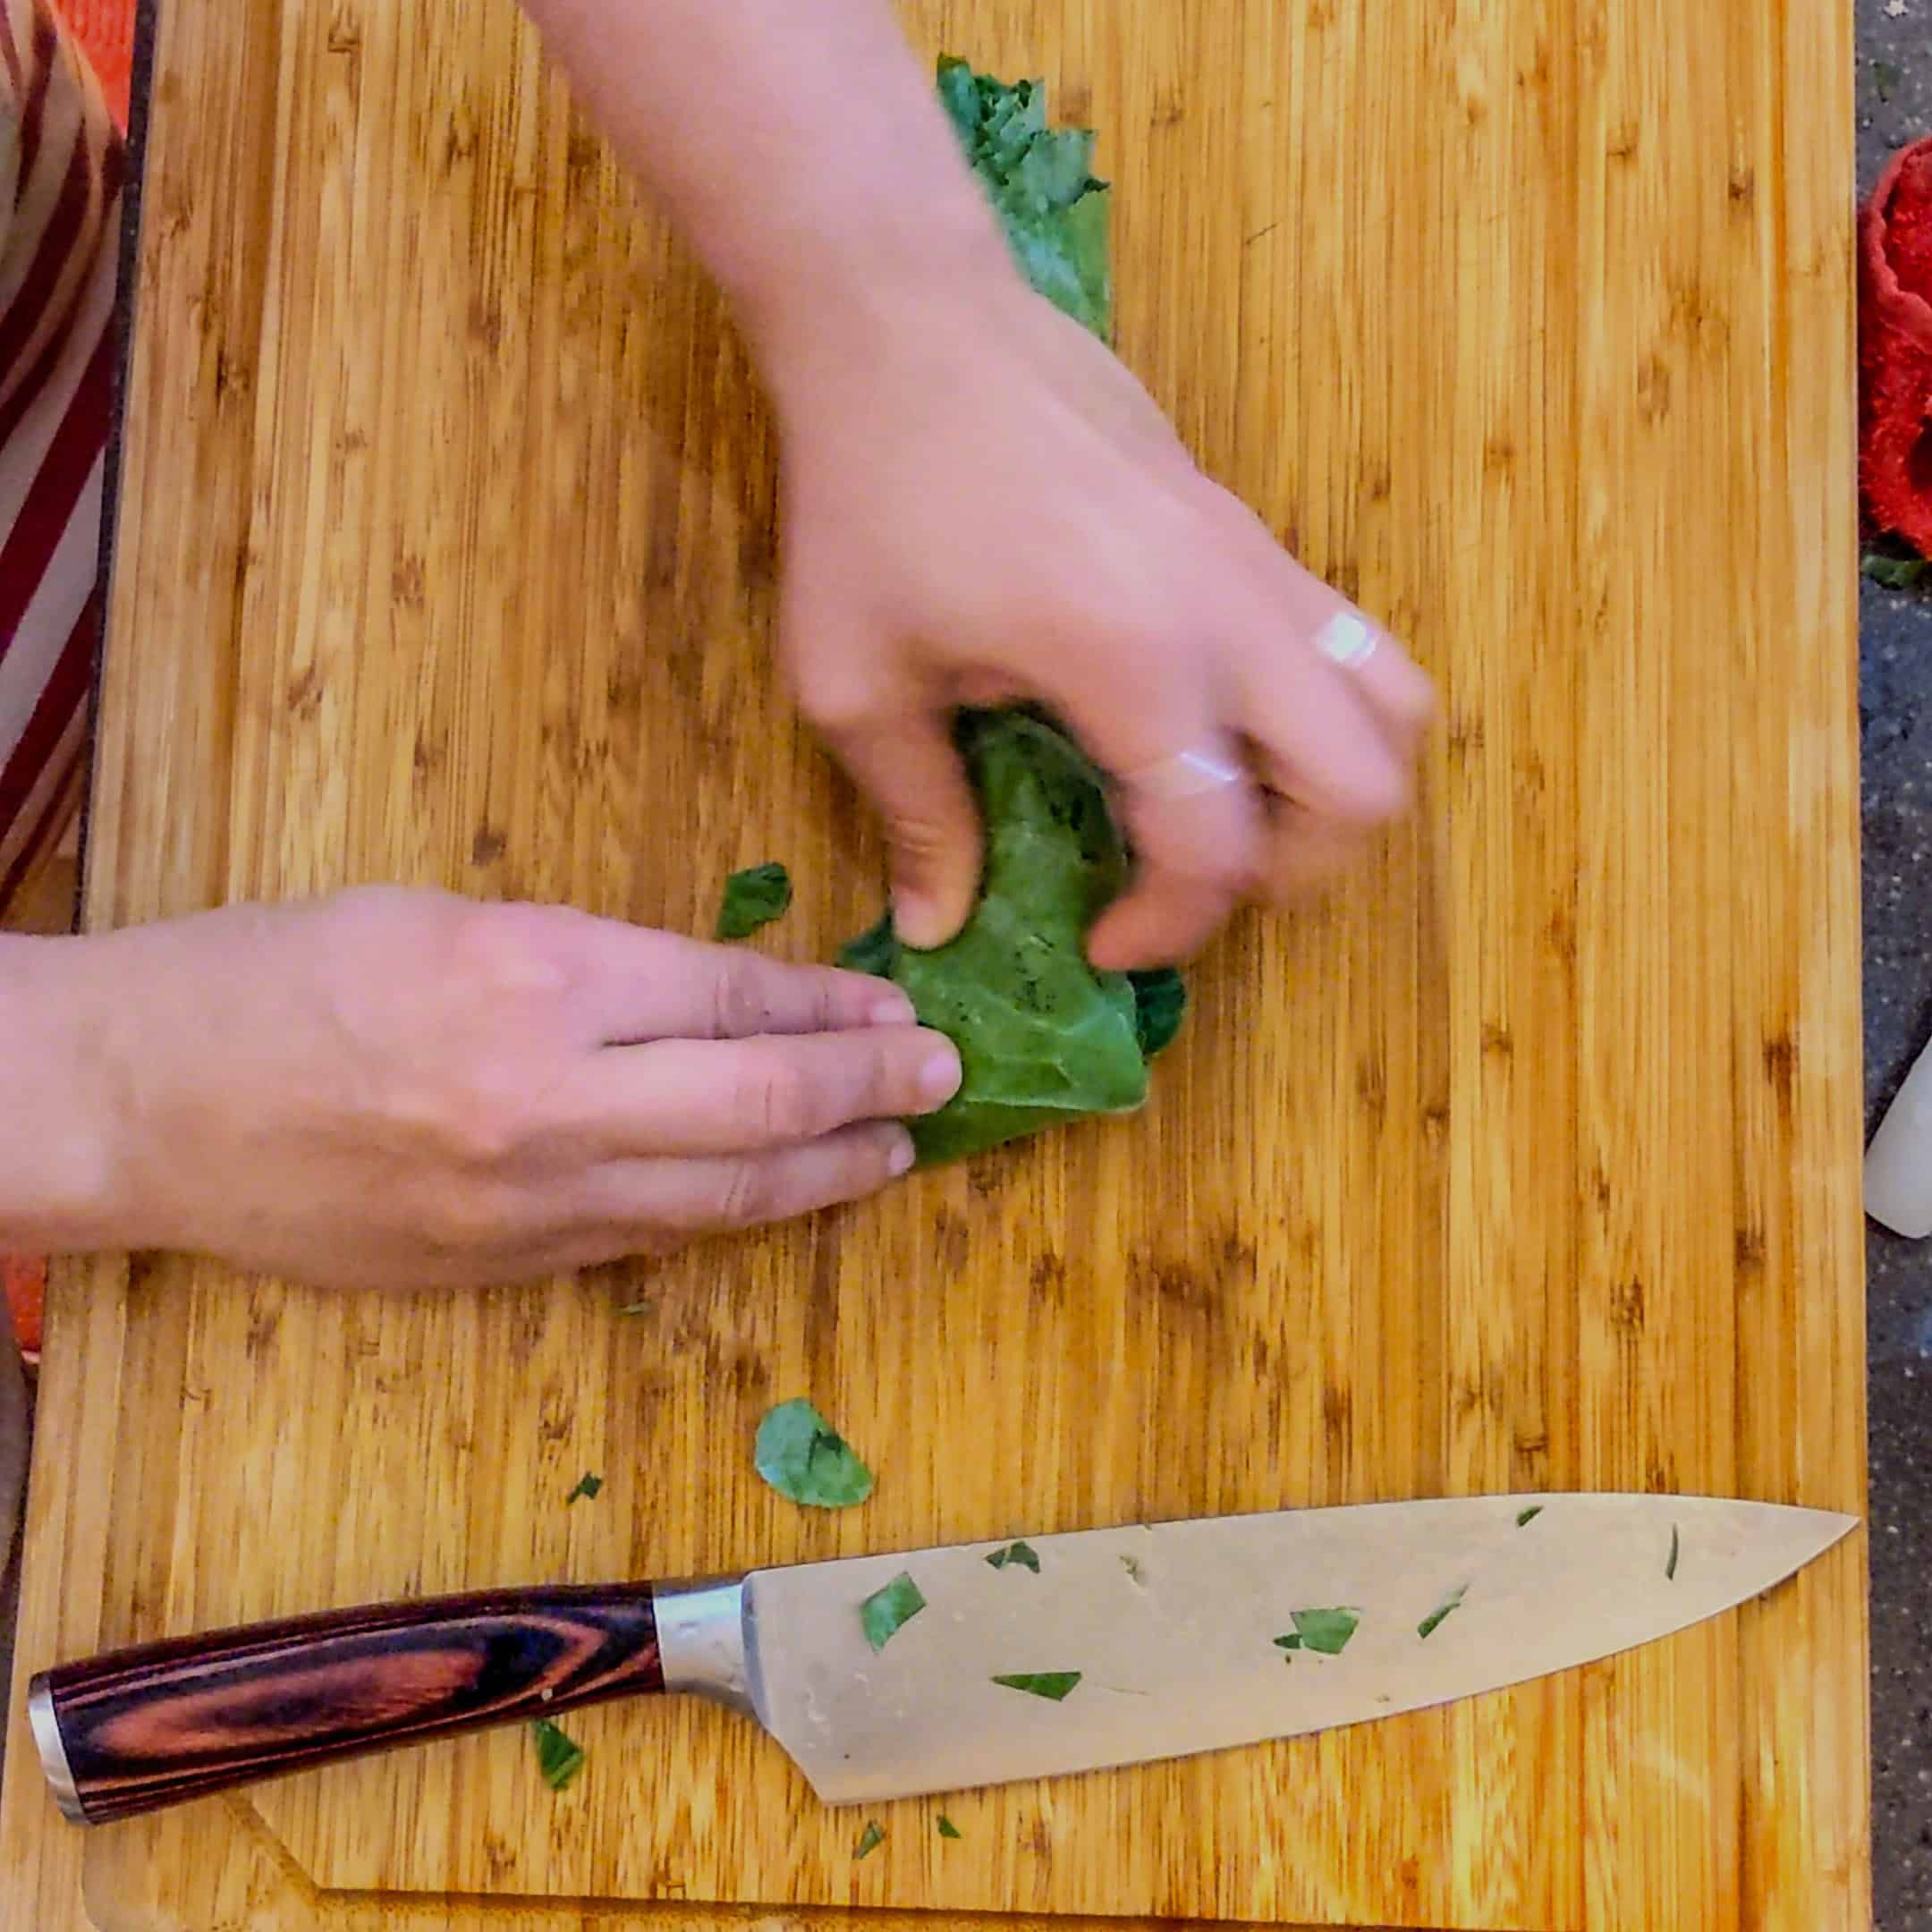
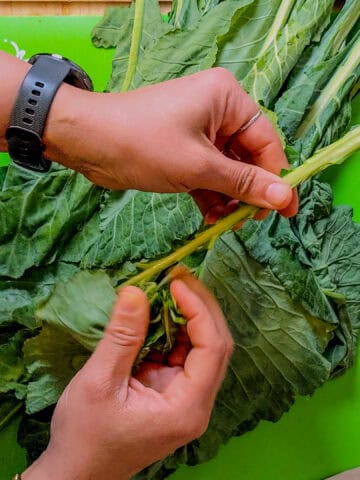
Method 2: Removing by Hand
Hold the base of the leaf with one hand and gently pull the stem away with the other.
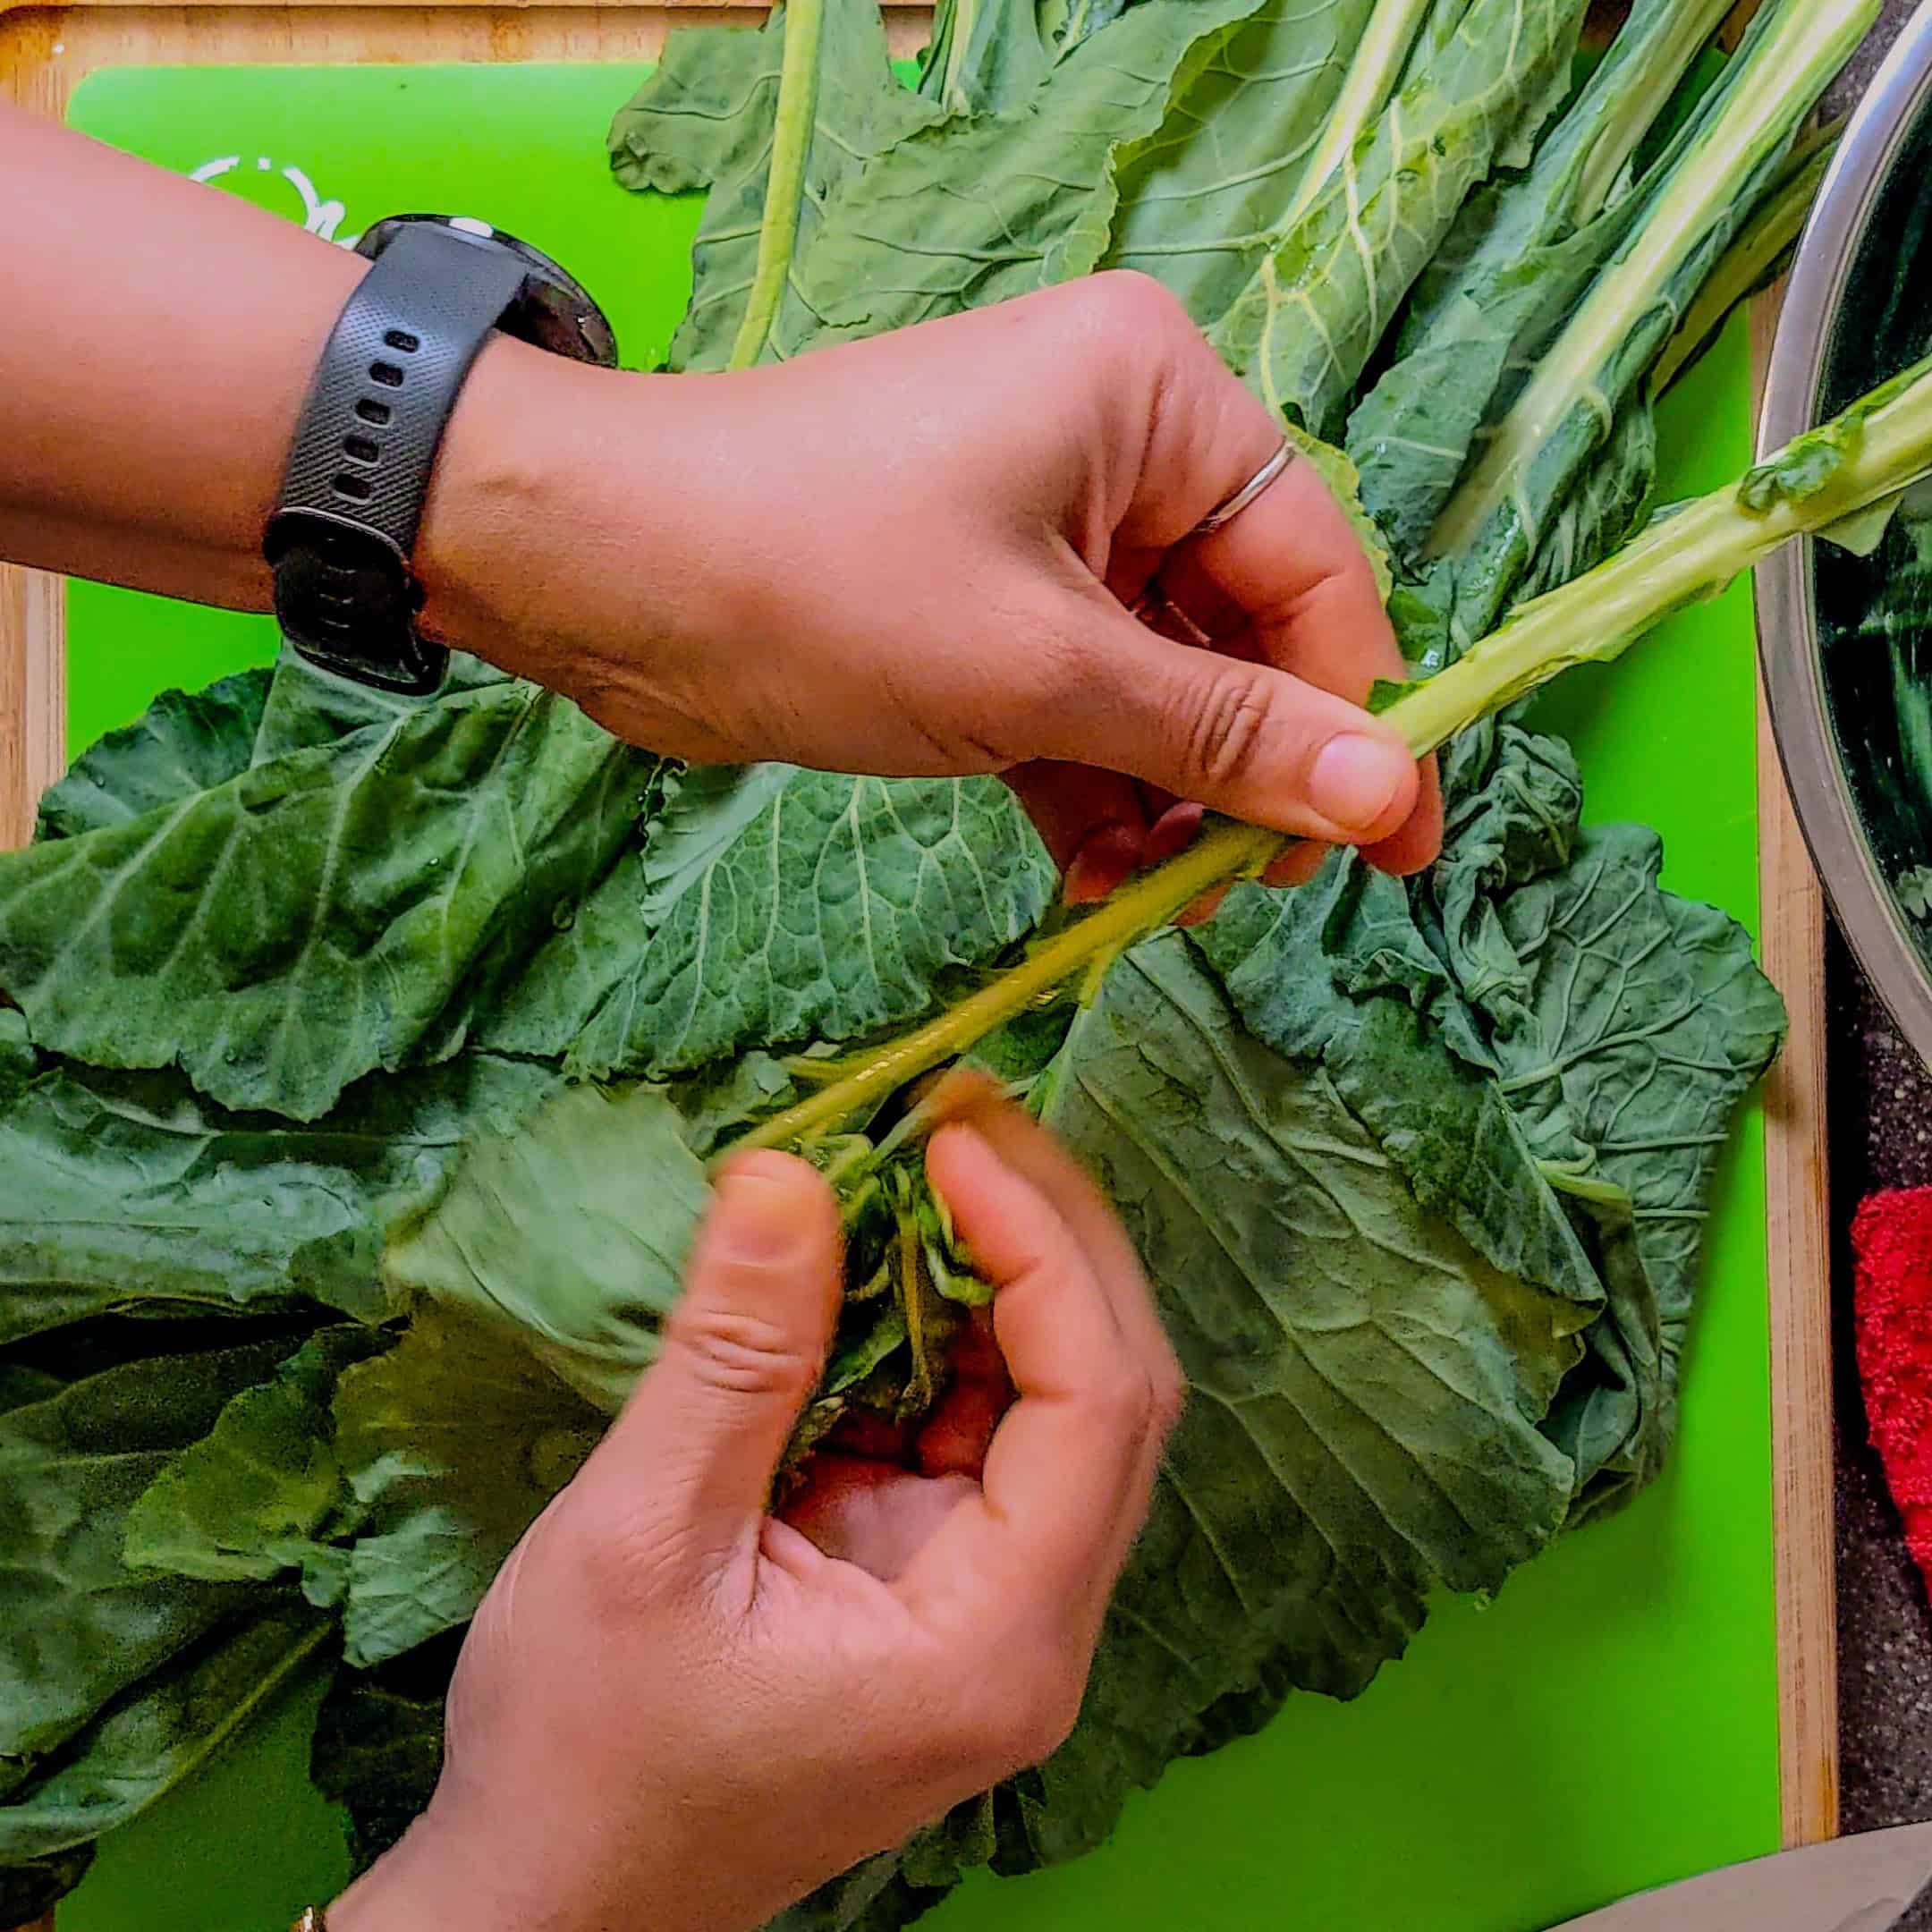
Tear away, keeping the leaf mostly intact.
Why It Works: This is the easiest way to get rustic, hand-torn collards—great for dishes like southern-style collard greens, any southern soul food cuisine, or your favorite recipes where texture variation is welcome.
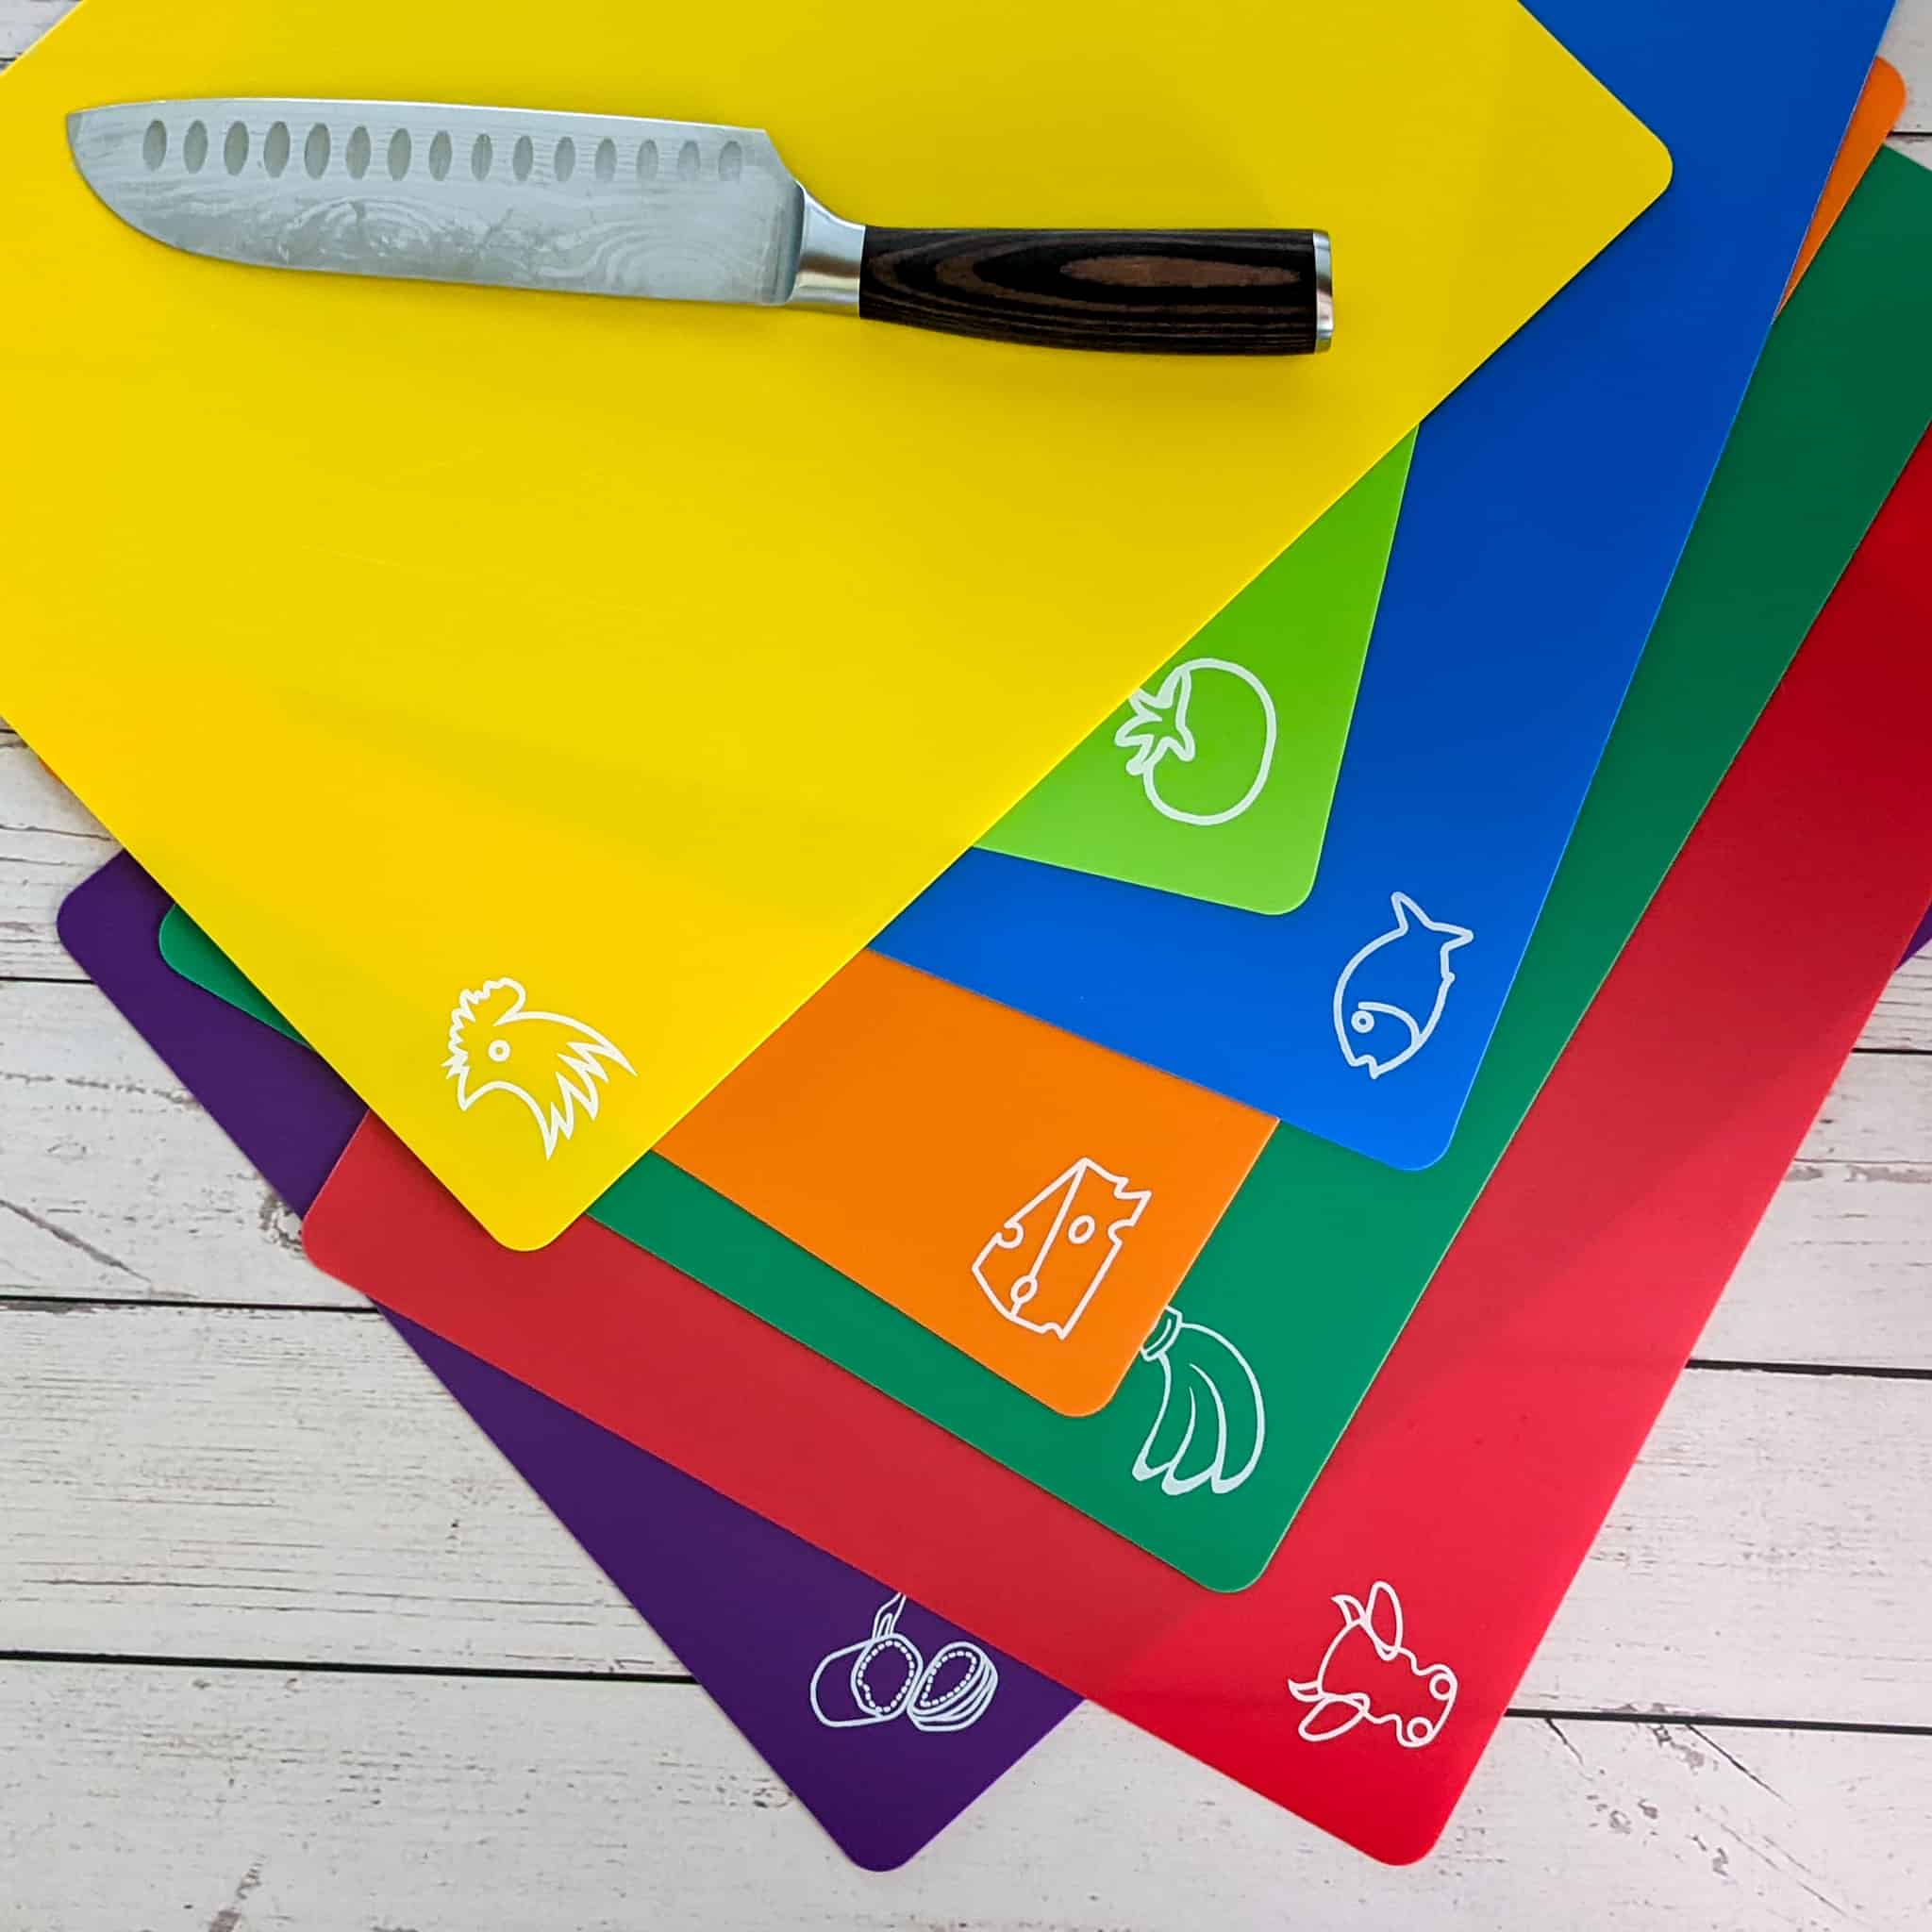
My Rating: ⭐⭐⭐
Purchased: 06/07/2022
Update: 08/19/24
My Review: These Fotouzy Cutting Board Mats are fantastic! They adhere well to granite, and I often use the “yellow chicken,” “green banana,” and “red cow” mats to prevent cross-contamination. The color coding helps me keep raw poultry, fruit, and red meat separate, protecting my wooden board from raw juices. They're flexible, easy to clean, and store, and a damp paper towel underneath keeps them in place. You can see them in action in my Chicken Prepping post in Cook's Notebook.
These BPA-free, non-porous mats are dishwasher-safe and feature anti-skid backing for secure use, making them a must-have for any kitchen.
Update 08/19/24: I still have these but prefer the cutting boards over the mats. And the mats are not steady. But they are dishwasher safe and wide enough to cover my wooden cutting board and great for when I zest and need to transfer them instead of scraping them off my board. So, I gave this a 3 out of 5.
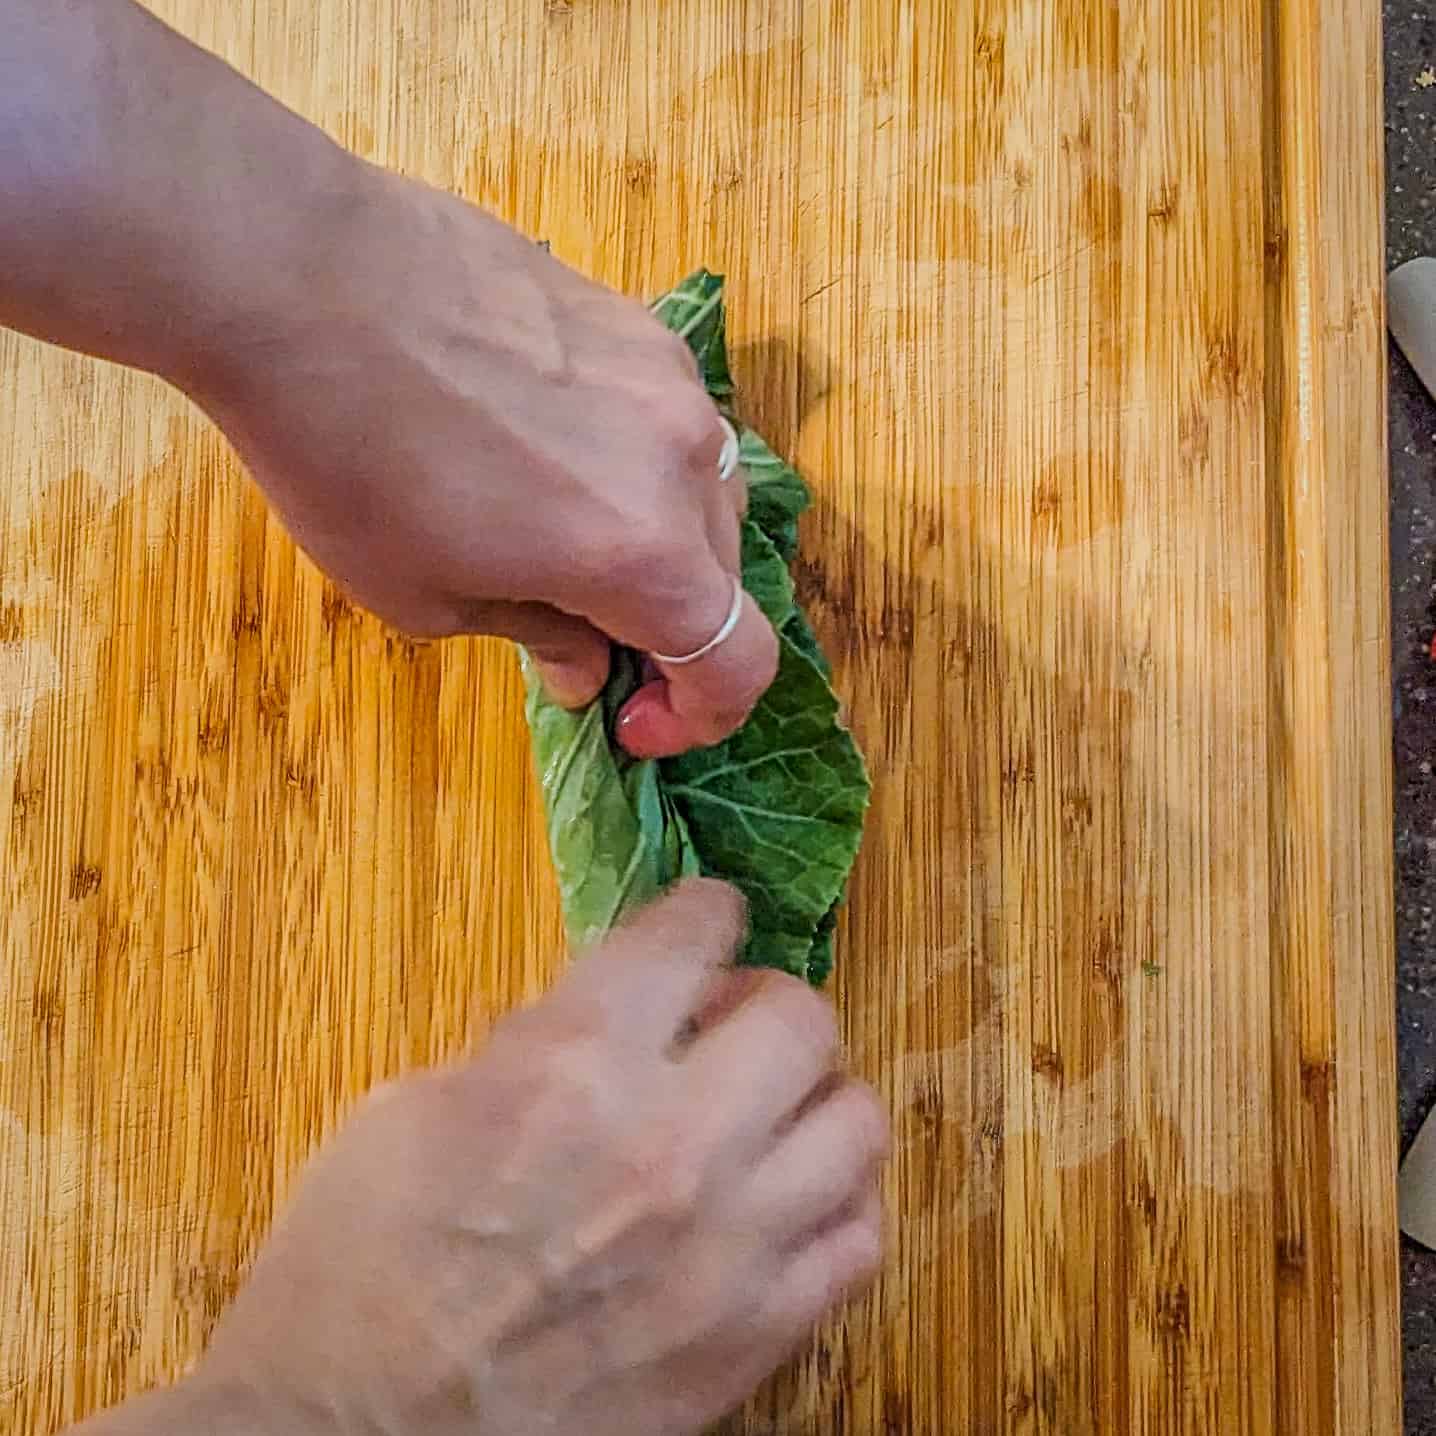
Step 3b: Stack and Roll Leaves
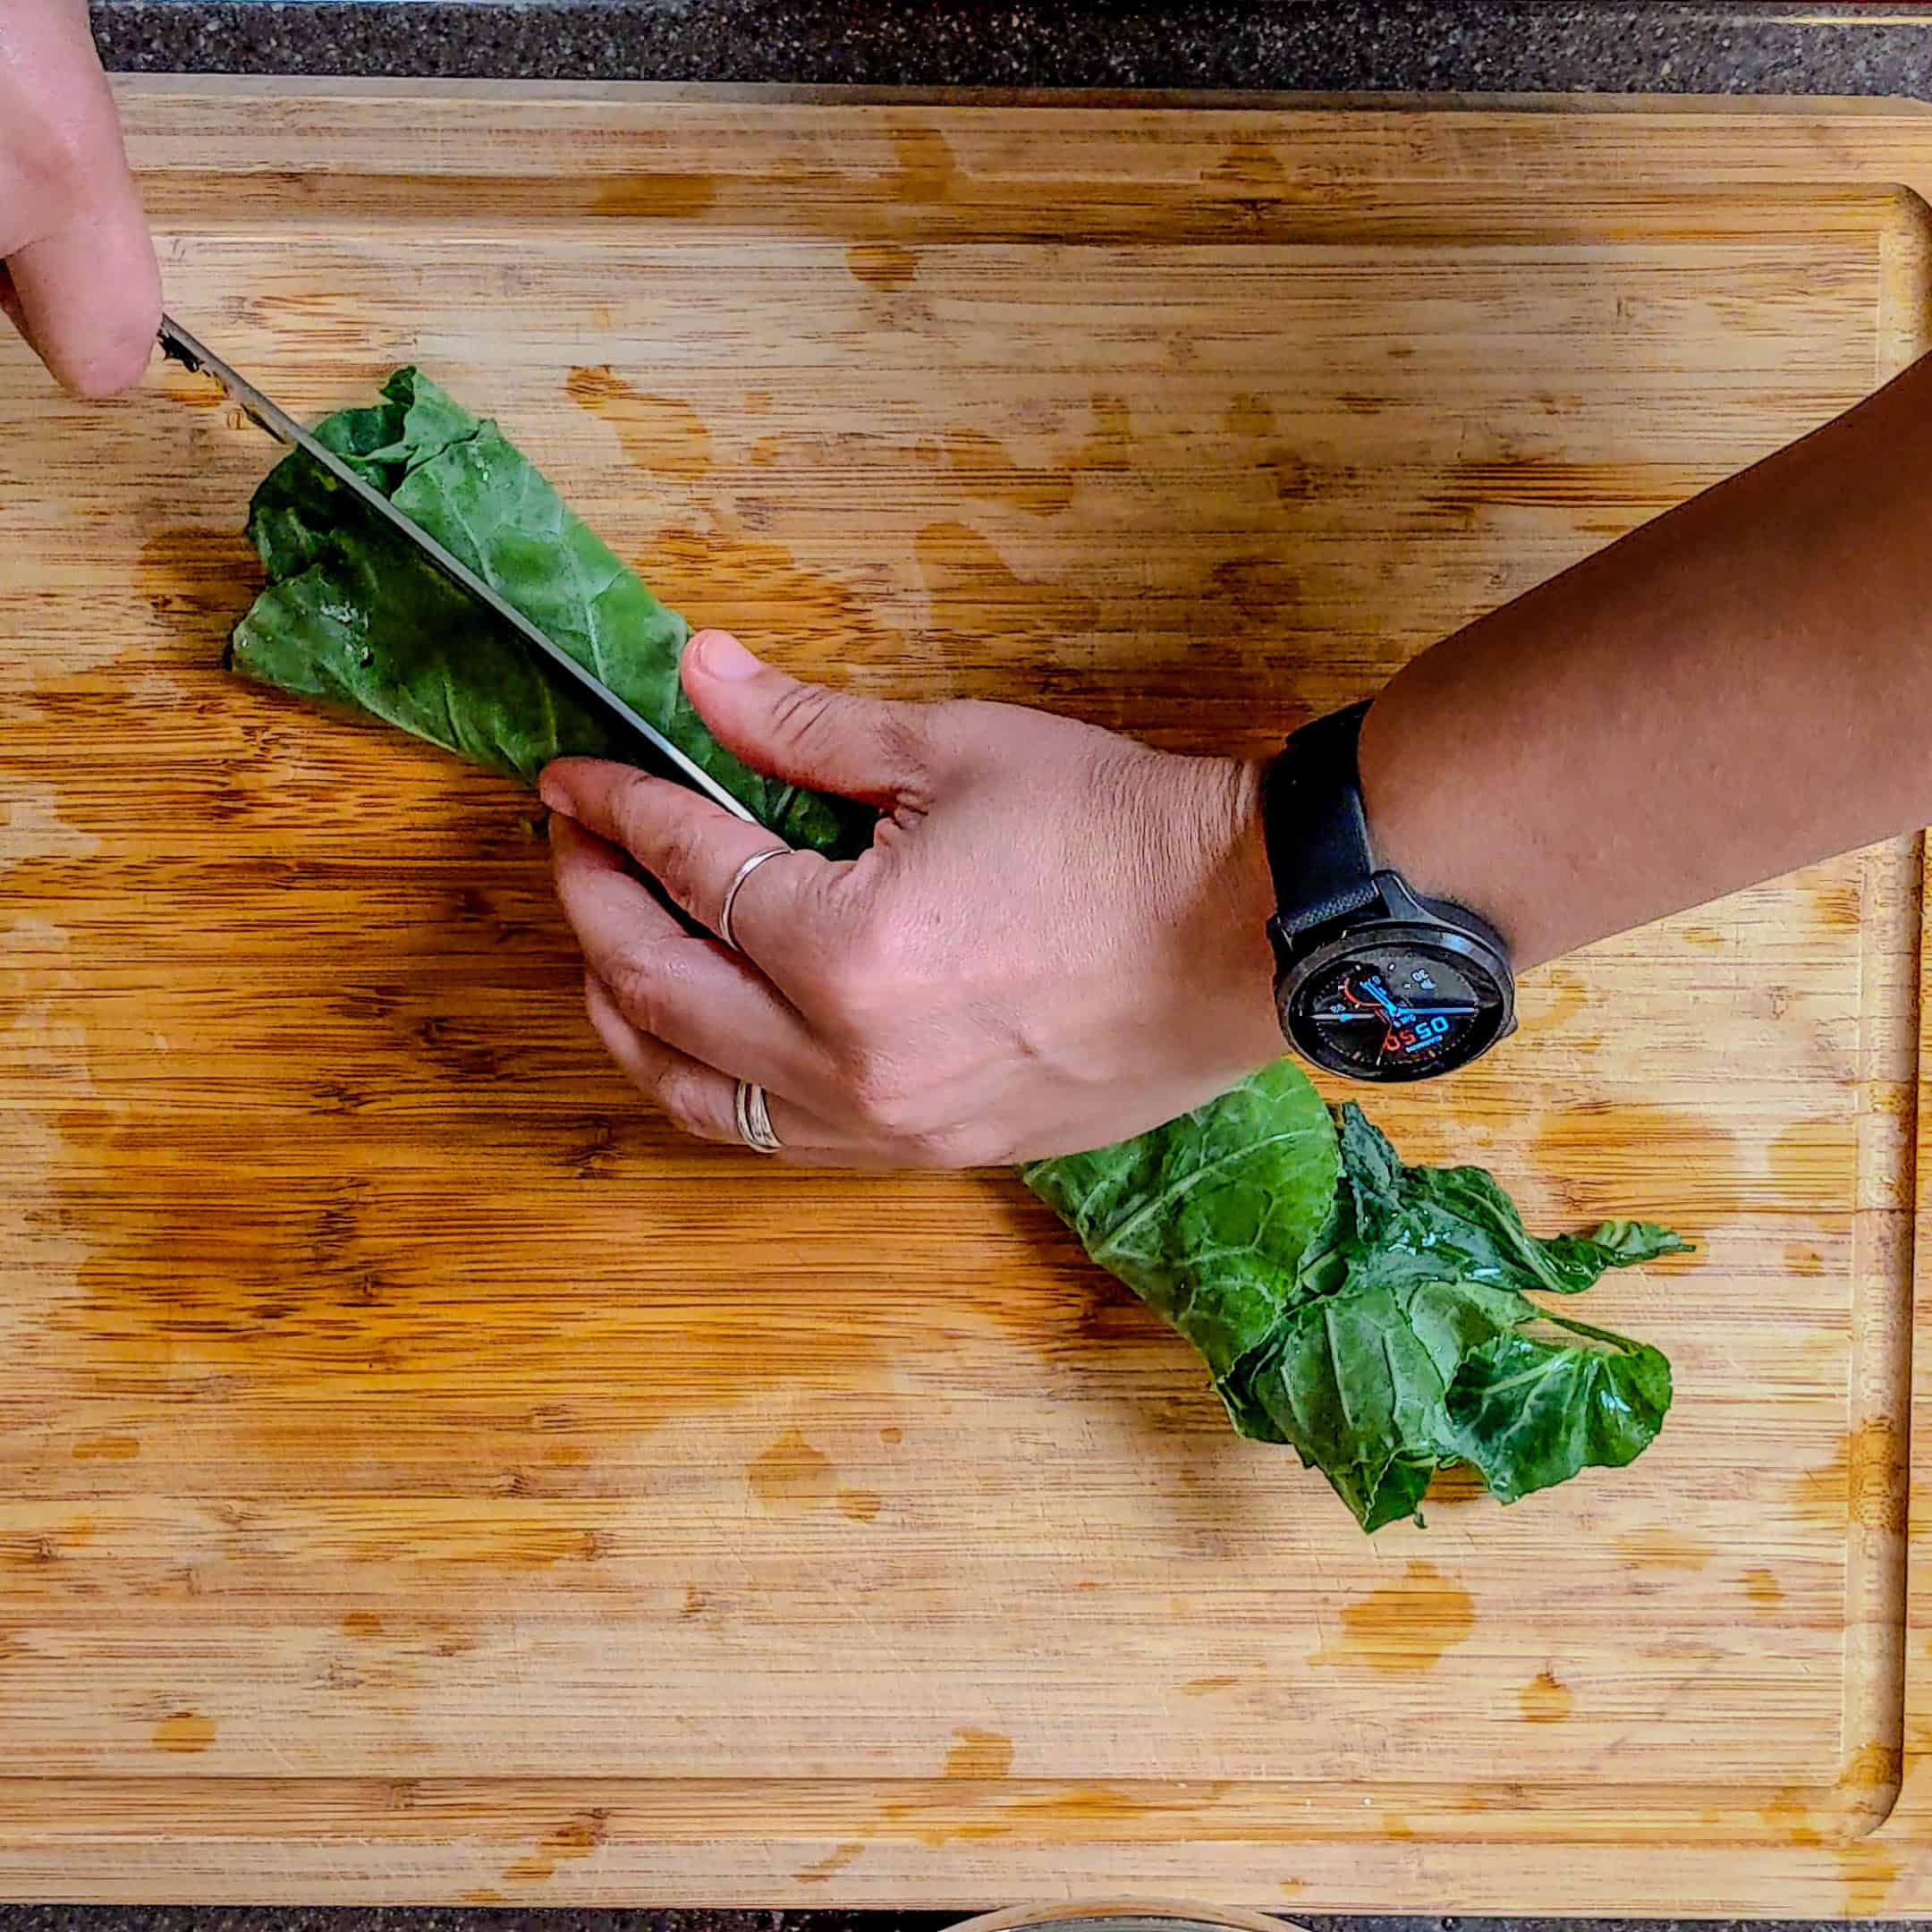
Once stem-free, it’s time to roll.
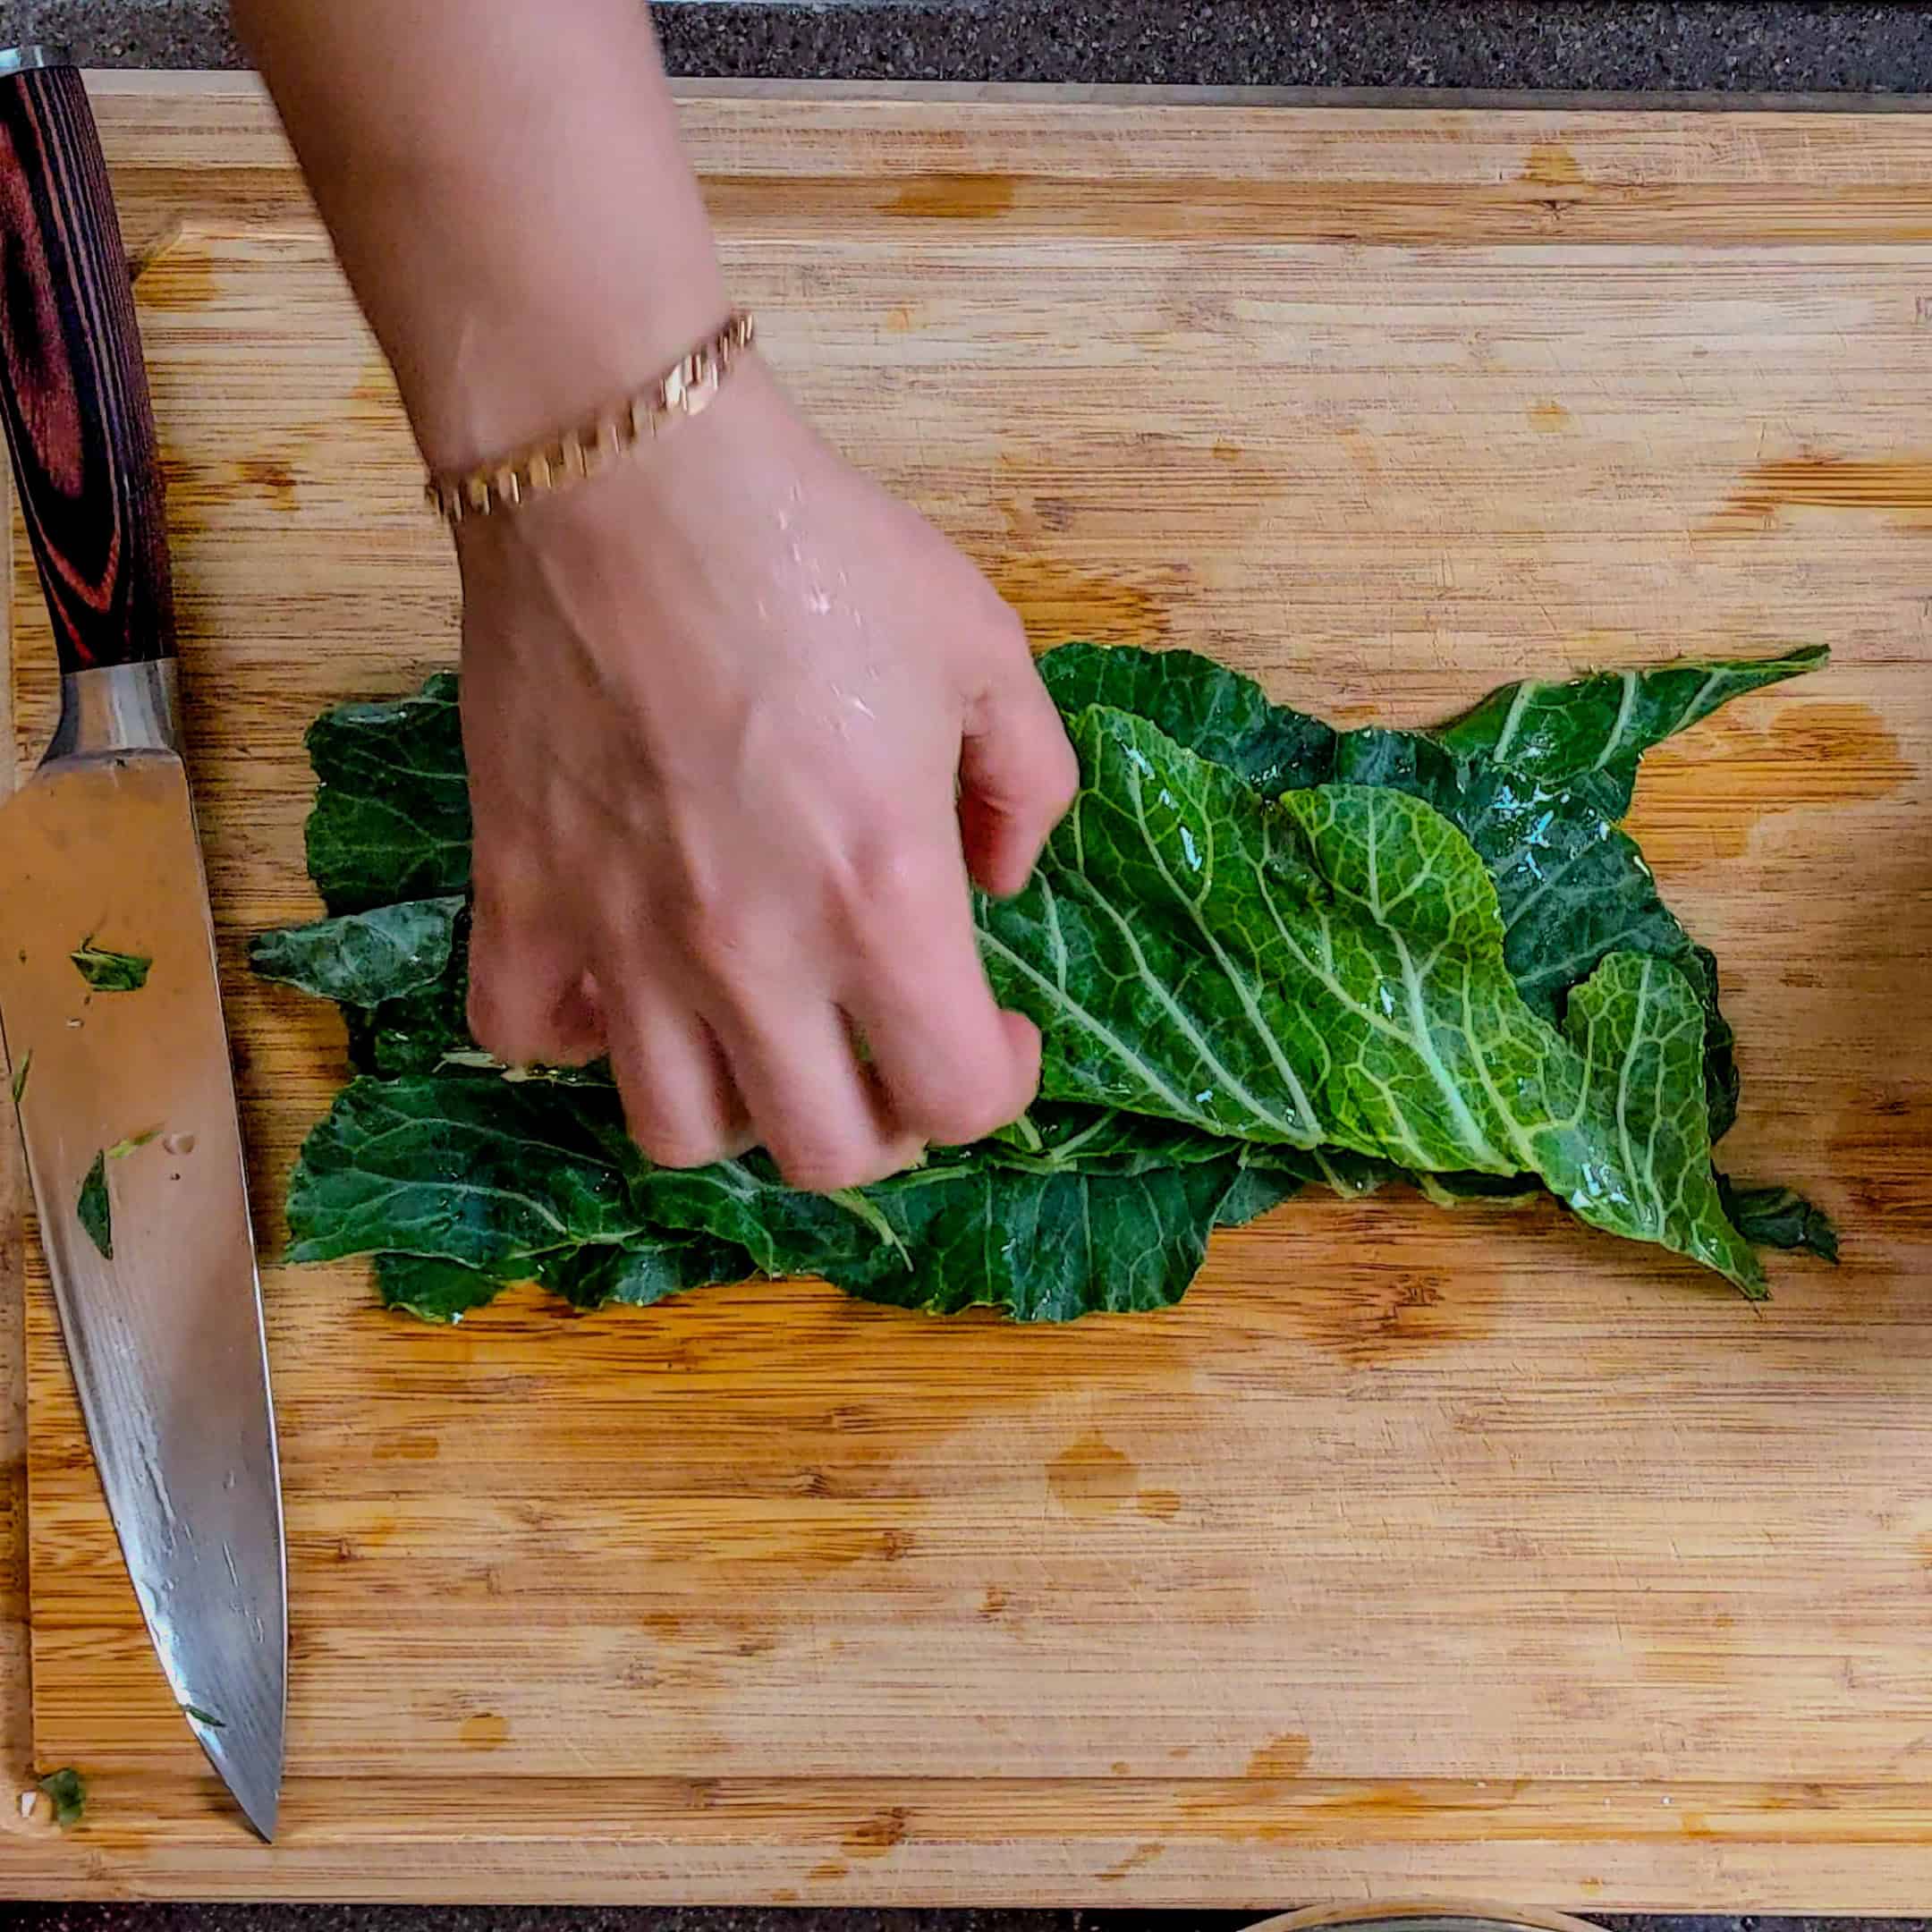
This option is for leaves that were cut in half lengthwise.
Only stack up to three to roll.
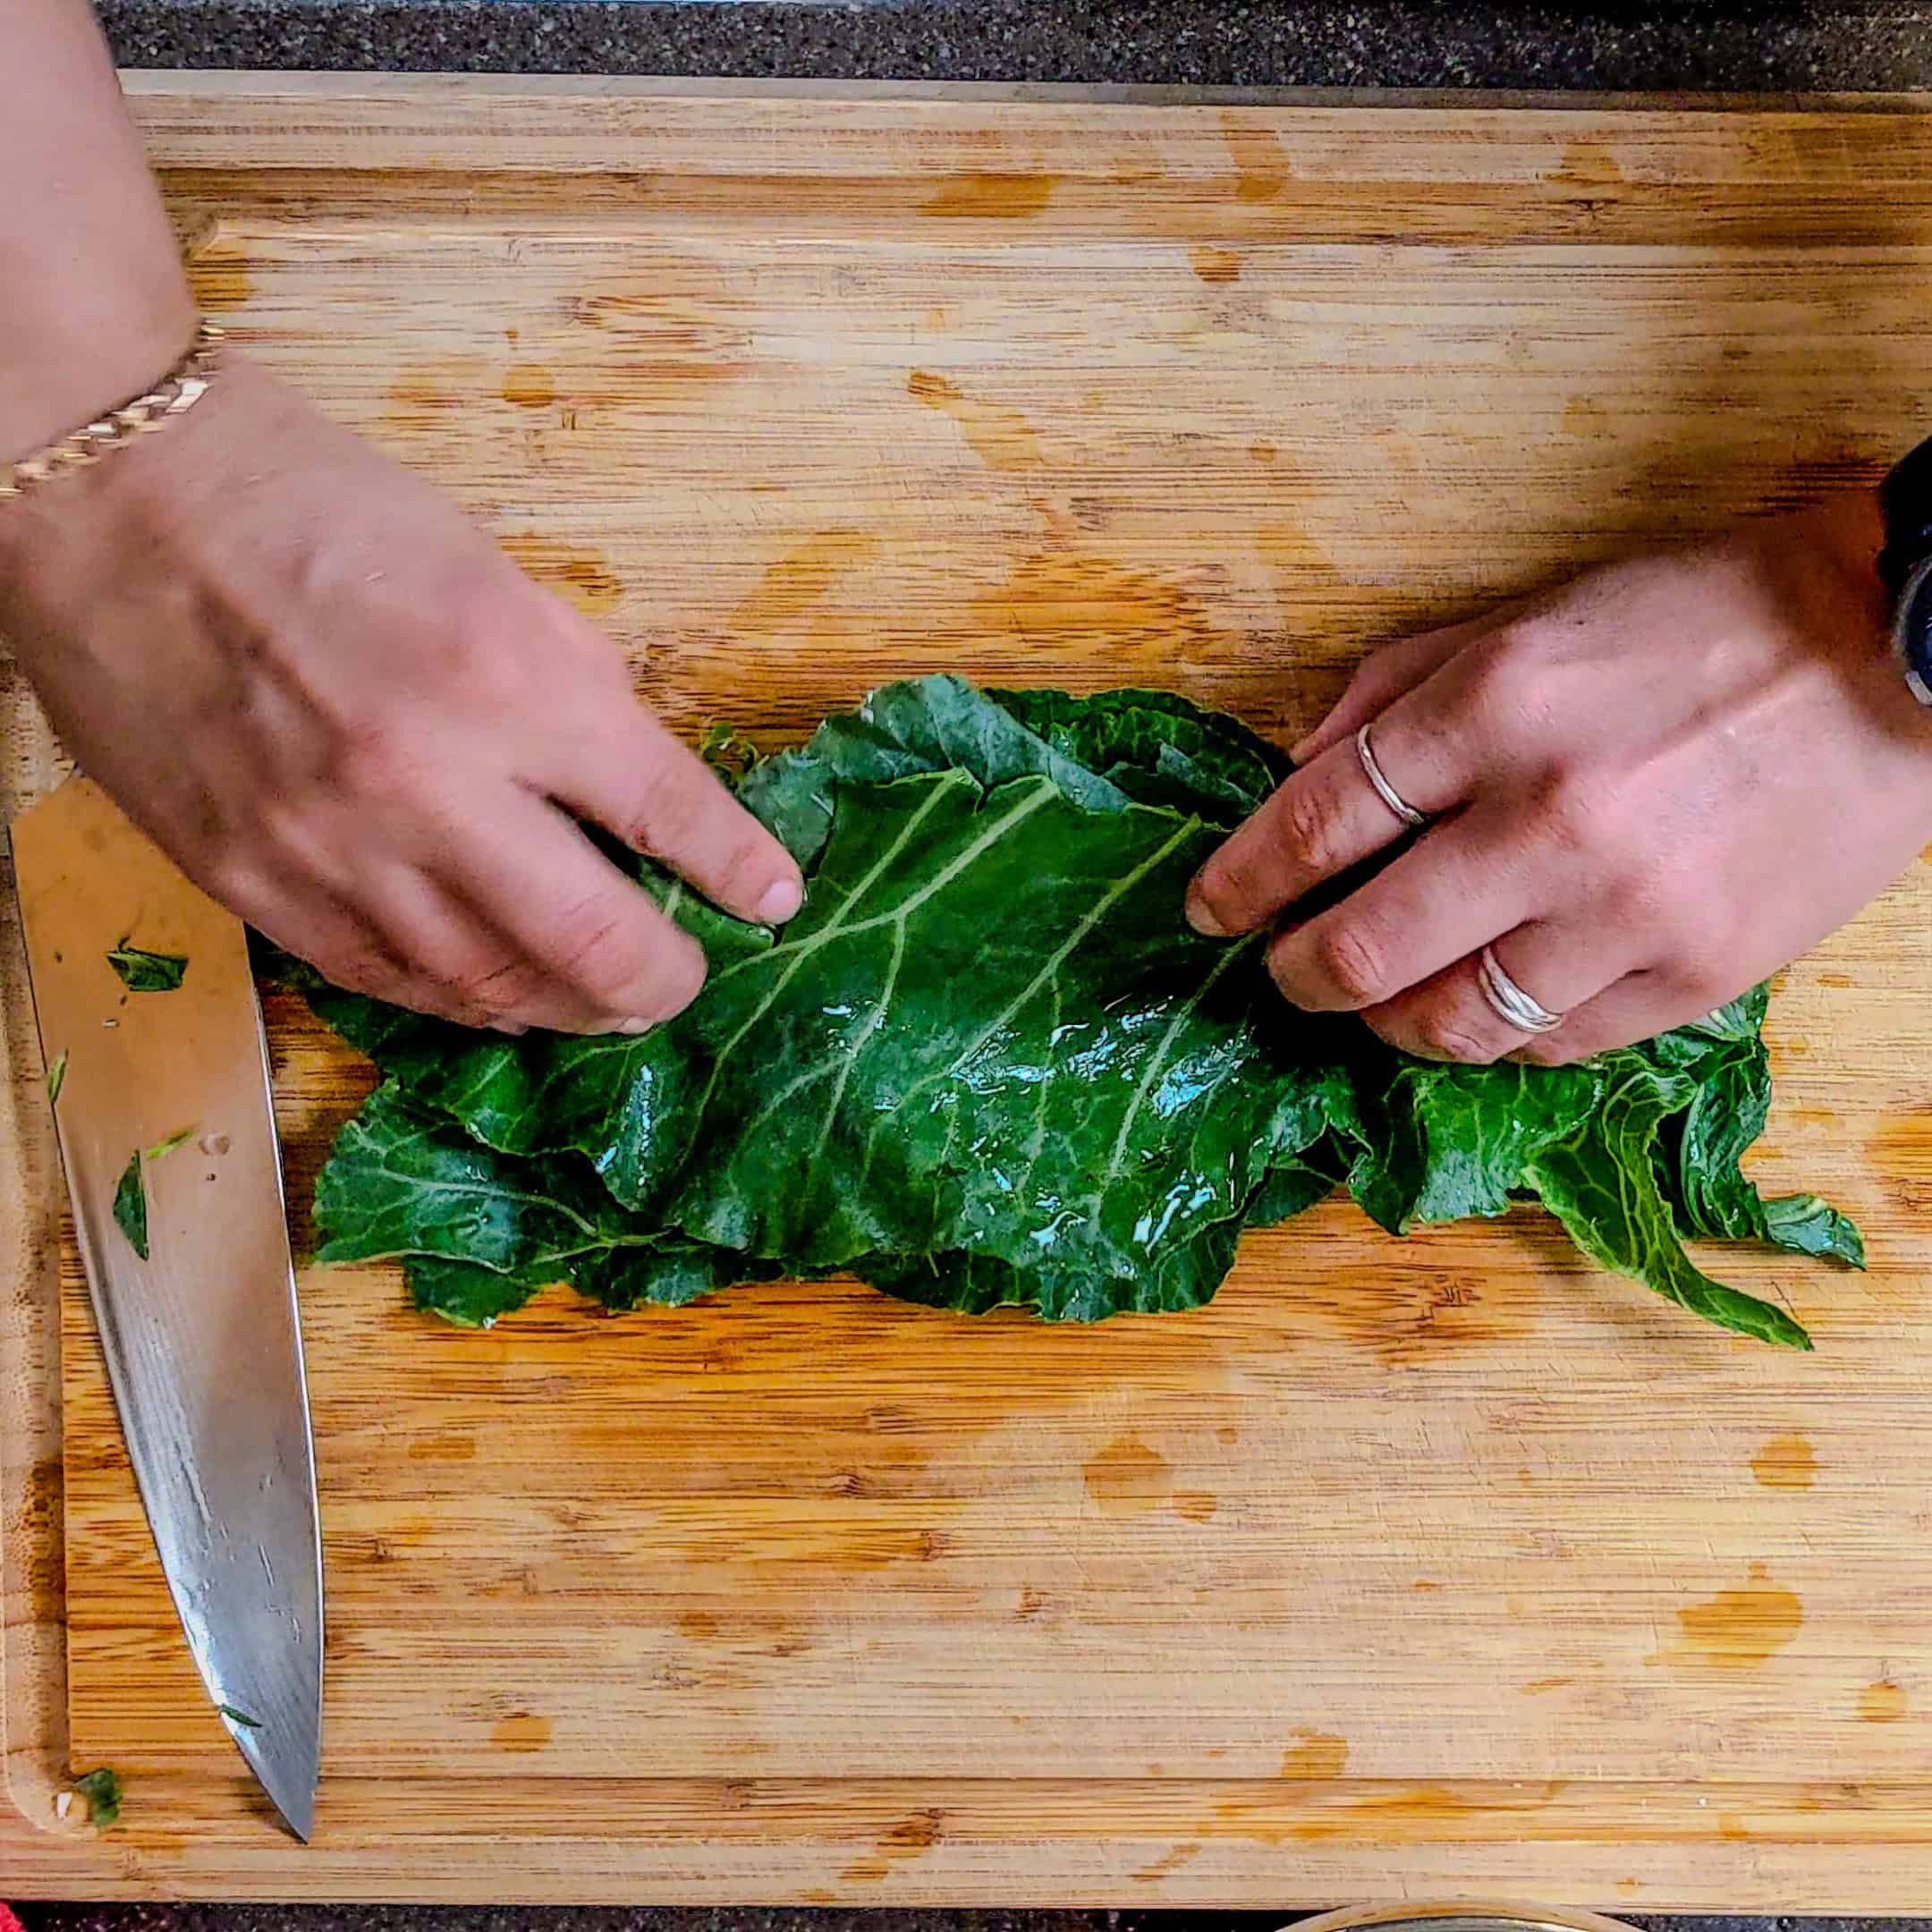
For easy rolling, face the leaves from you horizontally.
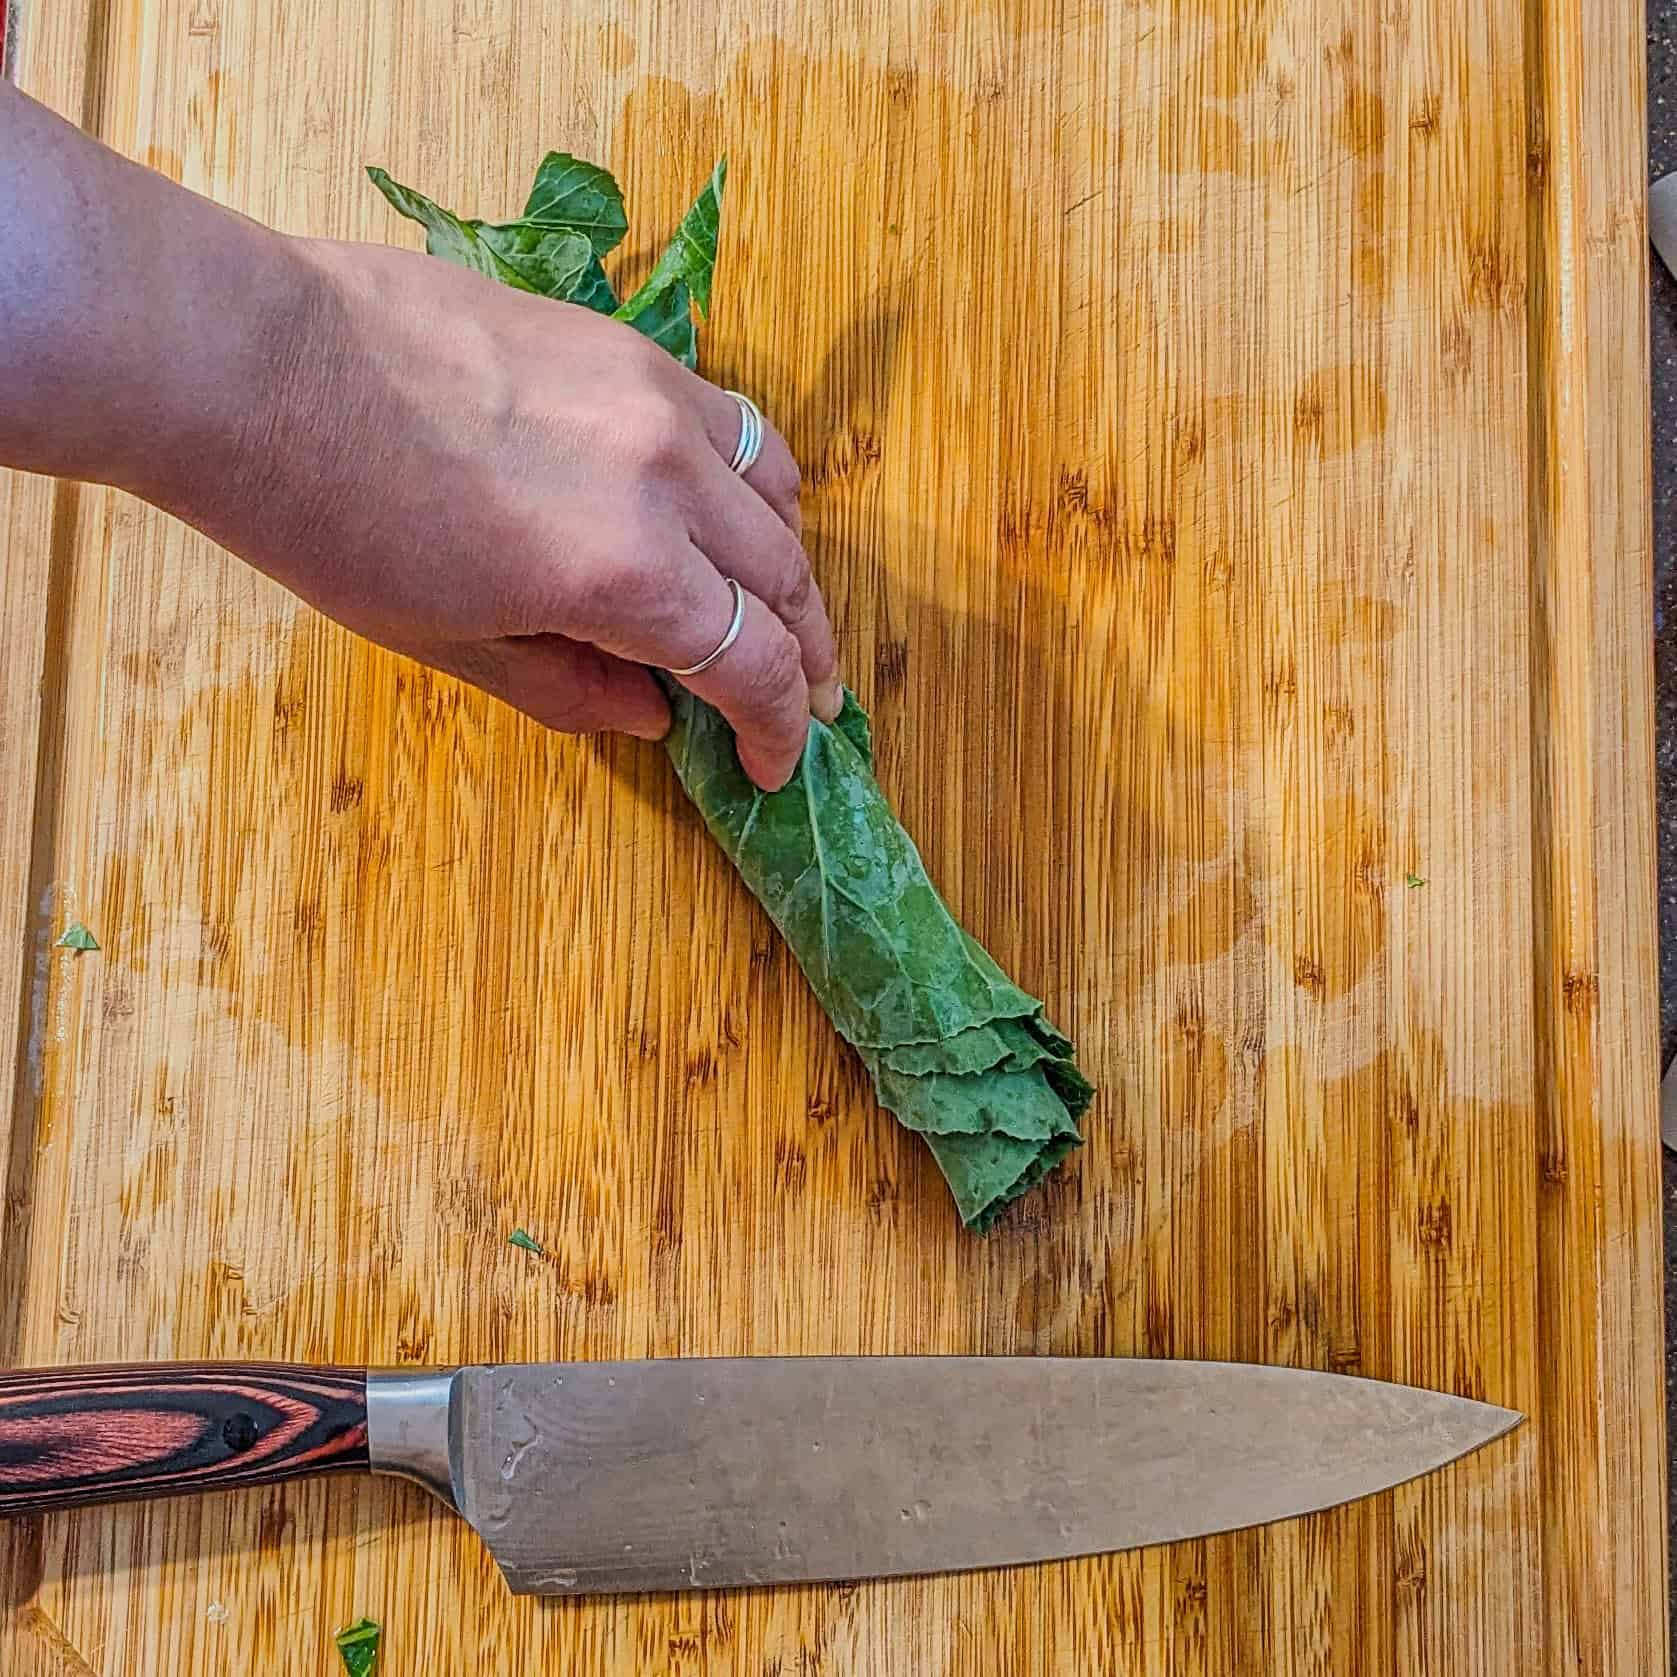
Roll until you get a long cigar shape.
You can also tuck in the end for easier cutting.
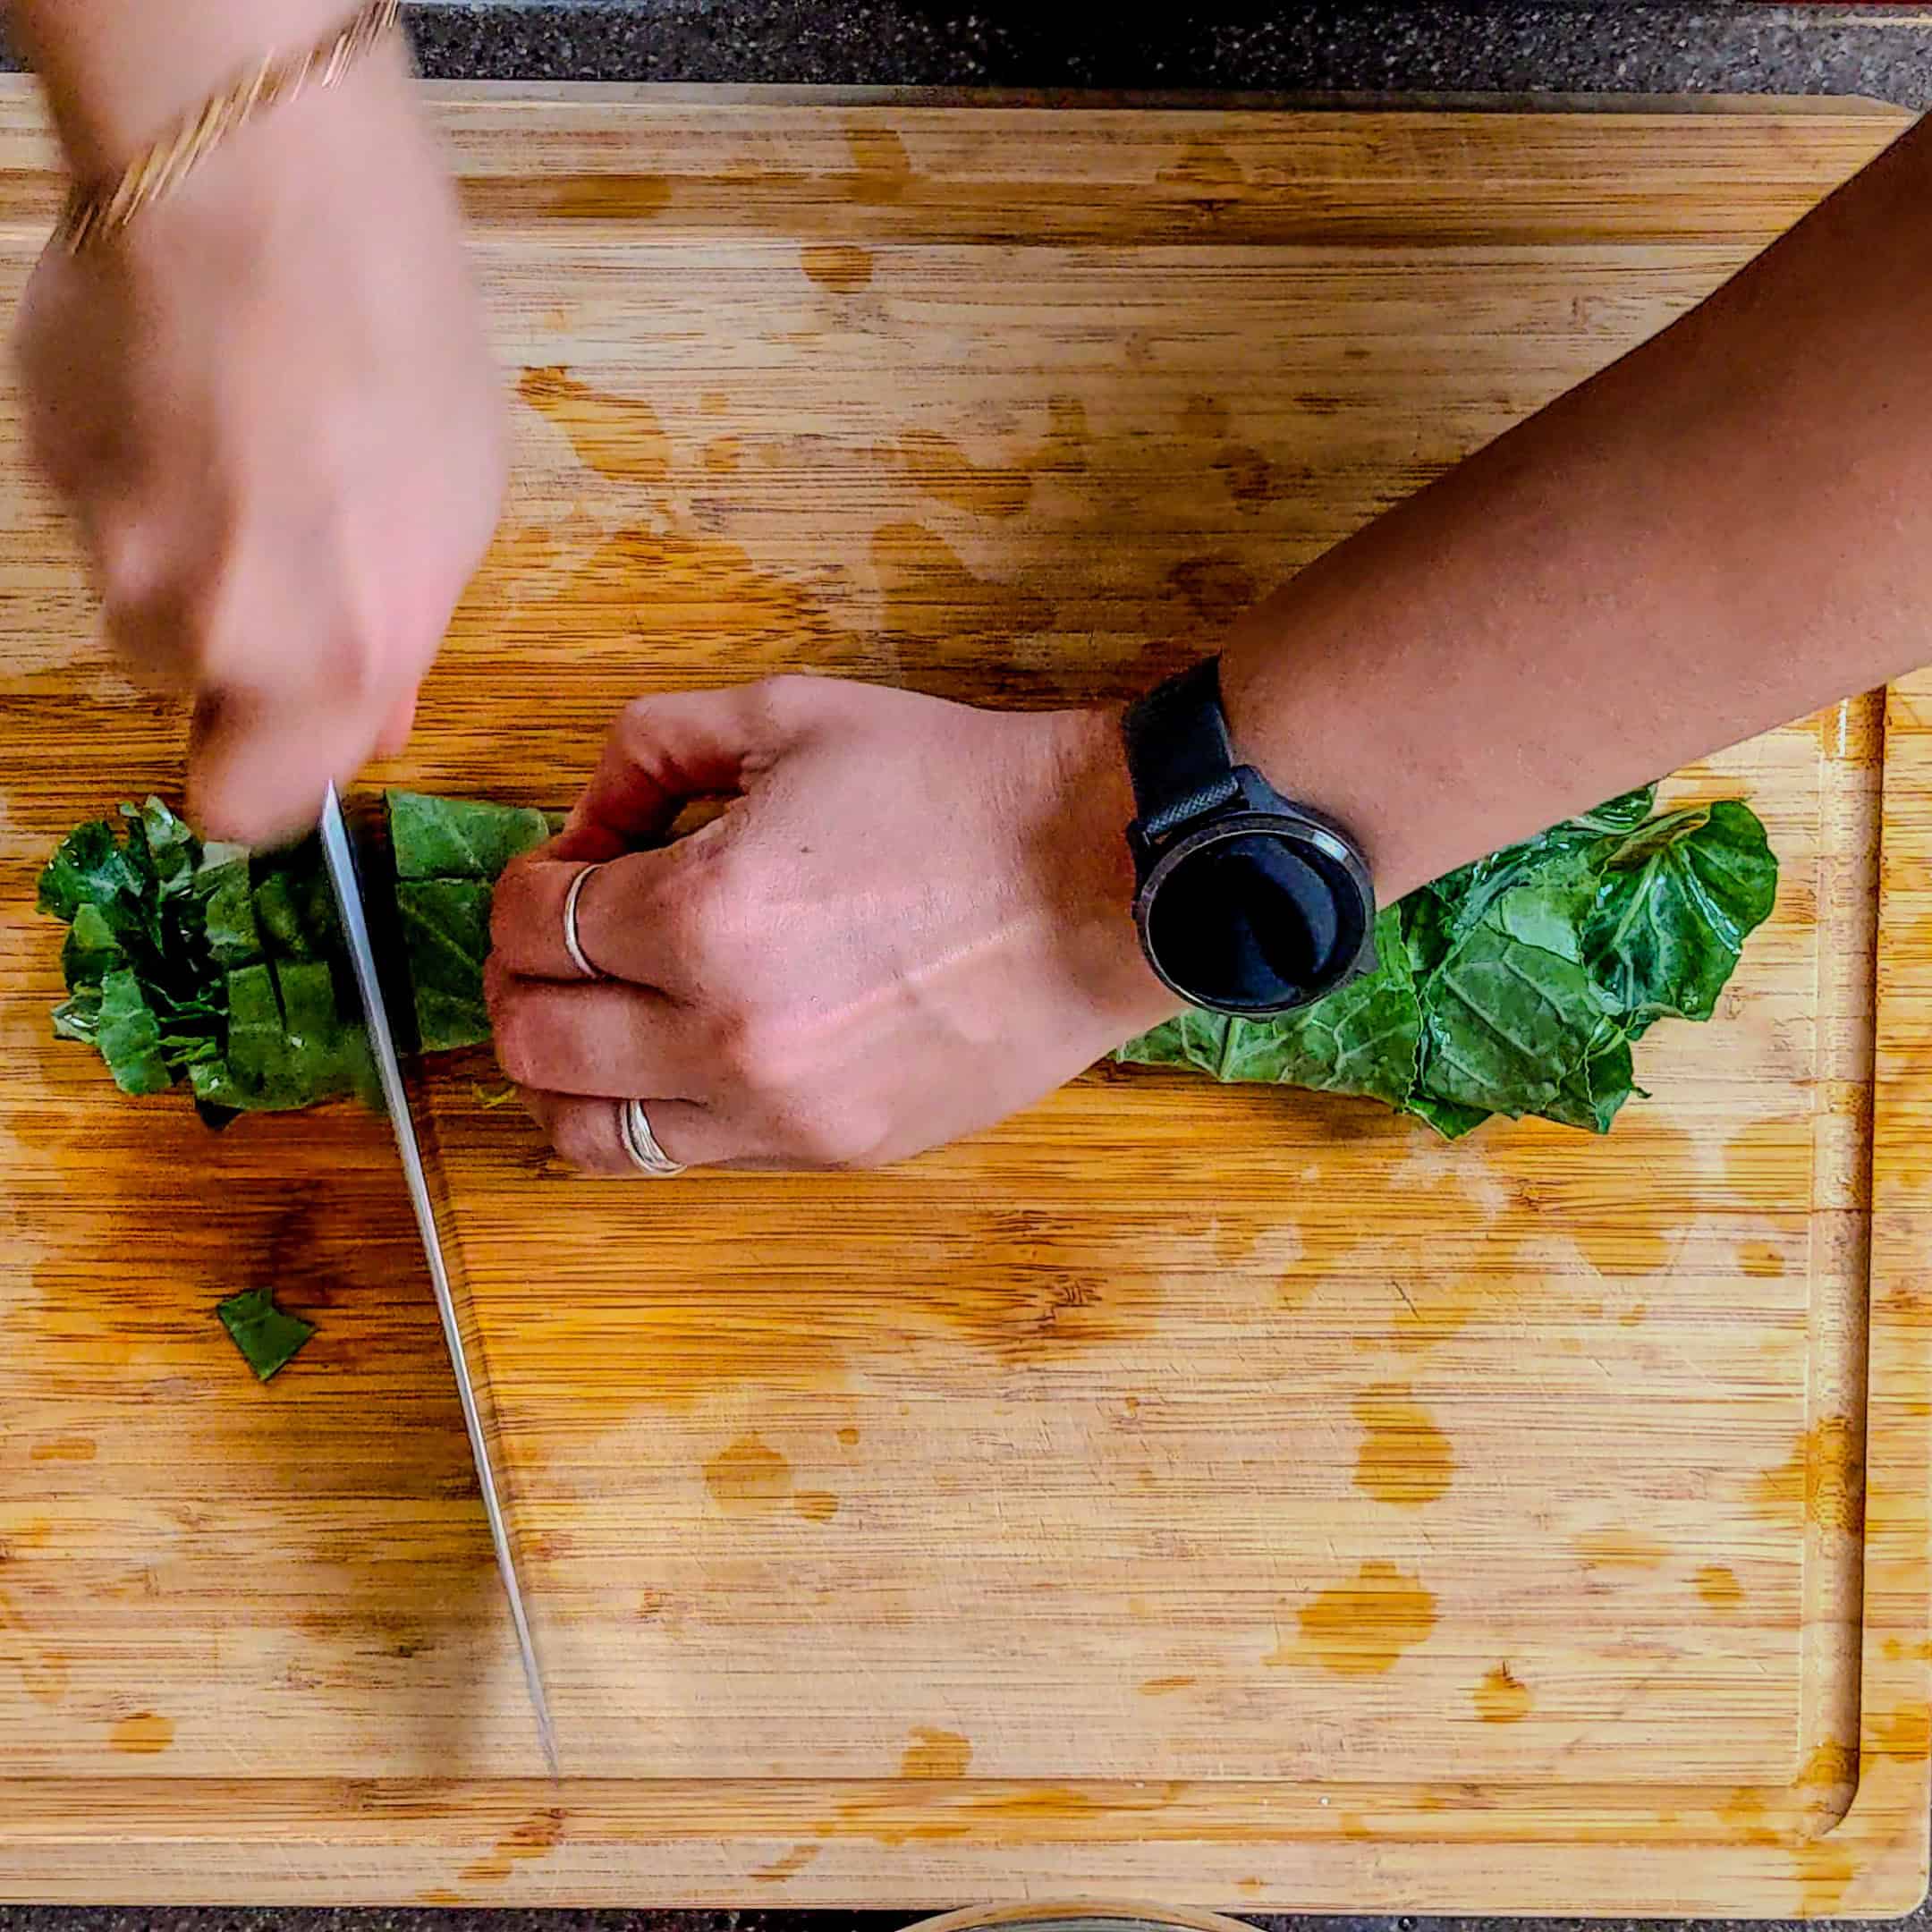
Step 4a: Slice the Leaves
Once rolled, it’s time to transform those fresh greens into beautiful ribbons or chopped pieces.

Curl in your finger like a bear claw.
Facing your cutting board with your head looking from the top, make even slices.
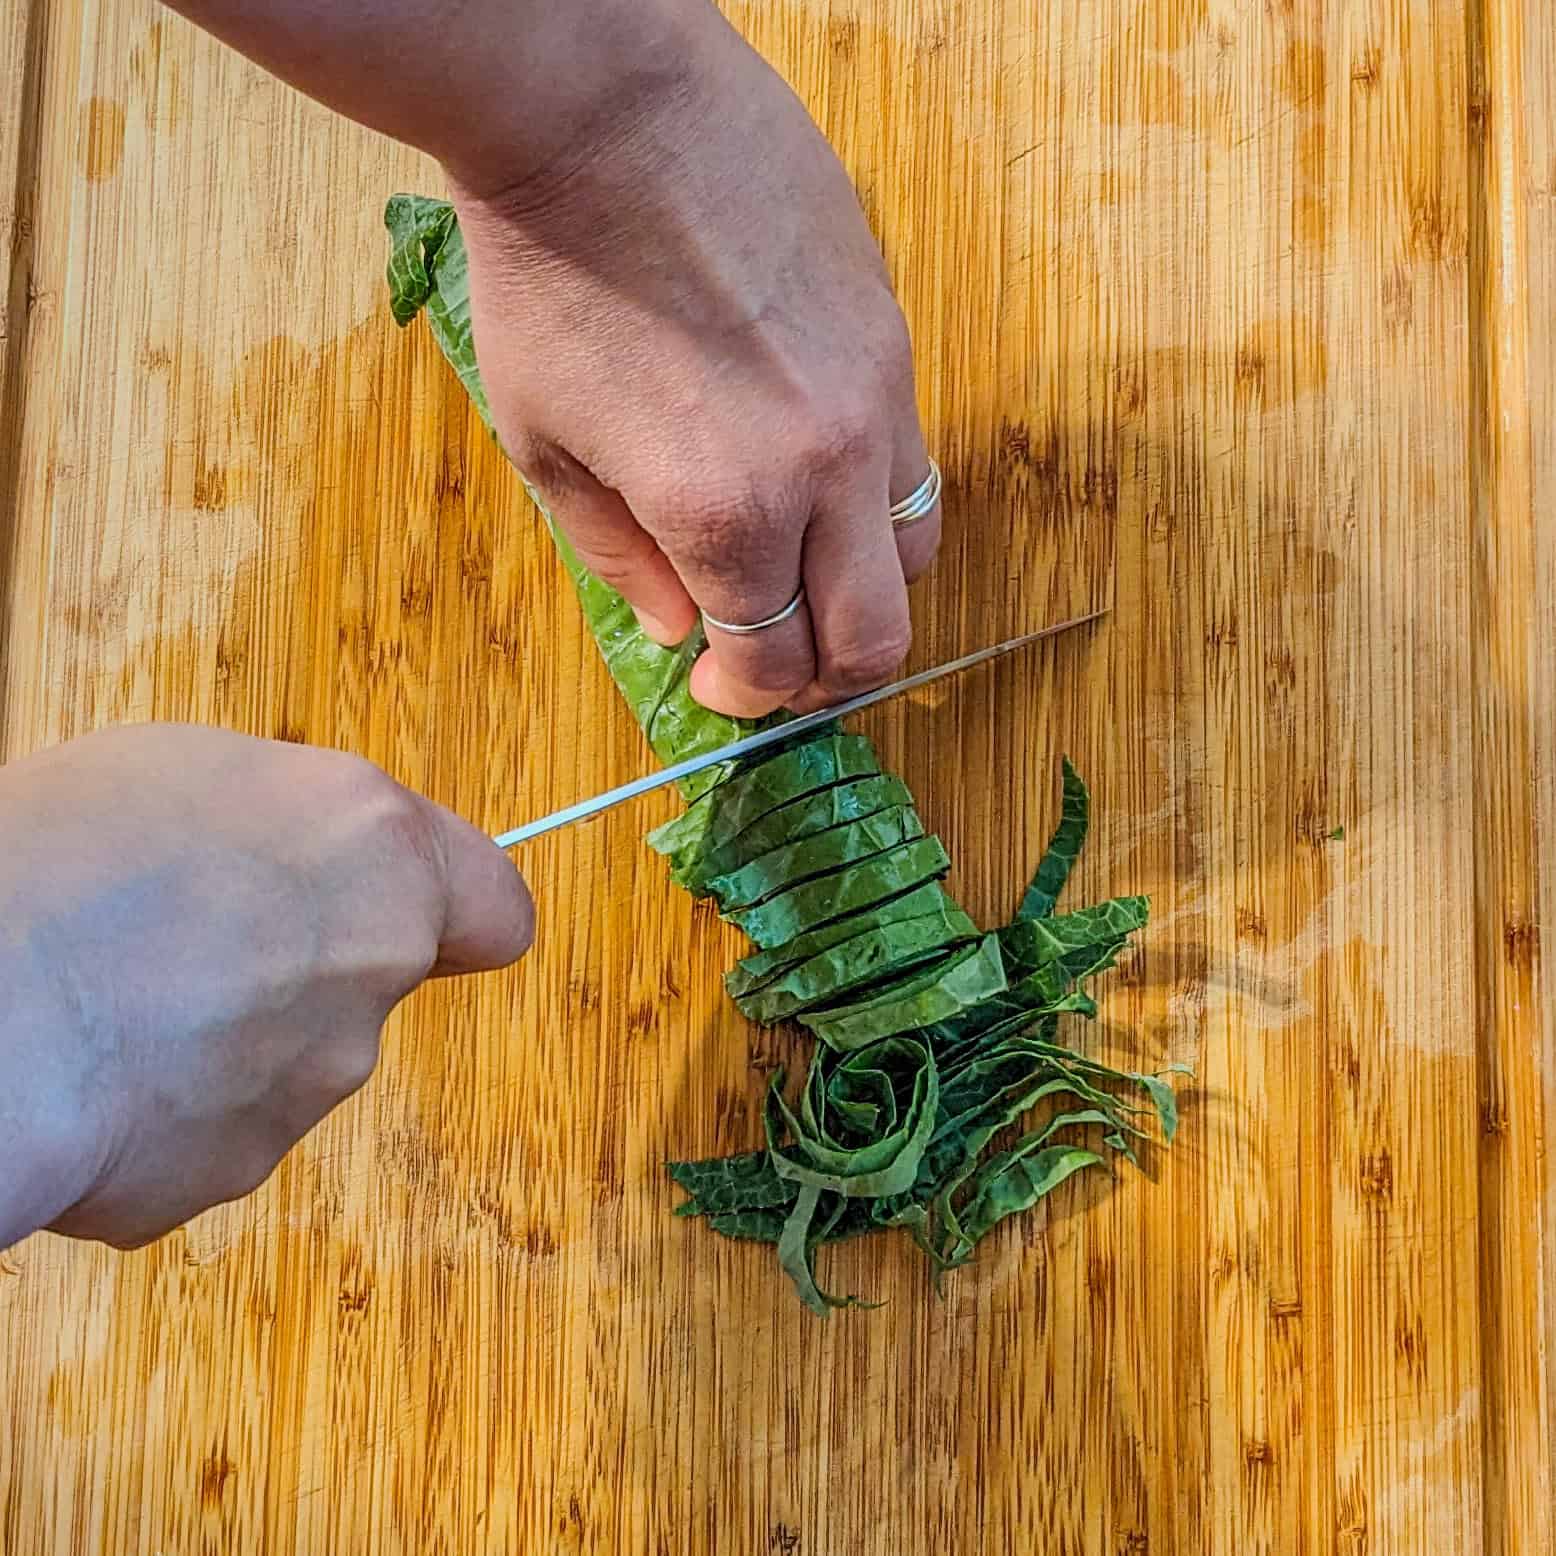
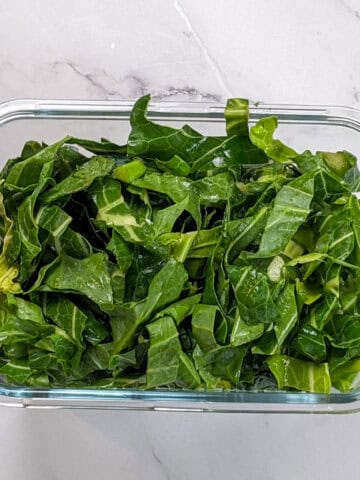
Slice crosswise into thin strips—aim for about ½-inch width.
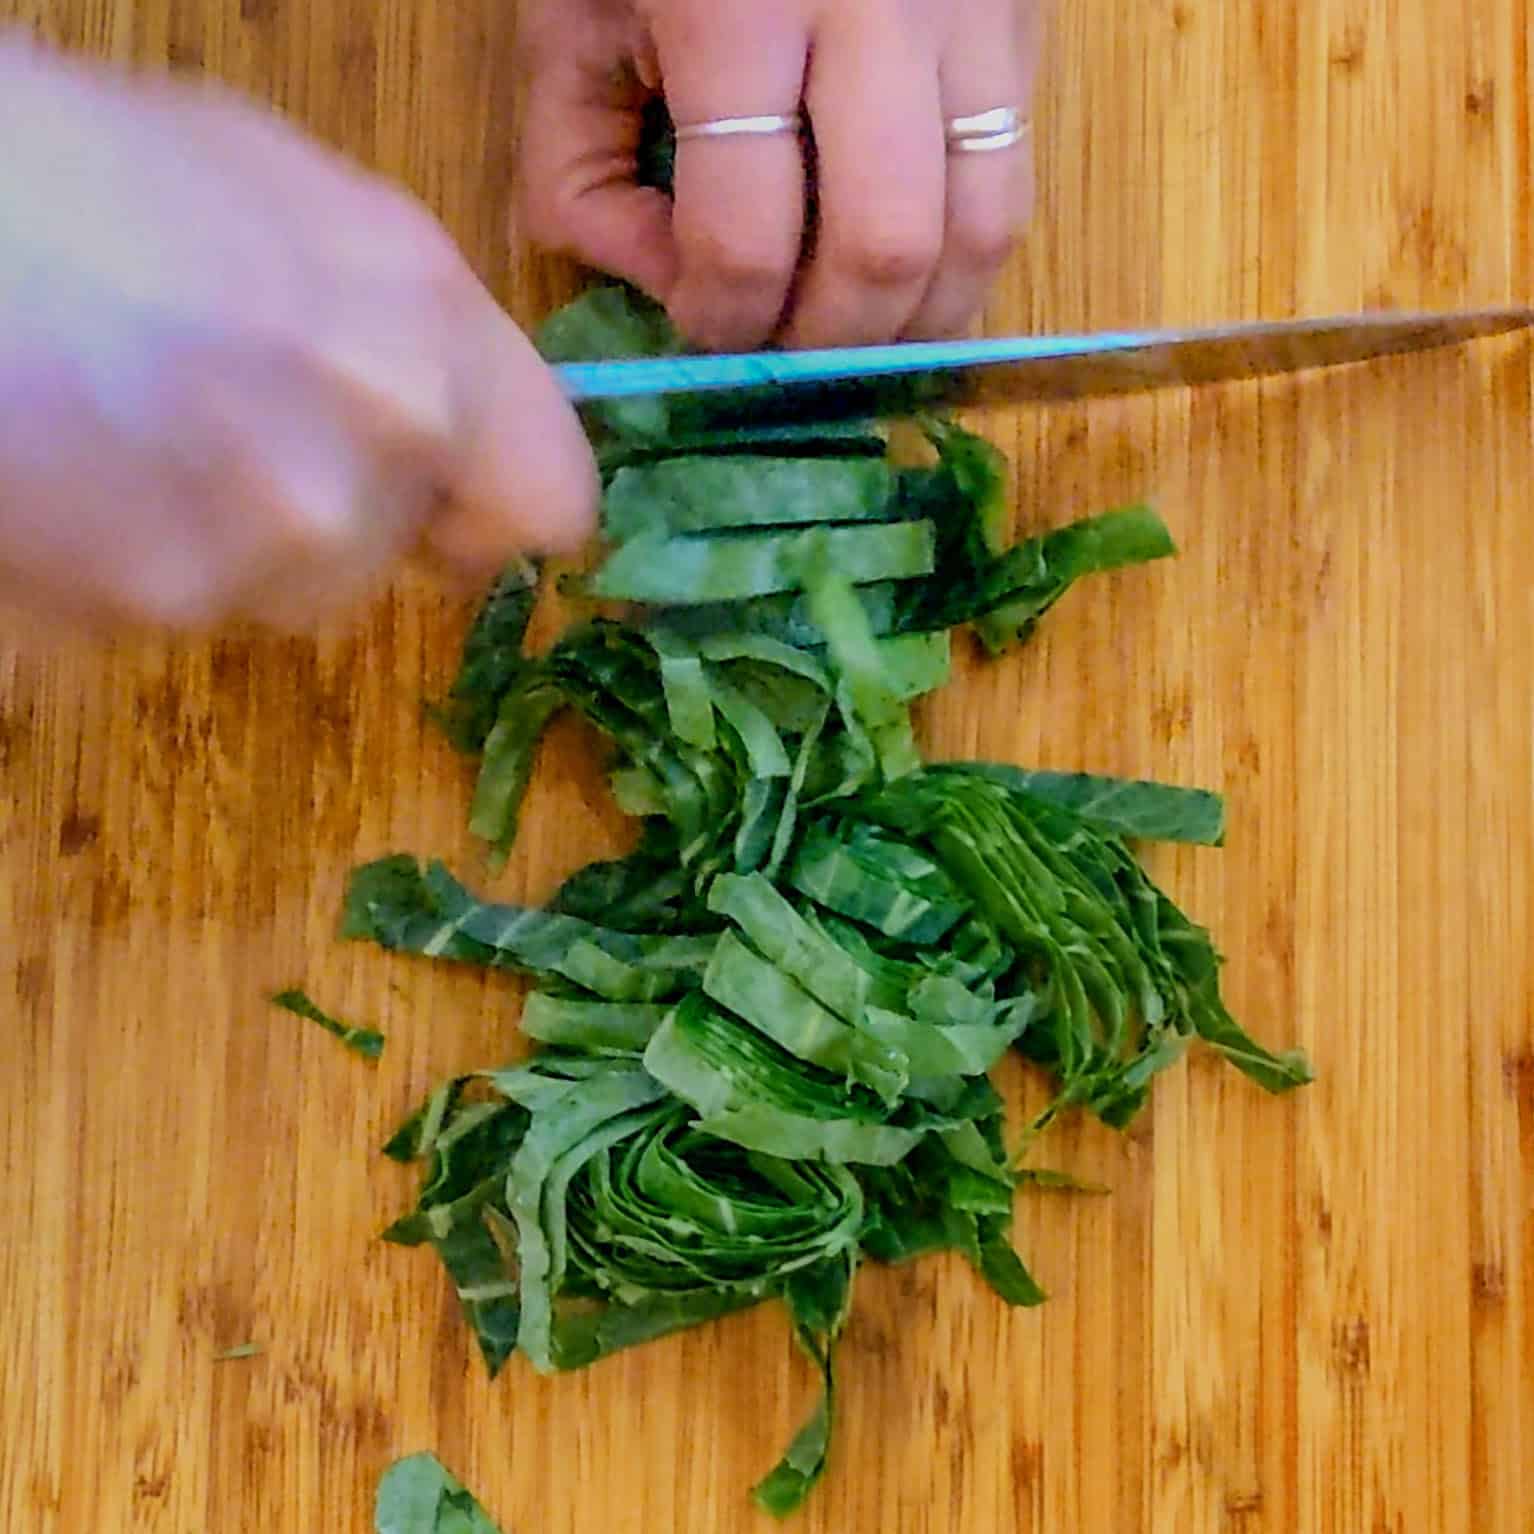
Remain your cutting position all the way to the end.
Tip: This method works great for collards, mustard greens, turnip greens, or even Swiss chard.
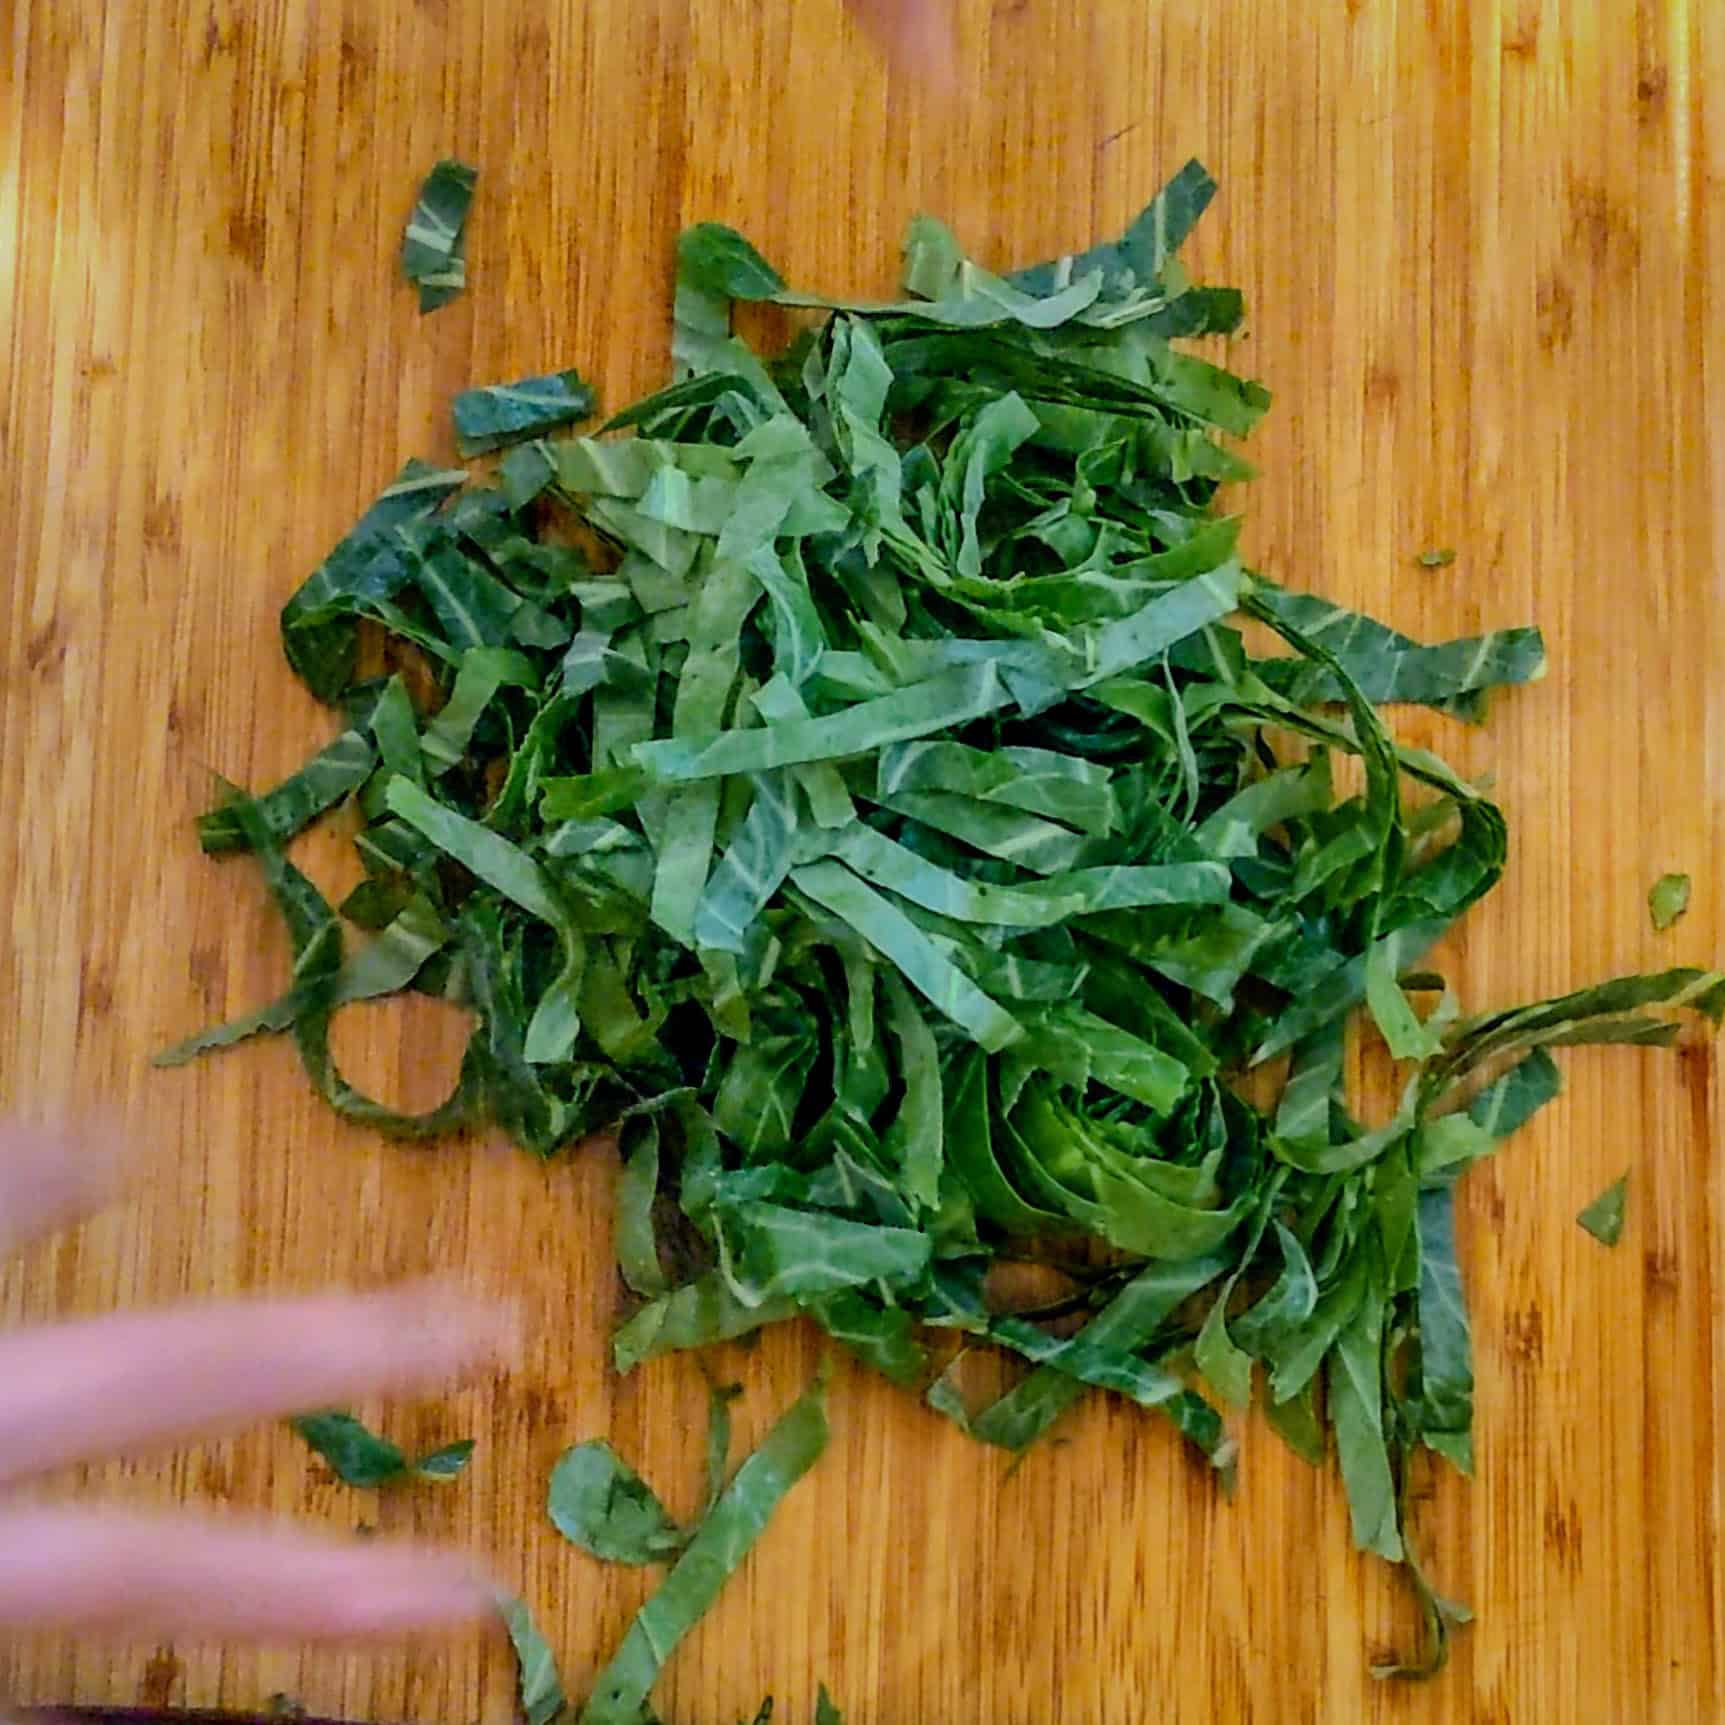
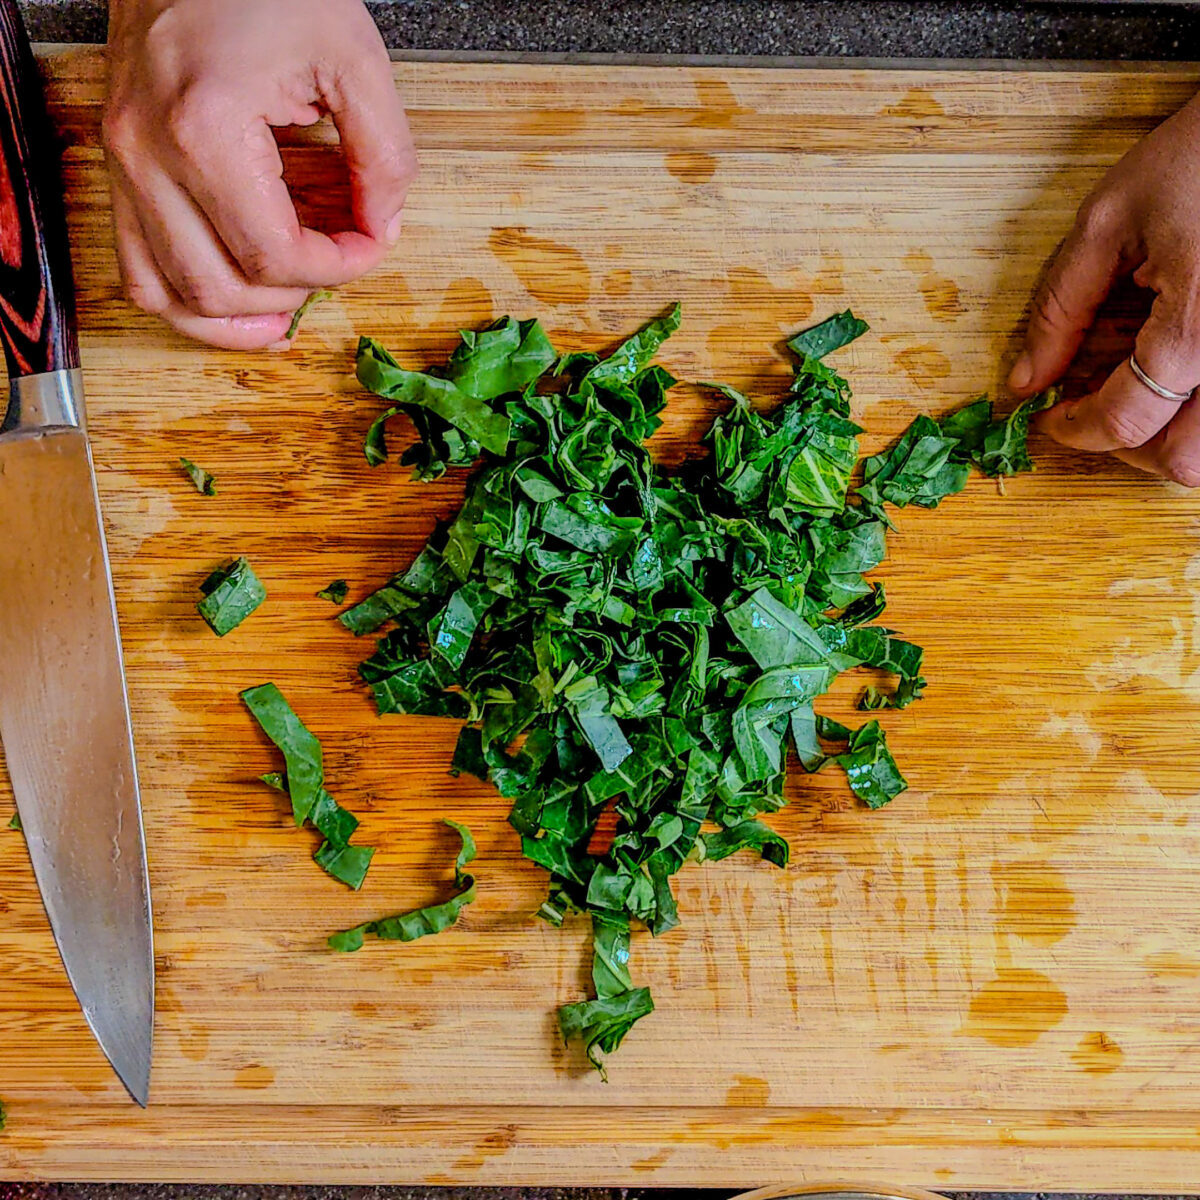
Uniform slices mean faster cooking and better texture.
Step 4b: Optional – Chop into Bite-Sized Pieces
If you’re making collards for stews, soups, or want to stretch leftover collard greens, chopping is your friend.
Cut your rolled strips in half lengthwise.
Turn the pieces and chop crosswise for bite-sized pieces.
Great For: Cooking in broth or pot liquor, or adding to dishes with a tablespoon of sugar, chicken broth, or spices.
My Rating: ⭐⭐⭐⭐⭐
Purchased: October 30, 2024
My Review: I love that this bamboo cutting board set came in so many convenient sizes—it makes it easy to grab exactly what I need, whether I’m chopping herbs or breaking down meat. The bright tones of the wood really stood out to me; they look beautiful on camera and bring a nice pop of warmth to my kitchen. It’s especially come in handy during meal prep or when I have someone else helping me—everyone gets their own board! I also appreciate how lightweight yet sturdy they are, making them easy to move around while still holding up to serious chopping. Definitely a great gift for yourself or anyone who loves to cook or entertain.

What is "Pot Liquor"?
Pot liquor—also spelled pot likker—is the richly flavored, nutrient-dense liquid left behind after cooking down leafy greens like collard greens, mustard greens, turnip greens, or even kale.
It's a staple in Southern cooking and is often seasoned with ingredients like ham hocks, smoked turkey, onions, garlic, black pepper, and sometimes a tablespoon of sugar or a splash of apple cider vinegar to balance out the bitter taste of the greens.
This cooking liquid captures all the good things that simmer out of the greens: vitamins (especially A, C, and K), minerals, and deep savory flavor. It’s traditionally served alongside or even sipped on its own—some folks even dip cornbread in it to soak up every drop.
In many Southern kitchens, pot liquor is considered just as valuable as the greens themselves.
Equipment
Cutting Board
A cutting board provides a stable, non-slip surface that’s essential when trimming large, flat collard leaves. Because collard greens can be wide and floppy, you need plenty of space to stack, fold, and roll them safely before slicing.
A wooden or plastic board that sits firmly on the counter helps prevent accidents when using a sharp knife—especially when dealing with tough stems. For added stability, place a damp paper towel or clean kitchen towel under the board to keep it from sliding during prep.
Chef’s Knife or Paring Knife
A chef’s knife is your go-to tool for trimming the thick central ribs from collard greens and slicing through rolled leaves with precision. Its weight and length make it easier to handle large leafy greens efficiently.
For smaller hands or those new to knife work, a paring knife offers more control when slicing along the edge of a folded leaf. Either way, keeping your blade sharp ensures cleaner cuts, safer handling, and a smoother trimming experience—helping you get thin strips with less effort.
Clean Kitchen Towels or Paper Towels
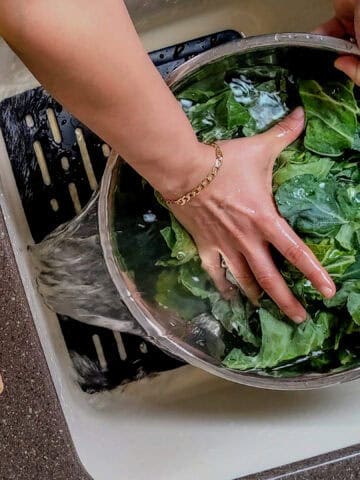
After washing collards in a bowl of cold water or under cold running water, drying them is a step many skip—but it makes a big difference. Damp leaves can slip around on the cutting board, increasing the risk of accidents and making your slices uneven.
Use paper towels or a clean kitchen towel to pat each leaf dry before you trim and roll. Not only does this help with safety and control, but it also prevents extra moisture from watering down your flavor of the greens during cooking.
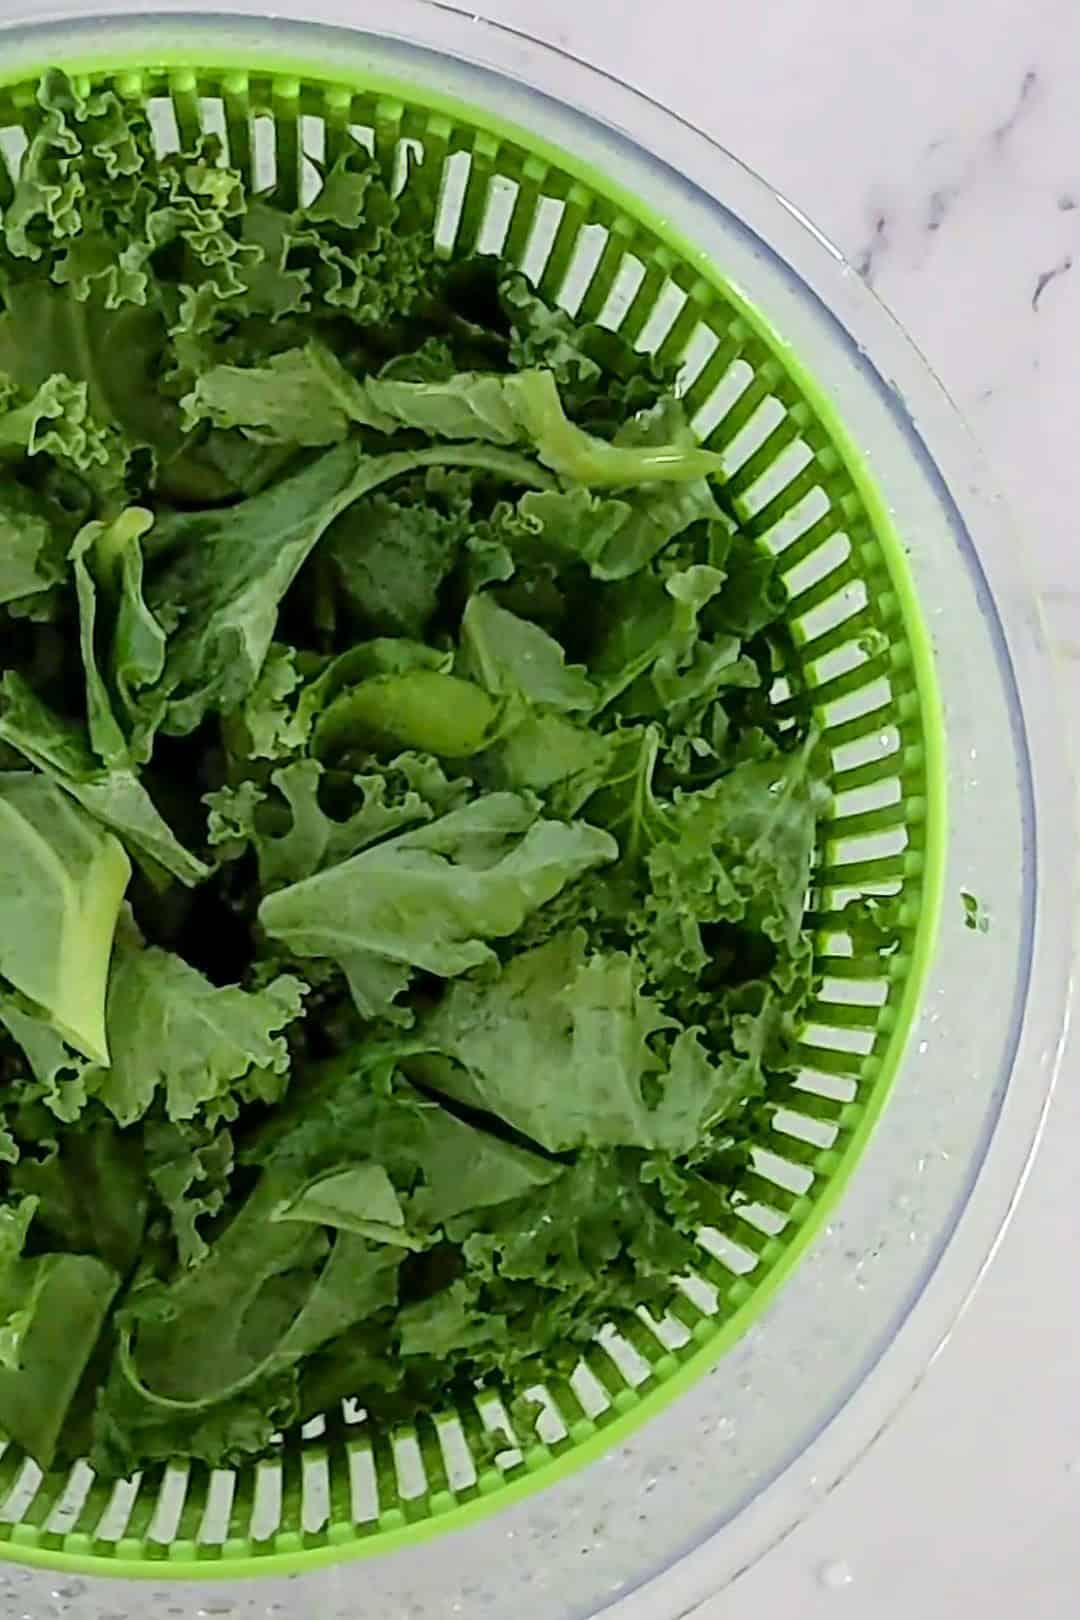
Salad Spinner (Optional, But Handy)
A salad spinner is a handy tool for anyone prepping a big batch of fresh collard greens, especially if you plan to store some in the fridge or freezer. After rinsing the leaves in cold water, give them a quick spin to remove excess moisture.
This is especially useful if you want your greens dry enough for chopping and packaging in airtight containers or plastic freezer bags. While not a must-have, it’s a helpful kitchen upgrade for anyone who cooks a lot of leafy greens like mustard greens, swiss chard, or turnip greens.
Kitchen Must Haves - Find other tools I use here.
My Rating: ⭐⭐⭐⭐
Purchased: 03/28/22
Update: 01/15/2025
My Review: Cuisinart is a renowned brand known for its innovative, high-quality kitchen appliances and tools that make cooking and food prep effortless. Additionally, the Cuisinart Salad Spinner has been a trusty tool in my kitchen for years, and it’s proven to be so much more than just a salad spinner! Despite its compact size, it handles everything with ease—from rinsing and drying delicate herbs to cleaning mushrooms and, of course, prepping perfectly dry greens for salads. Its durable design has stood the test of time, and its efficiency has made meal prep so much quicker and easier. If you’re looking for a versatile, long-lasting kitchen tool, this little spinner is a must-have! I've made a post about it, check out my salad spinner post here.
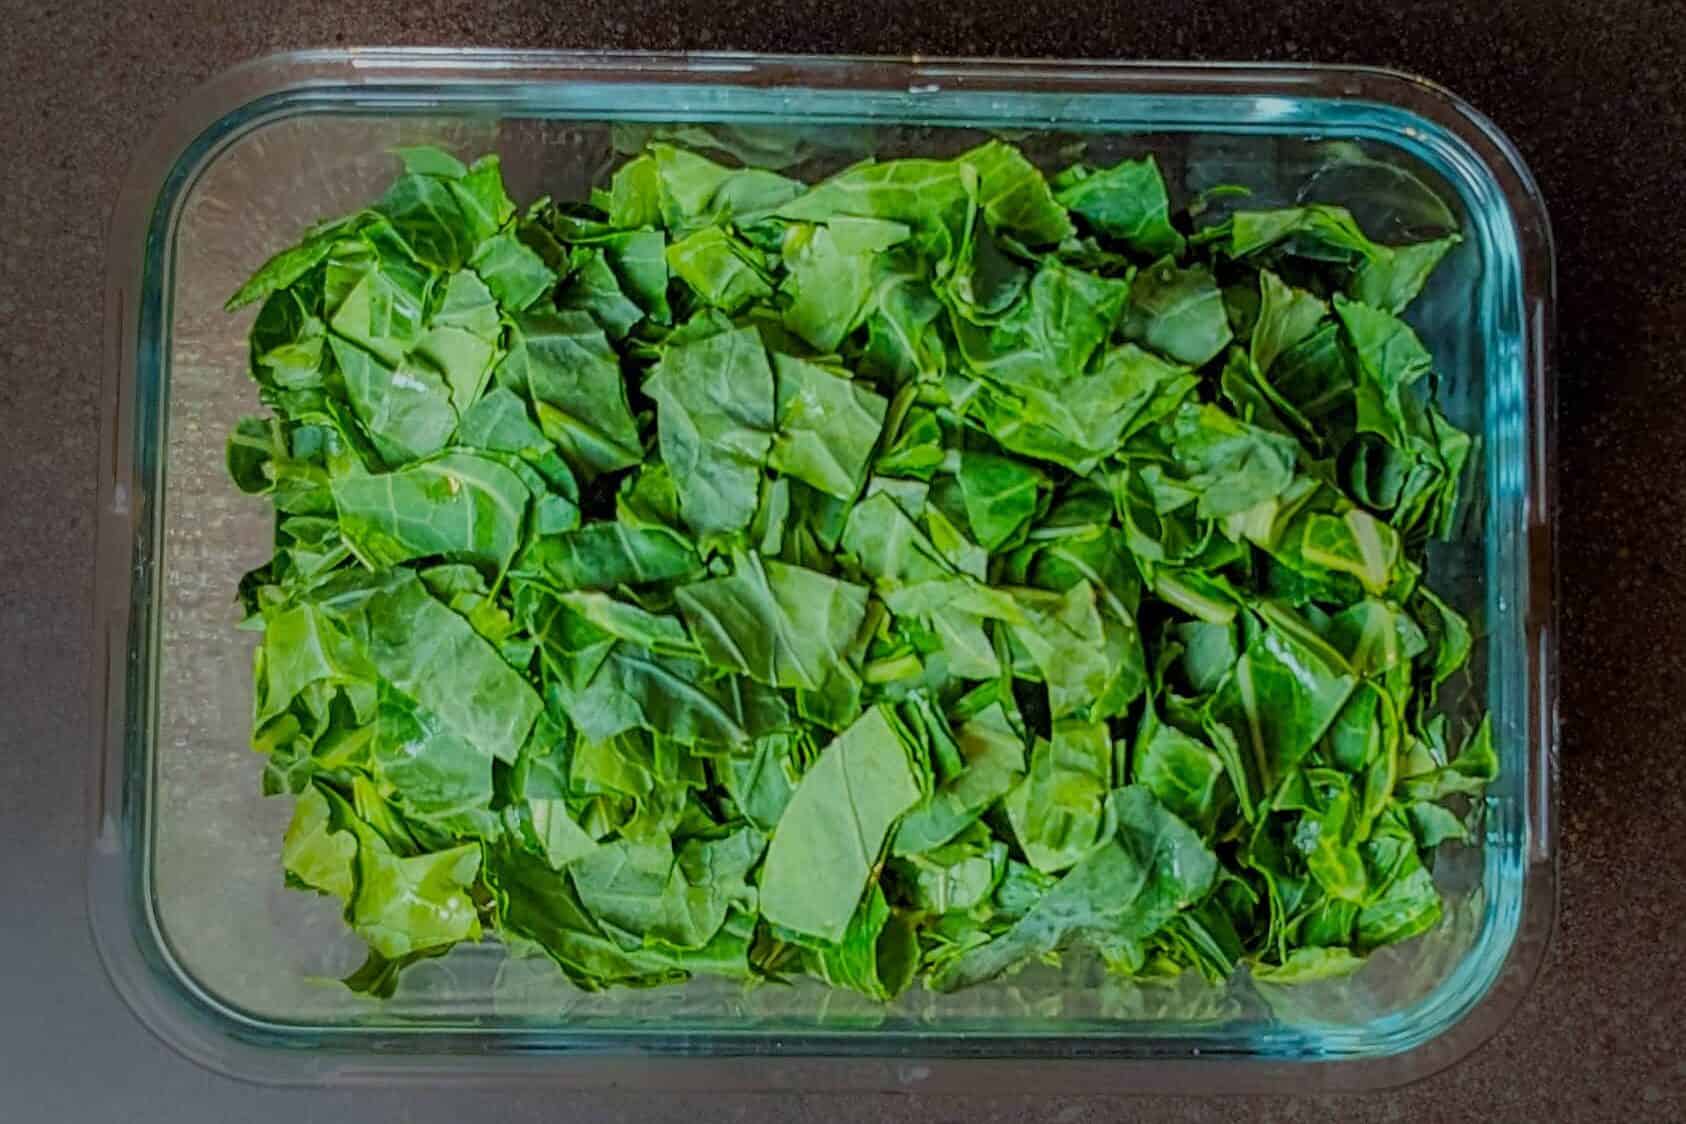
Storage
Once your collard greens are properly trimmed and sliced, you’ve got two great options: start cooking right away or store them for later. If you’re not ready to cook, storing them the right way makes all the difference in keeping them fresh, crisp, and full of flavor.
Keep Hydrated
Begin by making sure the fresh greens are completely dry—any lingering excess moisture can lead to soggy or spoiled greens. Wrap the sliced greens loosely in a clean kitchen towel or a couple of paper towels, which helps absorb any remaining dampness without drying them out completely.
Avoid Too Much Air
Next, place them in an airtight container or plastic freezer bags with as much air removed as possible. Tuck them into the crisper drawer of your fridge, where they’ll stay fresh for up to 5 days.
Great for Convenience
This method keeps your leafy greens organized and prepped, so when you’re ready to whip up a pot of collard greens, add them to a slow cooker, braise them in chicken broth, or sauté them with olive oil and garlic—they’re good to go. It's one of the best ways to save time during a busy week while still enjoying a staple of your favorite cuisine on your own schedule.
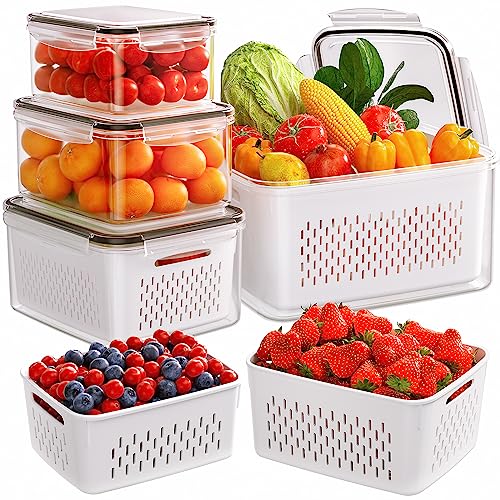
My Rating: ⭐⭐⭐⭐⭐
Purchased: April 07, 2024
My Review: I absolutely love these 5-pack fruit storage containers—they completely exceeded my expectations! I was truly surprised at how long they kept my produce fresh, especially delicate items like berries and lettuce that usually spoil quickly. The removable colanders are super convenient for rinsing and draining right in the container, and the leakproof lids make fridge organization a breeze. I was so impressed with how well they worked, I went ahead and bought three packs! These have definitely become a go-to in my kitchen for keeping fruits, veggies, and even prepped meats fresher for longer.
Airtight Food Containers
I interchange glass food storage containers with plastic clipping lids or wooden push-ins. I always suggest glass storage containers because they can be microwaved, they hold food without staining, and the glass keeps the food at a more stable temperature, keeping it fresher and longer.
Try the OXO Good Grips Smart Seal Glass Rectangle Food Storage Containers or the Pyrex Freshlock Glass Food Storage Containers.
Prepping Tips Recap
Cook's Notebook is your Cooking Tips Resource Guide. Become a better home cook with tips to help you cook more efficiently.
- Trim Before You Slice - Always remove the tough stem from each leaf to avoid chewy textures and ensure even cooking.
- Stack, Roll, and Slice - Use the roll-and-slice method to create thin strips that cook evenly and soak up the flavor of the greens.
- Use a Sharp Knife and Stable Surface - A sharp knife and sturdy cutting board make trimming easier and safer, especially with large leafy greens.
- Dry Before You Cut - Pat your fresh collard greens dry with paper towels or a clean kitchen towel to prevent slipping while slicing.
- Store Smart for Later Use - If you’re not cooking right away, wrap trimmed greens in a towel and keep them in an airtight container or plastic freezer bags in the fridge for up to 5 days.
How to Clean Collard Greens | Step-by-Step
Learn how to clean collard greens the right way with this step-by-step guide designed for beginner home cooks—because nobody wants to bite into gritty, sandy, or “crunchy” greens.
From soaking and swishing to drying them properly, this post will help you confidently remove dirt, bugs, and tough surprises hiding in your leafy greens, so you’re left with tender, flavorful collards ready for your favorite soul food recipes.
Frequently Asked Questions
Here, you will find a list of common questions that I have answered. If you have questions, please write them in the comment section below.
The easiest way is to fold each leaf in half lengthwise and use a paring knife to slice along the tough stem, removing it in one clean cut. You can also tear it away by hand for a more rustic approach—both methods work depending on your comfort level.
While you can cook whole leaves, slicing them into thin strips helps them cook faster and more evenly—especially in dishes like southern-style collard greens, where the texture matters. Uniform slices also absorb seasoning better during the cooking process.
Trimmed and clean collard greens can be stored in the fridge for up to 5 days. Wrap them in a clean kitchen towel or paper towels, place in an airtight container or plastic freezer bag, and store them in the crisper drawer to keep them fresh and crisp.
Yes! To freeze them, blanch the trimmed greens in boiling water for 2 minutes, then transfer to a bowl of cold water to stop the cooking. Drain and dry them well, then pack into freezer-safe bags or containers. Frozen collards can be stored for up to 12 months and added directly to soups, stews, or stir-fries.
A sharp chef’s knife is great for cutting through multiple stacked leaves, while a paring knife gives more control when slicing out the stem. Whichever you use, make sure it's sharp—it’s safer and gives you cleaner cuts on these hearty leafy greens.
More Cook's Notebook Articles
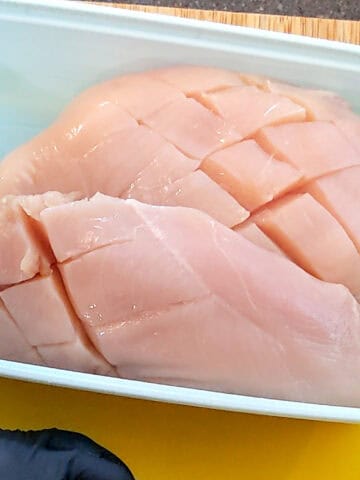
- Diamond Slit Chicken Breast (Video & Pictures)
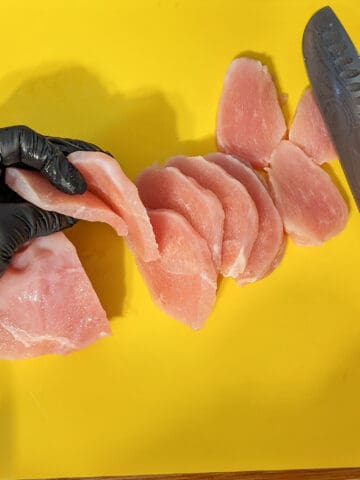
- How to Slice Chicken Perfectly Every Time
- Steak Grilling Times Chart: Perfect Temp & Cook Times
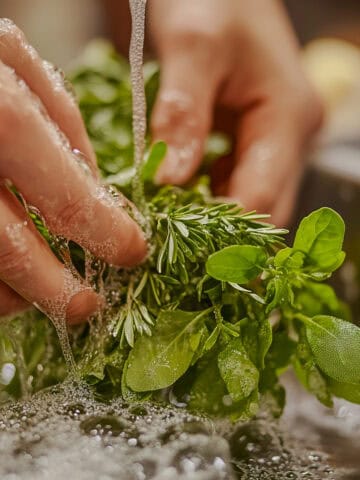
- How to Wash Fresh Herbs the Right Way Before Use
Trending Recipes
- One-Pan Calabrian Chickpea Pasta Recipe | Fast & Flavorful
- Curry Shepherd’s Pie with Cauliflower-Potato Mash | A Comforting Vegetarian Twist
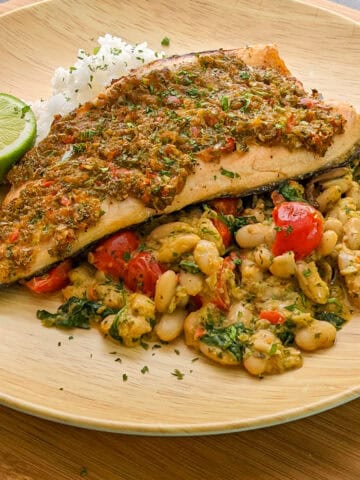
- 20 Irresistible Fish Recipes
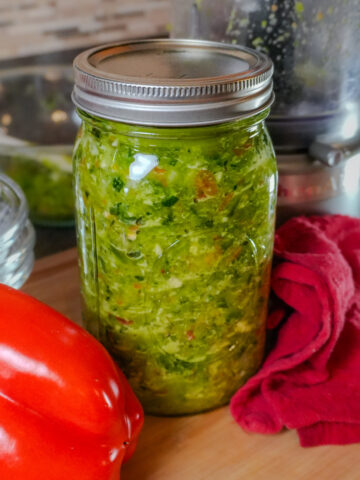
- Green Seasoning Recipe | Epis - Haitian Style


Subscribe to the YouTube Channel
SUBSCRIBE: 👈To my YouTube Channel to Get Notifications of New Videos.


Chef Maika Frederic
Personal Chef and Educator
Chef Maika is a Haitian-American personal chef, food blogger, and culinary expert passionate about bold flavors and approachable recipes. Owner of Growth Culinary and with years of experience in top kitchens, she shares diverse, flavorful meals and time-saving tips to inspire home cooks. Read More About Just Maika Cooking
Have a Comment or Question?
If you have a question or comment about this post, please post it below. You will definitely get a quick response. It also helps our other readers to stay informed. Thanks!
Leave a Reply