

Learn how to wash fresh herbs the right way so your meals are clean, flavorful, and totally free of that accidental garden soil crunch.
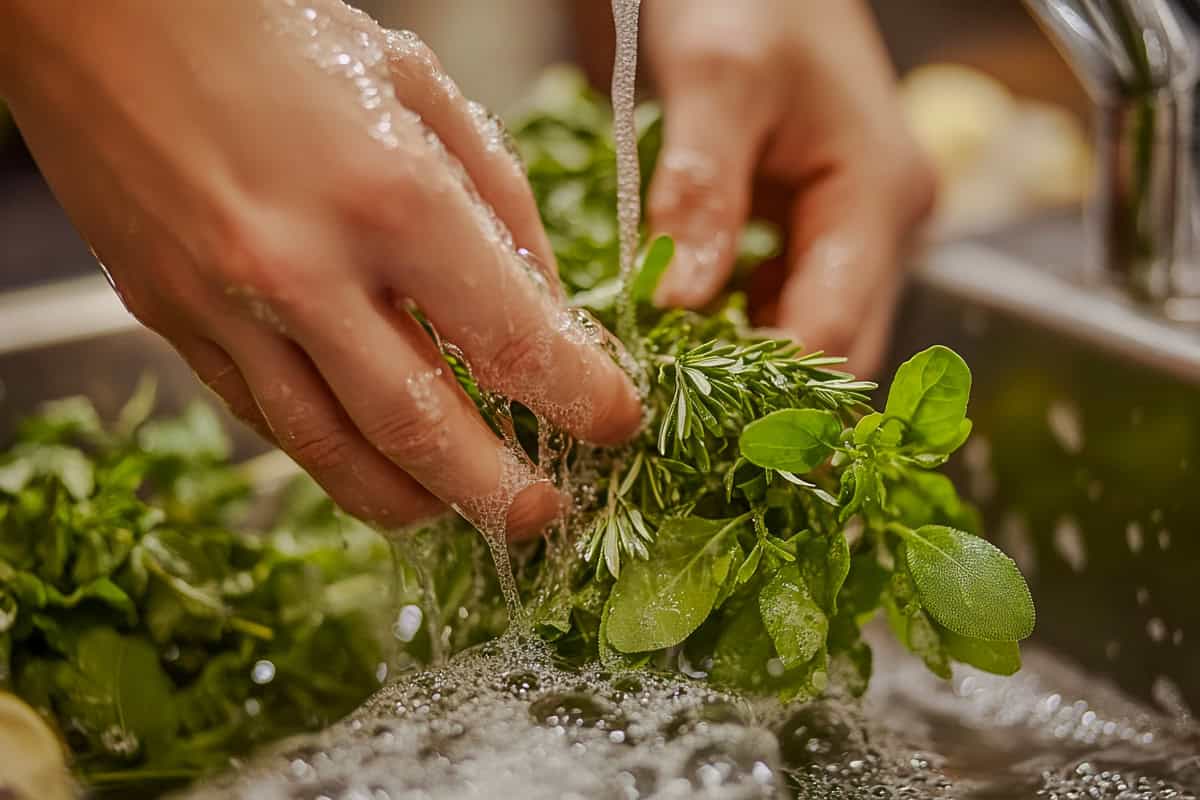
Table of Contents
Jump to:
- The Herb Habit
- Why I Actually Wash My Herbs Now
- Why Washing Is Non-Negotiable
- Why This Is Totally for Beginners
- What You’ll Learn in This Post
- Culinary Glossary
- Instructions with Pictures
- Watch the Video: How to Wash Herbs
- Subscribe to the YouTube Channel
- Recommended Equipment
- Wash Herbs Without Equipment
- Prepping Tips
- Frequently Asked Questions
- More Cook's Notebook: Cooking Tips
- Latest Recipes
- Subscribe to the YouTube Channel
- Have a Comment or Question?
The Herb Habit
Let’s talk about something everyone knows but doesn't always do when cooking: you actually have to wash the herbs. Yep, those gorgeous bunches of cilantro or parsley you just grabbed at the grocery store?
They’ve seen some things—like dusty produce bins, sticky fingers, and maybe even a bug or two. In this post, I’m walking you through how to wash fresh herbs step-by-step. This isn’t just about making your food taste better (which it definitely will), it’s about keeping grit and grime out of your next homemade meals.
Whether you're rinsing a leafy bunch for salad or prepping for soup, you'll learn the best way to wash herbs so they’re clean, dry, and ready to use. And yes—we’ll cover everything from washing fresh herbs to how to clean herbs before cooking to become part of your repertoire.
Why I Actually Wash My Herbs Now
For the longest time, my go-to method for cleaning herbs at home was... let’s just say minimal. A light stream of water under the faucet and straight into the pot they went. I figured, “They’re green and leafy, they look clean.”
But then I started hearing about foodborne illness outbreaks—your generic E. coli, unexpected health risks—and suddenly, the “wash and go” method didn’t feel so charming anymore.
Wash, Rinse, Dry
In restaurant kitchens, we’d never let that fly. Washing herbs was the first thing we did during prep. We’d soak delicate herbs like basil and tender leaves like parsley in cool water, gently swish, lift them from the bottom of the bowl, dry them on a clean towel, or spin them in the salad spinner.
I mean, we weren’t about to let damaged leaves or excess moisture mess up a $40 entrée.
Homecook Habit
At home though? I got lazy. That changed after I bought a salad spinner. Now, I can clean a whole bunch of fresh parsley or basil plants in just a couple of easy steps. Fill the bowl, let the dirty water settle, lift the herbs, drain the bowl, and spin.
It's such an efficient way to prep herbs, especially after a trip to different farmers' markets and grocery stores, where you never really know what the growing process leaves behind.
IYKYK
And let me tell you—once I started my own herb garden and saw exactly what soft stems, tender herbs, and even hard herbs touch while growing outside (hello, bugs and dust storms), I knew that rinsing with a little water wasn’t going to cut it anymore.
Washing herbs properly isn’t extra—it’s a better way to preserve the shelf life of the herbs and protect your cooking and your tummy.
Why Washing Is Non-Negotiable
Washing herbs might feel like overkill—especially if you’re only using a few leaves in your pasta sauces—but even small amounts of dirt or grit can ruin a dish. Herbs are some of the worst offenders when it comes to hiding soil in their soft stems and tender leaves, especially those sold in plastic bags at your local store.
Unwashed herbs can carry bacteria, bits of insects, or just straight-up dirt. Skipping this step can shorten the shelf life of the herb bundle and even pose a health risk, especially if you’re using them raw. And if you’re drying or storing herbs later, excess water trapped in the leaves can lead to decay.
Learning a solid step-by-step method for washing not only keeps your ingredients clean—it boosts flavor and longevity.
Why This Is Totally for Beginners
Listen, I’ve been there—googling “Do I wash basil?” while holding a bunch over the sink, unsure if I was about to ruin it or unlock a secret. If you’ve ever shoved herbs into a dish without thinking or kept them in a glass of water on the counter until they wilted, this is your post.
Washing herbs is often skipped in recipes because everyone assumes you already know the best way to wash herbs. But let’s be honest, no one’s born knowing this stuff.
So whether you’re grabbing woodier herbs for roasting, tender herbs for garnishing, or even using dried herbs as backup, this guide is packed with easy steps to help you build the habit.

I’ll help you with simple tools (hello, Mason jar and damp paper towel), and better storage tricks like using a zipper-lock bag or wrapping herbs in a layer of paper towels inside plastic wrap in this series.
What You’ll Learn in This Post
In this guide, you’ll learn how to wash fresh herbs using the same method I used in professional kitchens—but simplified for your home setup. We’ll walk through the different methods of cleaning hardy herbs vs. soft ones, using a bowl of water, how to avoid excess moisture, and how to dry herbs quickly without bruising them.
I’ll even show you how storing works to extend freshness and why tucking herbs into a damp towel or a glass jar can help them last more than just a couple of days in this series.
Plus, if you’ve ever felt bad tossing a wilted bunch of basil you bought last week, you’ll love these delicious ways to keep herbs fresh and flavorful for longer. Because let’s be honest—nothing beats that burst of bright flavor from a clean, crisp sprig of something green.
Recommended Reads
- The Salad Spinner
- How to Clean Collard Greens | Step-by-Step
- Prepping Herbs
- Air Fryer Roasted Harissa Salmon with Paprika Potatoes and Brussel
- How to Trim and Slice Collard Greens (Step-by-Step Guide)
Culinary Glossary
This section concisely defines key ingredients and techniques related to this post to enhance understanding and improve cooking skills on all levels.
Techniques
- Excess Water - Leftover water trapped in herb leaves after washing. Needs to be removed with a clean towel, salad spinner, or air drying to prevent sogginess and spoilage.
- Fresh Water - Clean cool water used for rinsing herbs after the initial soak, especially helpful for rinsing away any dirty water from the first wash.
- Light Stream of Water - A gentle faucet flow used for rinsing tender herbs without damaging their structure. Not to be confused with blasting them like you’re pressure-washing a driveway.
- Molly Siegler Method - Named after a Whole Foods culinary expert who recommends trimming stems and placing herbs in a glass of - water for better storage—kind of like keeping a little countertop herb bouquet.
- Shelf Life of the Herb Bundle - How long herbs will stay fresh after purchase. Proper washing, drying, and storing dramatically increase the shelf life—sometimes even up to a couple of days or more, depending on the method.
Ingredient
- Delicate Herbs - Tender, leafy herbs like parsley, cilantro, basil, or dill that bruise easily and need gentler handling. These are usually added at the end of cooking or used fresh.
- Dry Herbs - Fresh herbs that have been thoroughly dried after washing. This prevents excess moisture from causing spoilage during storage.
- Ends of the Stems - The bottom tips of herb stems, often trimmed off before washing or storing to promote freshness—especially helpful when placing herbs in a glass jar or cup of water like a bouquet.
- Hardy Herbs - More robust herbs like rosemary, thyme, sage, and oregano. These woodier herbs are less fragile and hold up better to high-heat cooking or longer storage.
- Tender Herbs - Similar to delicate herbs—they’re soft, leafy, and often best enjoyed raw or barely cooked. Think fresh parsley, basil, mint, and cilantro.
Tools
- Bowl of Water - A common method used to gently clean herbs. Fill a bowl with cool water or cold water, then swish herbs around to loosen dirt and let debris sink to the bottom of the bowl. Lift herbs out rather than pouring the water out on top.
- Damp Paper Towel - A slightly moistened paper towel used to wrap herbs before placing them in a plastic bag or zipper-lock bag to preserve moisture and extend the shelf life of the herbs.
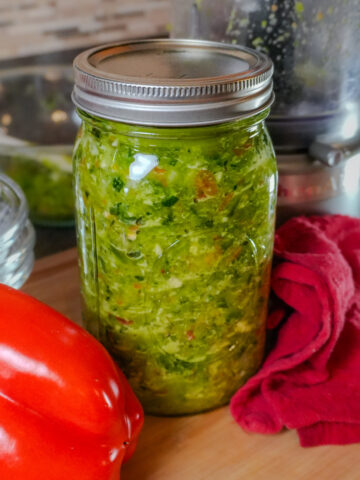
- Glass Jar / Mason Jar - Used to store herbs like basil upright with their basil stems in water. Acts like a vase and works well when covered loosely with plastic wrap and kept out of direct sunlight.
- Plastic Bag / Zipper-Lock Bag - Used to store washed and dried herbs, often layered with damp paper towels or a damp towel to maintain freshness in the fridge door or crisper drawer.
- Salad Spinner - A tool that uses centrifugal force (science!) to spin washed herbs dry. This is the efficient way and honestly, the most fun method. It helps eliminate excess moisture without bruising herbs. Learn more about salad spinners here.
Instructions with Pictures
Follow the instructions and cooking tips below using the step-by-step picture guide.
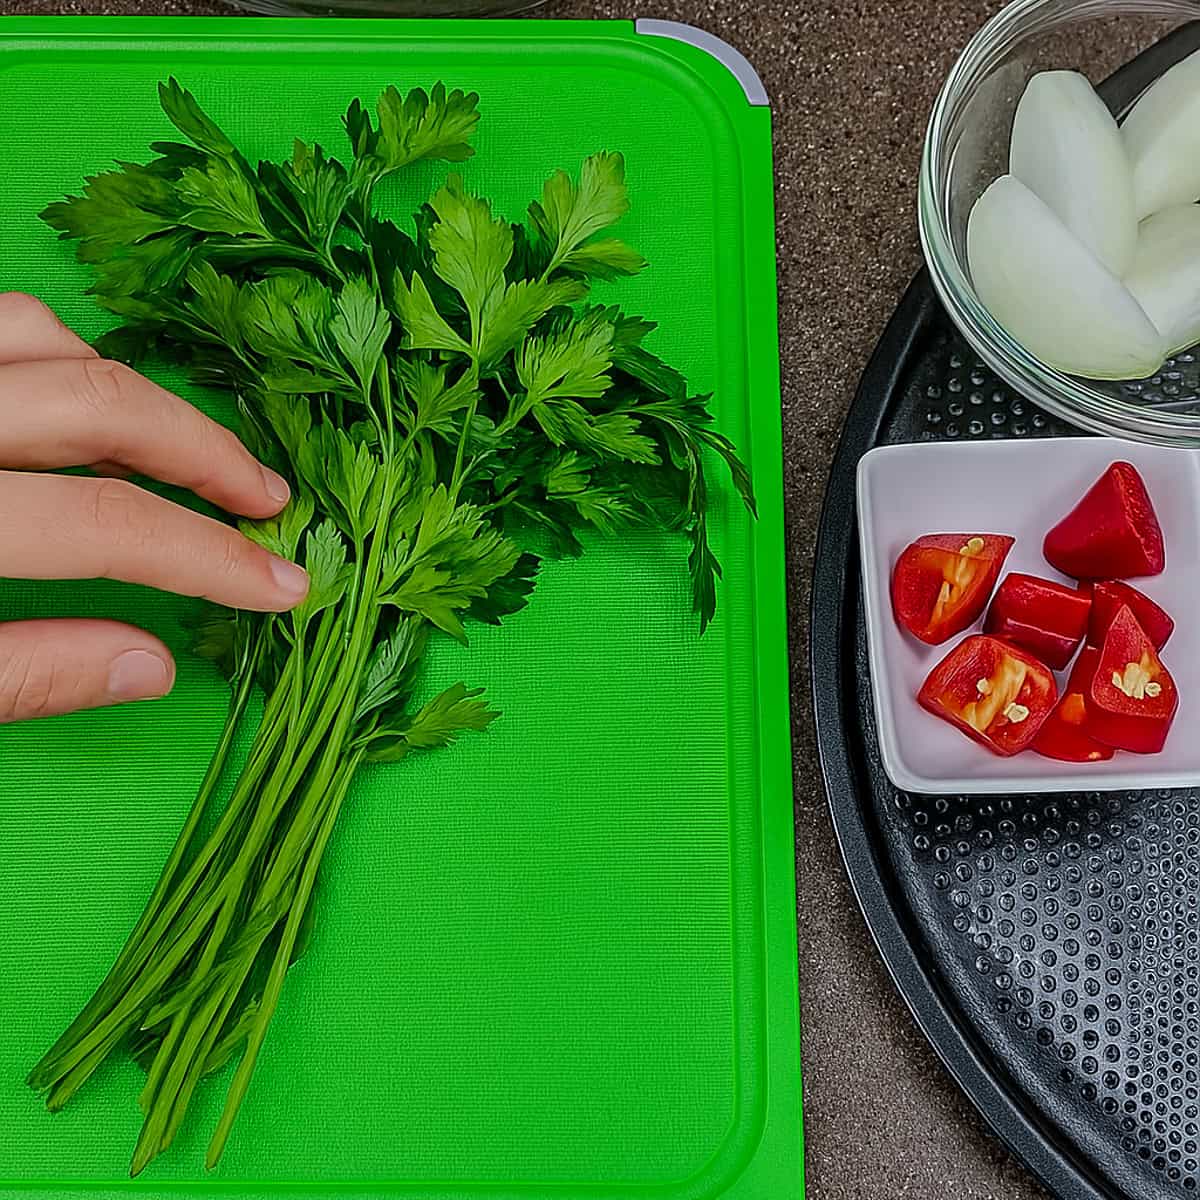
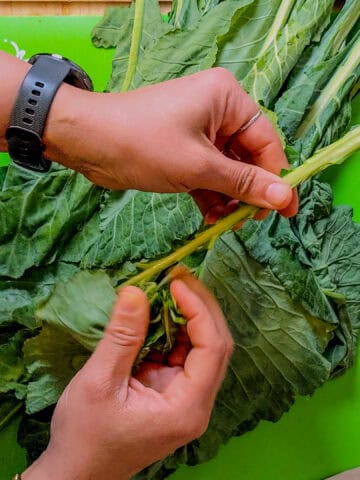
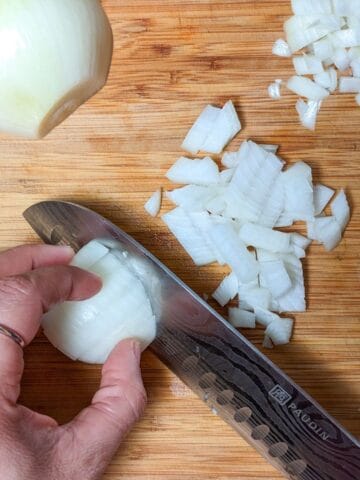
First, inspect and trim the herbs by removing any damaged or discolored leaves and trimming the ends of the stems.
Trimming helps herbs absorb fresh water better if you're storing them upright in a Mason jar or glass jar later.
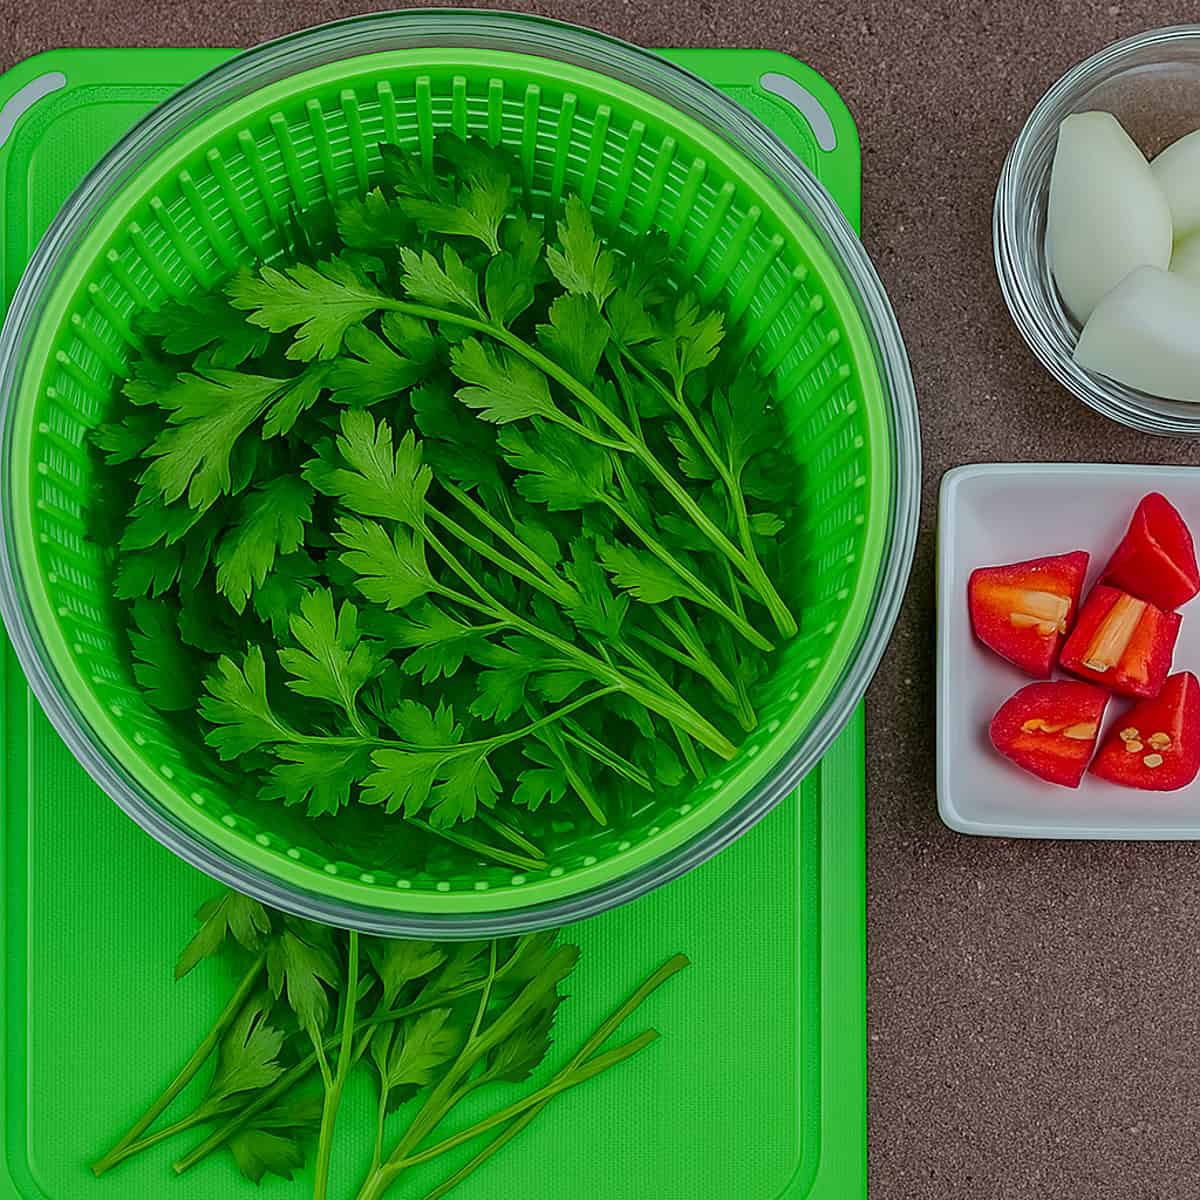
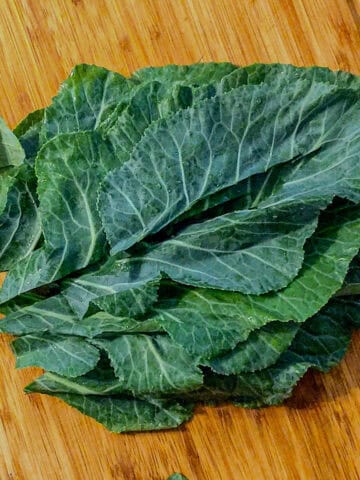
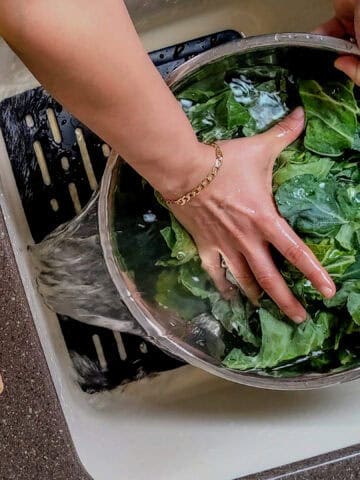
Next, fill a bowl with cool water by using enough cold or cool water to submerge the herbs fully. Chef Tip: This gentle soak helps loosen grit without damaging tender herbs like parsley or basil.
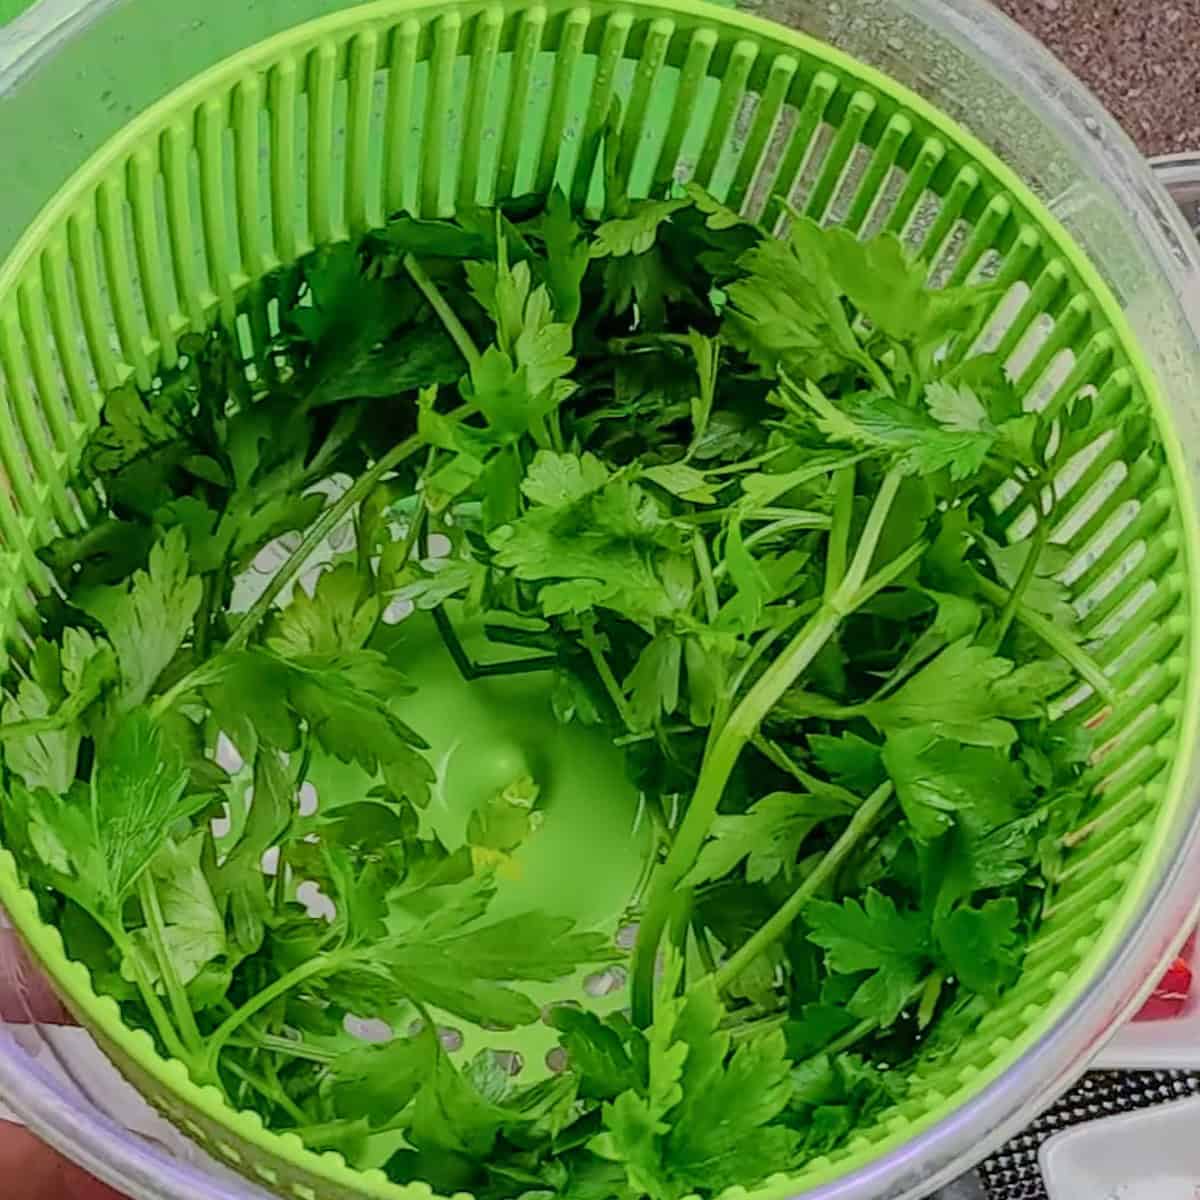
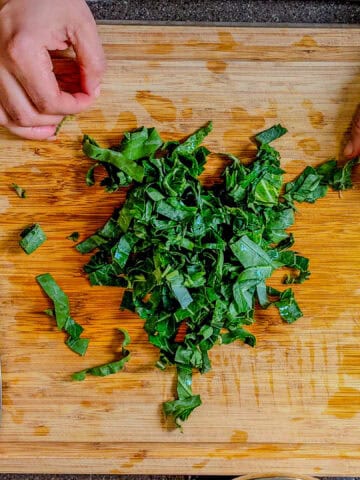
Then, swish them gently by moving the herbs around with your fingers to shake loose any dirt. Treat it like a bath, not a scrub. This is a safe method for delicate herbs with soft stems
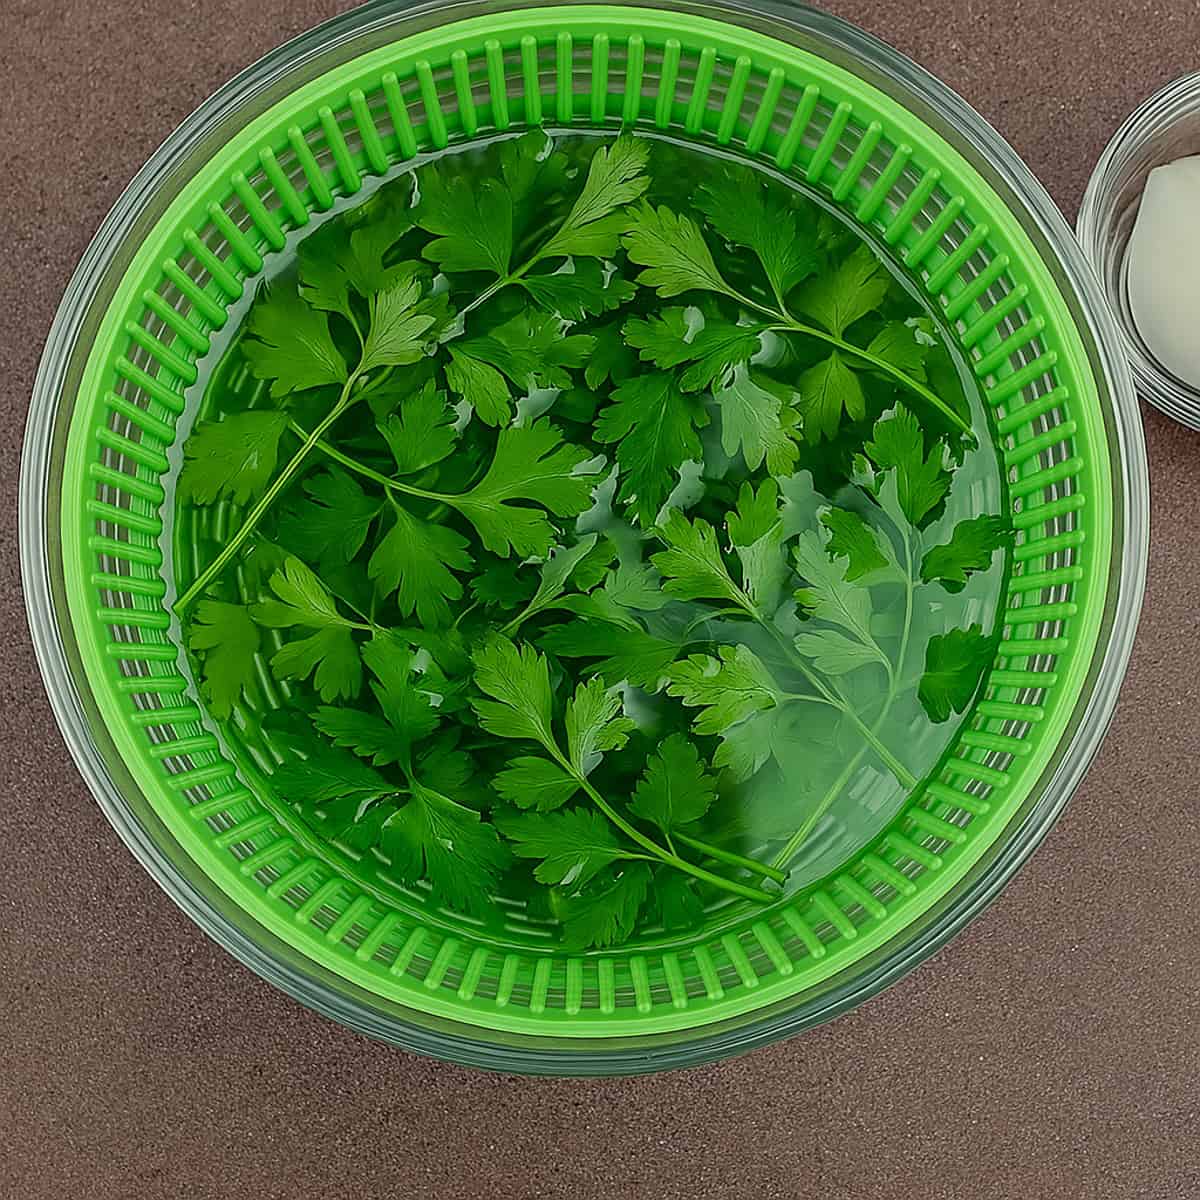
Lift the herbs out of the water, using a salad spinner makes this easier by lifting up the basket. This helps avoid pouring the water out on top of them. Since dirt and debris settle at the bottom of the bowl—lifting keeps it off your herbs. You can also give the herbs a final rinse under a light stream of water. This is a good idea if you suspect any lingering grit—especially with herbs from different farmers' markets or your garden.
Why use cold water to wash herbs? The cold water not only gets rid of the dirt but also perks them up, giving them a fresh look.
Two Drying Methods
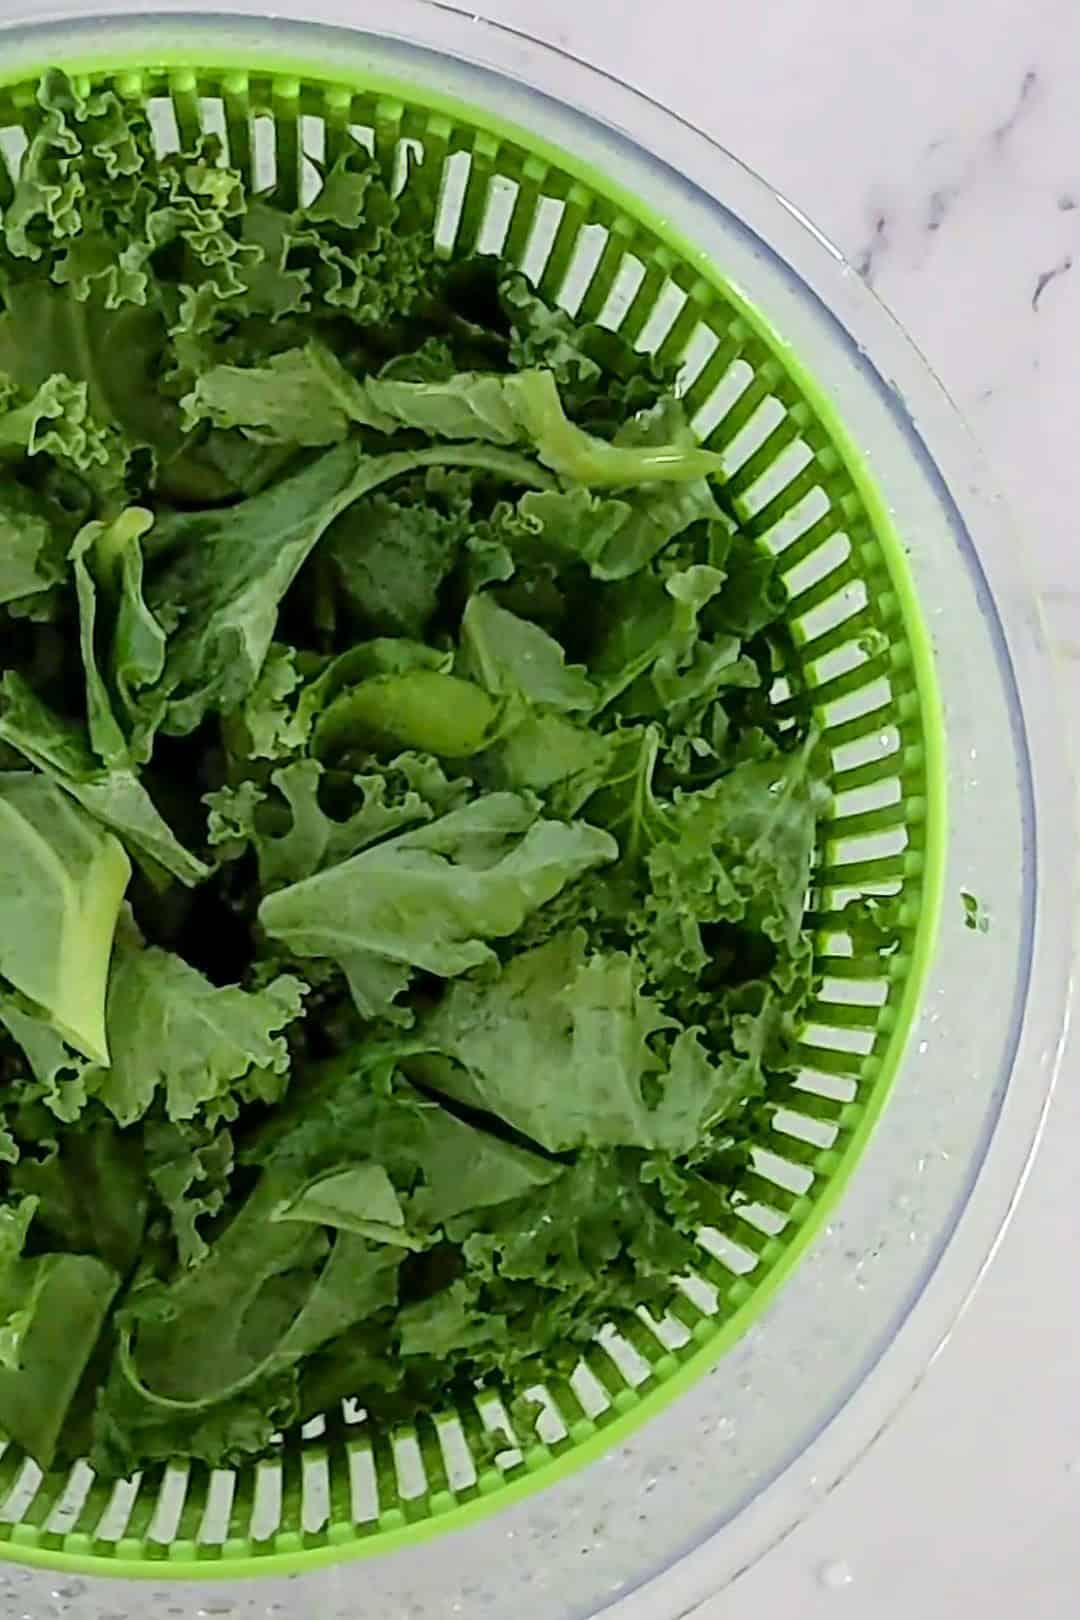
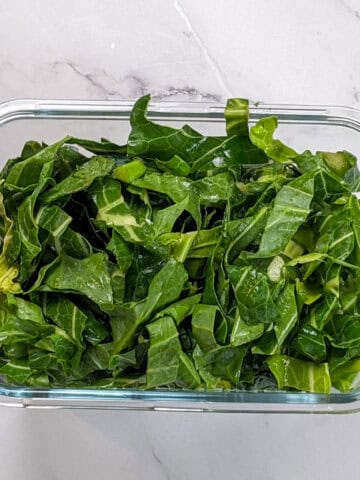
- Spin to Dry - Place the herbs in a salad spinner and spin until dry. This is the most efficient way to remove excess moisture without bruising the leaves.
- Dry on a Clean Towel - Spread herbs out and gently pat dry using a clean towel or a layer of paper towels. Well-dried herbs store better, cook better, and won’t turn slimy in the fridge.
Watch the Video: How to Wash Herbs
Subscribe to the YouTube Channel
SUBSCRIBE: 👈To my YouTube Channel to Get Notifications of New Videos.
My Rating: ⭐⭐⭐⭐
Purchased: 03/28/22
Update: 01/15/2025
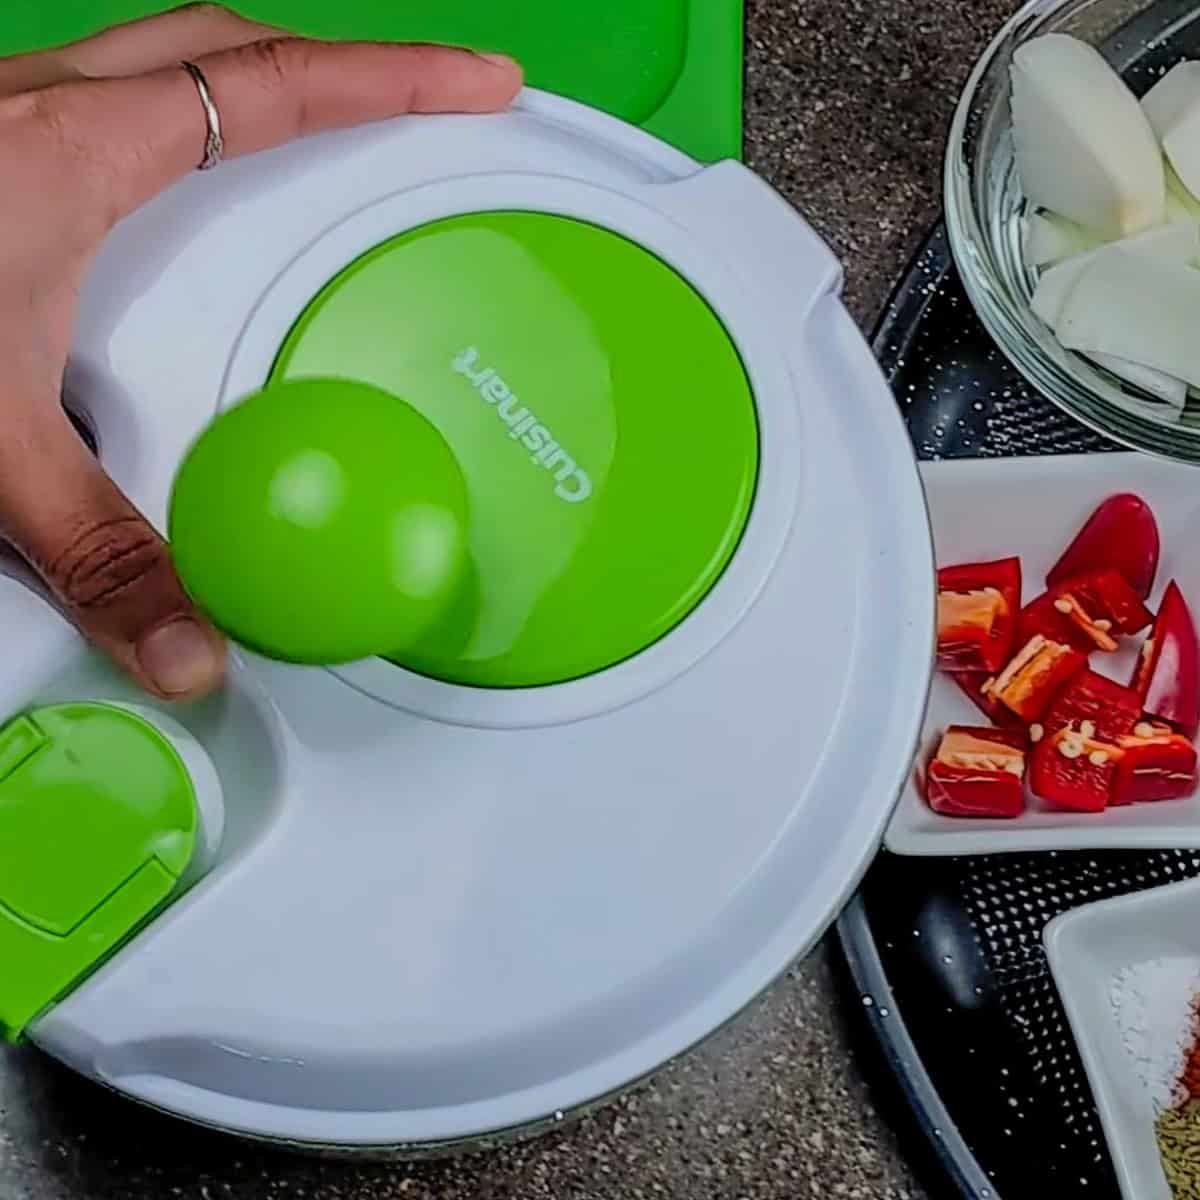
My Review: Cuisinart is a renowned brand known for its innovative, high-quality kitchen appliances and tools that make cooking and food prep effortless. Additionally, the Cuisinart Salad Spinner has been a trusty tool in my kitchen for years, and it’s proven to be so much more than just a salad spinner! Despite its compact size, it handles everything with ease—from rinsing and drying delicate herbs to cleaning mushrooms and, of course, prepping perfectly dry greens for salads. Its durable design has stood the test of time, and its efficiency has made meal prep so much quicker and easier. If you’re looking for a versatile, long-lasting kitchen tool, this little spinner is a must-have! I've made a post about it, check out my salad spinner post here.

Recommended Equipment
Mixing Bowl or Salad Spinner Bowl
A large bowl is essential for soaking herbs in cool water, letting dirt settle to the bottom without bruising tender leaves. I recommend using a lightweight, deep mixing bowl that’s easy to swish herbs around in. If you’re not using a salad spinner, a sturdy mixing bowl or even a soup pot works just fine for soaking.
Salad Spinner
The salad spinner is my go-to tool for drying herbs fast without damaging them—it spins out excess moisture while keeping your herbs intact. Here’s the Cuisinart ne I use from Amazon, and it’s lasted me years.
No spinner? Gently pat your herbs dry with a clean towel, or roll them in paper towels and shake lightly to remove moisture.
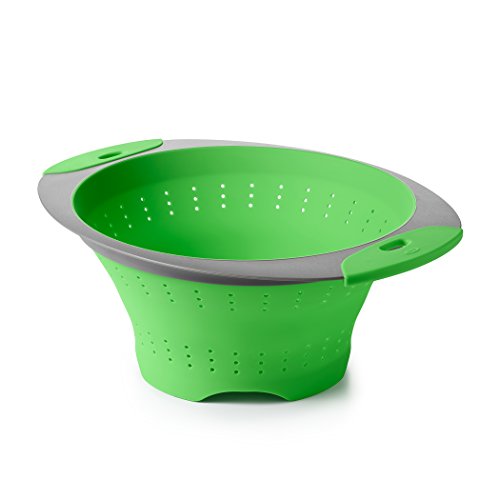
Colander (Optional)
A colander can help you rinse herbs under a light stream of water, but it’s not the best for soaking since dirt can cling to the herbs when drained. If you’re looking for a basic one, this OXO Collapsible Colander is a great fit for rinsing small bundles.
Chef Tip: Soak your herbs in a separate bowl, then transfer them to the colander for draining to avoid dumping the dirty water back over them.
Clean Kitchen Towels
A soft, clean towel is a must for air-drying herbs after washing, especially if you're not using a spinner. I keep a stack of absorbent, lint-free towels like this Urban Villa Kitchen Towels set just for herb prep and produce. If you have no towels handy, use a damp paper towel or clean cloth napkin to absorb leftover moisture.
Mason Jar / Glass Jar / Cup of Water
Herbs like basil stems or fresh parsley stay fresher longer when stored upright in a glass jar or Mason jar with a little water at the bottom. This Mason jar set is perfect for herb storage, and it looks cute on your counter, too. Just, cover loosely with plastic wrap and keep out of direct sunlight to extend the shelf life of the herb bundle.
Paper Towels
Paper towels are the quick-fix hero for wrapping and storing washed herbs in the fridge. I like to use a layer of paper towels inside a zipper-lock bag to keep herbs fresh for a couple of days.
Low-waste option: You can also use a reusable damp towel or cloth napkin if you’re trying to cut down on disposables.
Kitchen Must Haves - Find other tools I use here.
Wash Herbs Without Equipment
Not everyone has a salad spinner or mixing bowl on standby, so here are a few simple and effective ways to wash fresh herbs using what you already have in your kitchen.
Best for: Fresh Parsley, Thyme, Tarragon, and Dill
Rinse small amounts of herbs under cool running water; one stem at a time. If you're only using a few sprigs, just run each stem under cool water, gently rubbing between your fingers to remove dirt. It’s simple and effective when you don’t need to prep a full bunch
Best for: Basil, Mint, Chervil, and Cilantro
Use a spray bottle filled with clean water to gently mist herbs that bruise easily. This is the gentlest method, ideal for tender herbs with soft stems and delicate leaves that turn black or slimy when overly handled or soaked.
Best for: Rosemary, Oregano, Sage, and Thyme
For hardy herbs, place them in a strainer and shake them in a bowl of water like a washing machine, then lift and dry. These woodier herbs can handle a bit more movement. Just make sure to lift the strainer out instead of dumping the dirty water back onto the herbs.
Prepping Tips
Cook's Notebook is your Cooking Tips Resource Guide. Become a better home cook with tips to help you cook more efficiently.
- Always wash herbs before using—even if the label says “pre-washed.”
- Trust issues aside, herbs can pick up dirt and bacteria during transit or from the store display. A quick rinse is your insurance policy.
- Use a salad spinner for the fastest, least-damaging dry.
- It’s hands-down the most efficient way to remove excess water without bruising your delicate greens.
- Never pour the bowl of water out over the herbs.
- Lift the herbs out of the bowl of water so that the dirty water and sediment stay behind.
- Store herbs like flowers for longer life.
- Trim the ends of the stems, place in a glass jar or Mason jar with a little fresh water, and loosely cover with plastic wrap—you’ll get at least a few extra days of shelf life.
- Dry herbs properly before storing.
- Whether you’re using a clean towel or paper towels, dry herbs thoroughly to prevent slime, mold, and short shelf life in the fridge.
Frequently Asked Questions
Here, you will find a list of common questions that I have answered. If you have questions, please write them in the comment section below.
Yes. Even if they look clean or are labeled “pre-washed,” herbs can carry dirt, sand, or bacteria from the field, store, or transport. Washing ensures flavor and food safety.
Fill a bowl with cool water, swish the herbs gently, lift them out, and lay them flat on a clean towel or layer of paper towels to dry. You can pat them dry or roll them gently to absorb the moisture.
Dry them completely, then wrap them in a damp paper towel and place them inside a zipper-lock bag or plastic bag in the fridge. For tender herbs like basil, store upright in a glass of water on the counter, away from direct sunlight.
Yes, but only if they’re dry. Wet herbs spoil fast. Use a salad spinner or pat them dry well, then store in breathable containers like a jar or wrapped in towels.
Fresh parsley, basil, dill, cilantro, and mint are some of the most delicate herbs with tender leaves that bruise easily. Handle gently, avoid rough rinsing, and dry with care.
More Cook's Notebook: Cooking Tips
- How to Prep Collard Greens: Complete Beginner’s Guide
- Best Collard Greens Substitutes: 7 Leafy Greens
- How to Store Collard Greens | Fridge & Freezer Guide
- How to Trim and Slice Collard Greens (Step-by-Step Guide)
Latest Recipes
- Green Seasoning Recipe | Epis - Haitian Style
- Quick Spicy Potstickers | Chili Momo Tibetan Style
- Beituti Chicken Shawarma Rice Bowl | Quick and Easy
- Air Fryer Chicken Shawarma | Quick with Beituti


Subscribe to the YouTube Channel
SUBSCRIBE: 👈To my YouTube Channel to Get Notifications of New Videos.


Chef Maika Frederic
Personal Chef and Educator
Chef Maika is a Haitian-American personal chef, food blogger, and culinary expert passionate about bold flavors and approachable recipes. Owner of Growth Culinary and with years of experience in top kitchens, she shares diverse, flavorful meals and time-saving tips to inspire home cooks. Read More About Just Maika Cooking
Have a Comment or Question?
If you have a question or comment about this post, please post it below. You will definitely get a quick response. It also helps our other readers to stay informed. Thanks!

Leave a Reply